Scaling with Terraform

EC2 Auto Scaling: Elasticity for Your Cloud Applications
EC2 Auto Scaling is a service offered by Amazon Web Services (AWS) that automatically provisions and manages EC2 instances (virtual servers) based on your application's needs. It's like having an auto-adjusting team of servers that scales up during peak traffic and scales down when things are quiet.
Why Use EC2 Auto Scaling?
Traditional server management can be cumbersome. Manually provisioning servers for anticipated spikes can be expensive and leave you with underutilized resources during low points. EC2 Auto Scaling tackles these issues:
Cost Optimization: You only pay for the EC2 instances you actually use. Auto scaling helps you avoid over provisioning during low traffic and ensures you have enough resources during high demand.
Improved Scalability: Your application can handle unpredictable traffic surges without performance degradation. Auto Scaling automatically adds instances to meet demand and removes them when needs decrease.
Increased Availability: By scaling up during peak loads, auto scaling helps prevent application outages and ensures high availability.
Simplified Management: No more manual server provisioning and deprovisioning. Auto scaling automates this process, freeing up IT staff for other tasks.
Advantages of EC2 Auto Scaling:
Cost Efficiency: Pay-as-you-go pricing aligns perfectly with auto scaling, leading to significant cost savings.
Automatic Scalability: Auto scaling seamlessly adjusts to traffic spikes and dips, ensuring consistent performance.
Enhanced Application Performance: By automatically adding resources during high demand, auto scaling prevents slowdowns and maintains a smooth user experience.
Increased Availability: Auto scaling helps prevent application downtime by automatically scaling up during peak loads.
Simplified Operations: Eliminate the need for manual provisioning and deprovisioning, freeing up IT staff for more strategic tasks.
Disadvantages (or Considerations) of EC2 Auto Scaling:
Complexity: Setting up and configuring auto scaling policies requires careful planning. You need to define triggers (metrics like CPU utilization), scaling actions (adding or removing instances), and cool-down periods to avoid unnecessary scaling.
Cost Management: Unexpected traffic spikes might lead to temporarily higher costs. Careful monitoring and cost optimization strategies are essential.
Vendor Lock-in: Auto scaling features may vary between cloud providers, potentially leading to vendor lock-in if you switch platforms.
Monitoring: Ongoing monitoring of application performance and resource usage is crucial to ensure auto scaling functions effectively.
Security Considerations: With dynamic provisioning, proper security measures are essential to prevent unauthorized access to newly created instances.
In Conclusion
EC2 Auto Scaling empowers you to manage cloud resources efficiently. By dynamically adjusting resources based on demand, it optimizes costs, improves performance, and ensures application availability. However, careful planning and configuration are crucial to maximize benefits while addressing potential drawbacks.
Why we need terraform file for Auto Scaling:
Infrastructure as Code (IaC):
Repeatability and Consistency: Terraform scripts define your infrastructure configuration, ensuring consistent and repeatable deployment of your EC2 Auto Scaling groups. No more manual configuration errors or inconsistencies.
Version Control: Terraform files are version-controlled, allowing you to track changes, revert to previous configurations, and collaborate effectively on your infrastructure.
Declarative Approach: You declare the desired state of your infrastructure (e.g., desired number of instances, scaling triggers), and Terraform orchestrates the creation and management of resources.
Improved Control and Flexibility:
Modularization: Break down your infrastructure into reusable modules, making it easier to manage complex deployments and auto scaling configurations.
Customization: Terraform allows you to define complex scaling policies and configurations that go beyond what's readily available in the AWS console.
Integration with CI/CD: Integrate Terraform with your CI/CD pipeline to automate infrastructure provisioning and deployment, streamlining your development workflow.
Security and Compliance:
Auditability: Terraform provides clear audit trails by tracking changes made to your infrastructure configuration. This is essential for security compliance and troubleshooting.
Security Best Practices: Terraform allows you to enforce security best practices by defining security groups, IAM roles, and other security configurations within your code.
Centralized Management: Manage your infrastructure configuration from a single location, simplifying security auditing and enforcement.
Additional Benefits:
Reduced Errors: Script-based configuration minimizes human error compared to manual AWS console configuration.
Cost Optimization: Terraform can help optimize costs by enabling infrastructure tear-down during non-peak hours (if applicable to your use case).
Team Collaboration: Collaborate effectively on infrastructure management with clear configuration files and version control.
While you can configure EC2 Auto Scaling through the AWS console, Terraform offers a powerful, secure, and repeatable approach for managing your cloud infrastructure. It enhances control, simplifies maintenance, and integrates seamlessly with DevOps workflows.
Create a EC2 Auto Scaling terrafrom file using Visual Studio Code:
Prerequisites:
Download to visual studio code (Click here).
understanding by AWS CLI (Click here).
understanding AWS IAM user (Click here).
How to Install terraform in window (Click here).
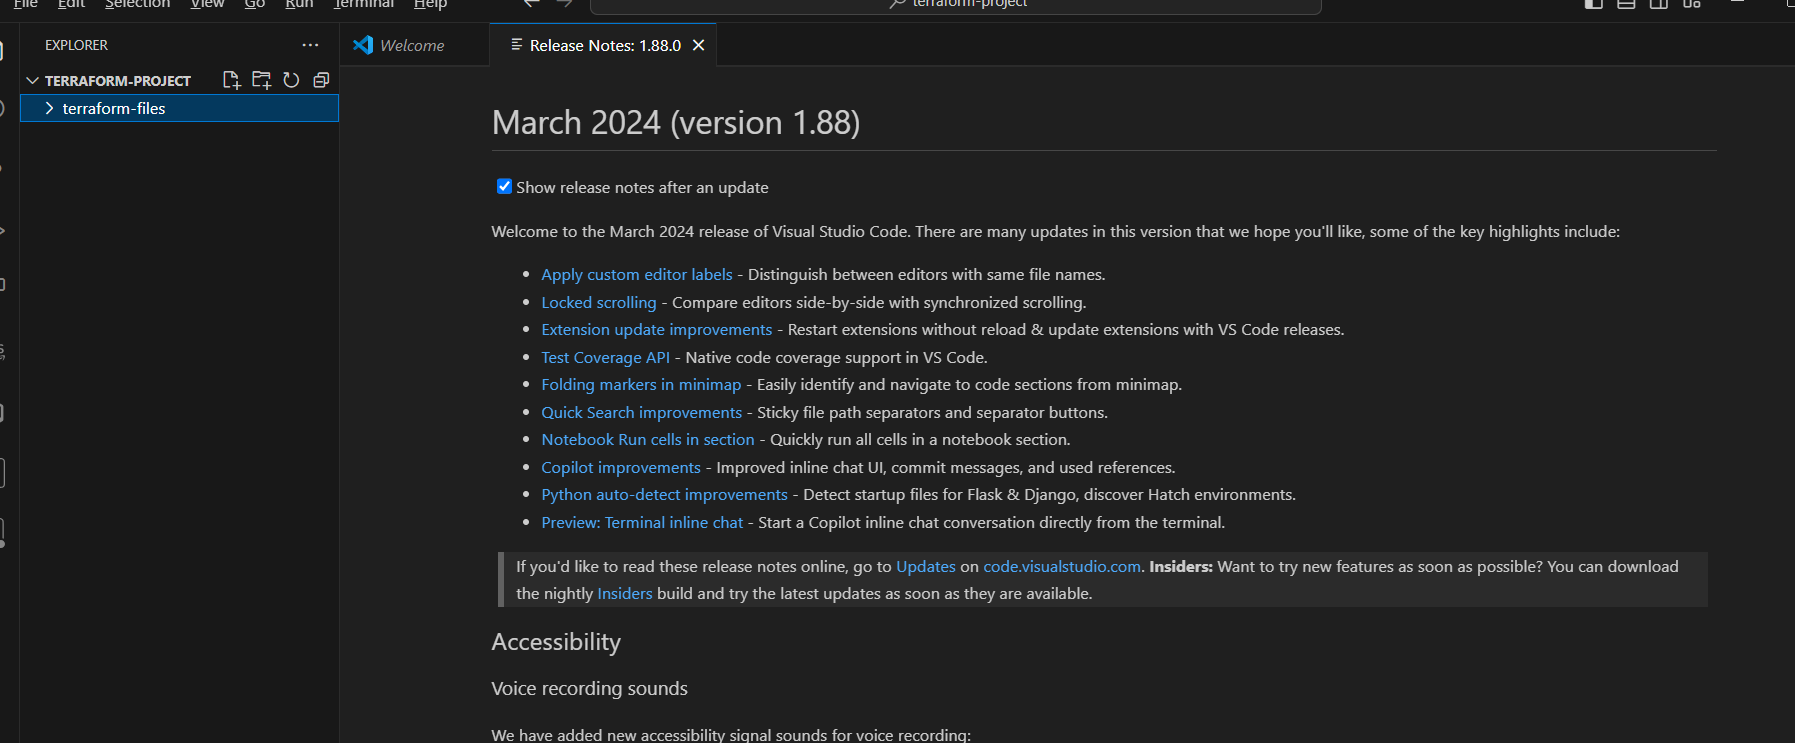
Now Need to open Visual studio code. and install the hashicorp terraform extension in your visual studio code after that create a folder that is terraform-project and go the terraform-project folder after that create a another folder terraform-files.
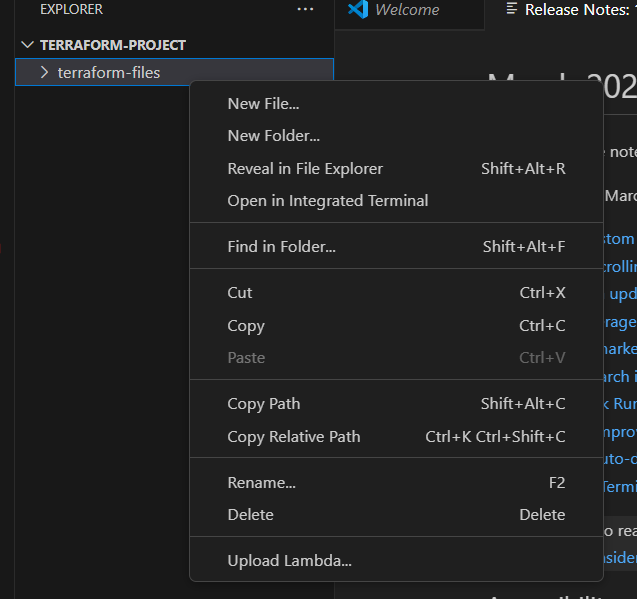
Now go the mouse in terraform-files and right click, open the open in integrated terminal.

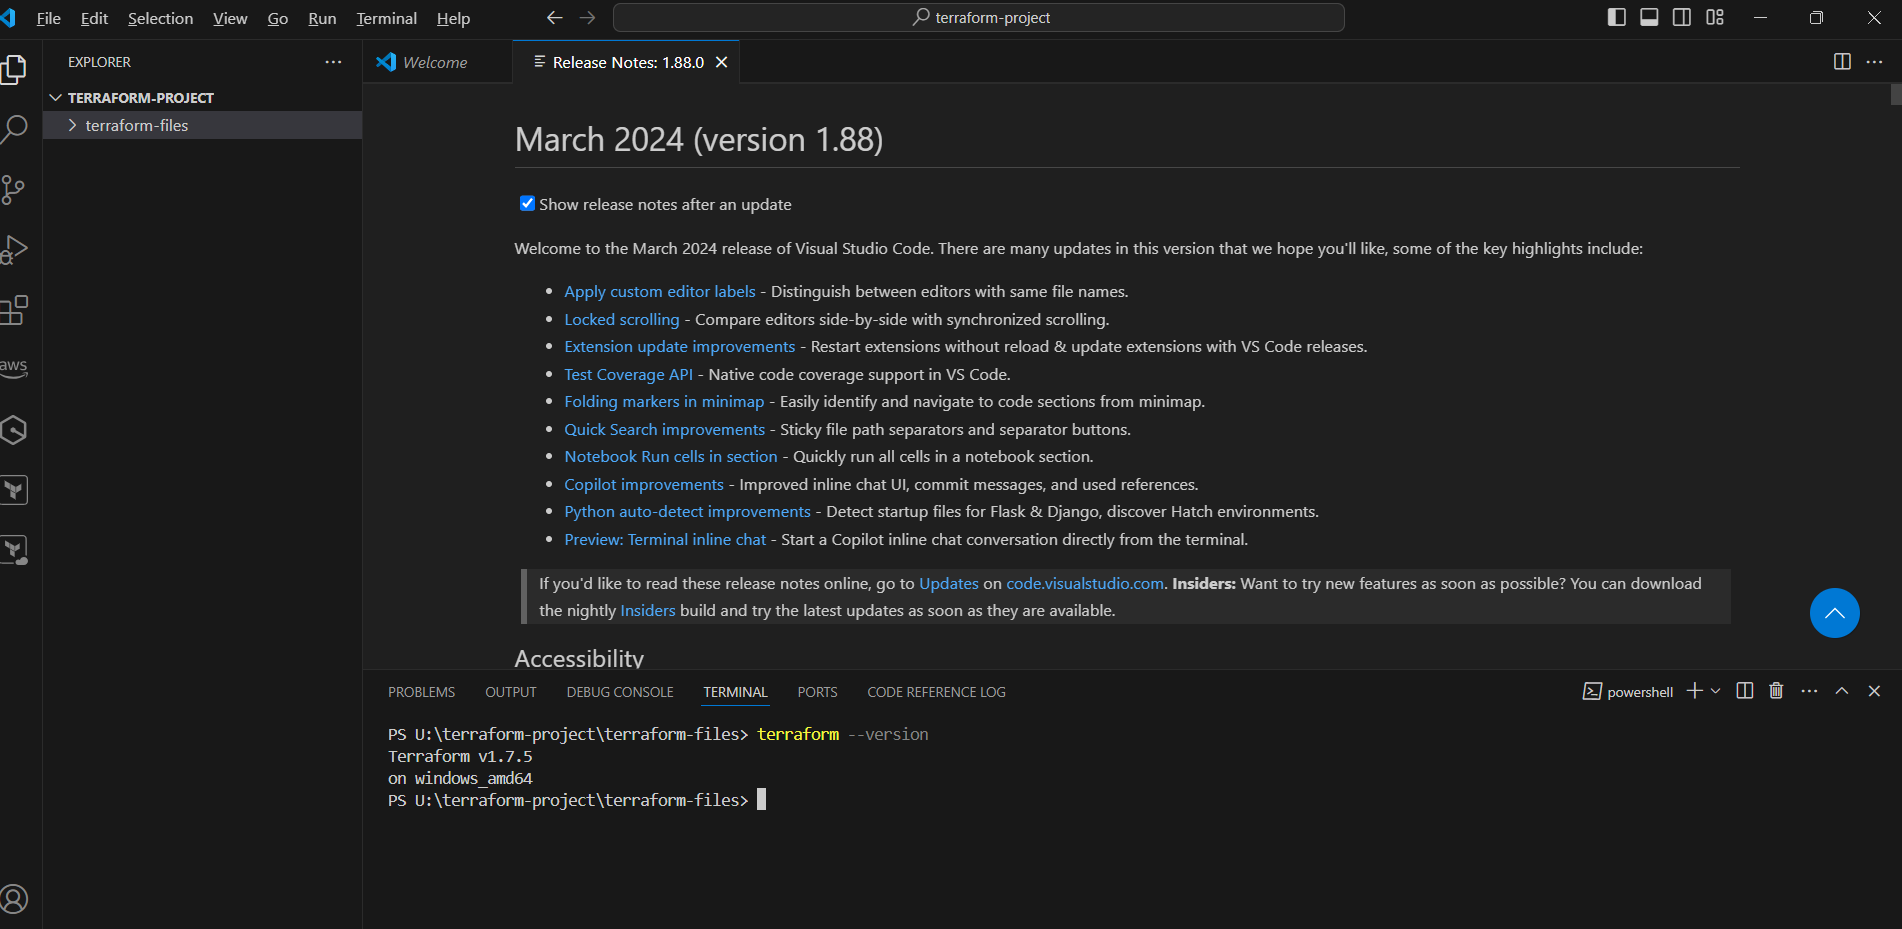
Now check we have terraform or not.
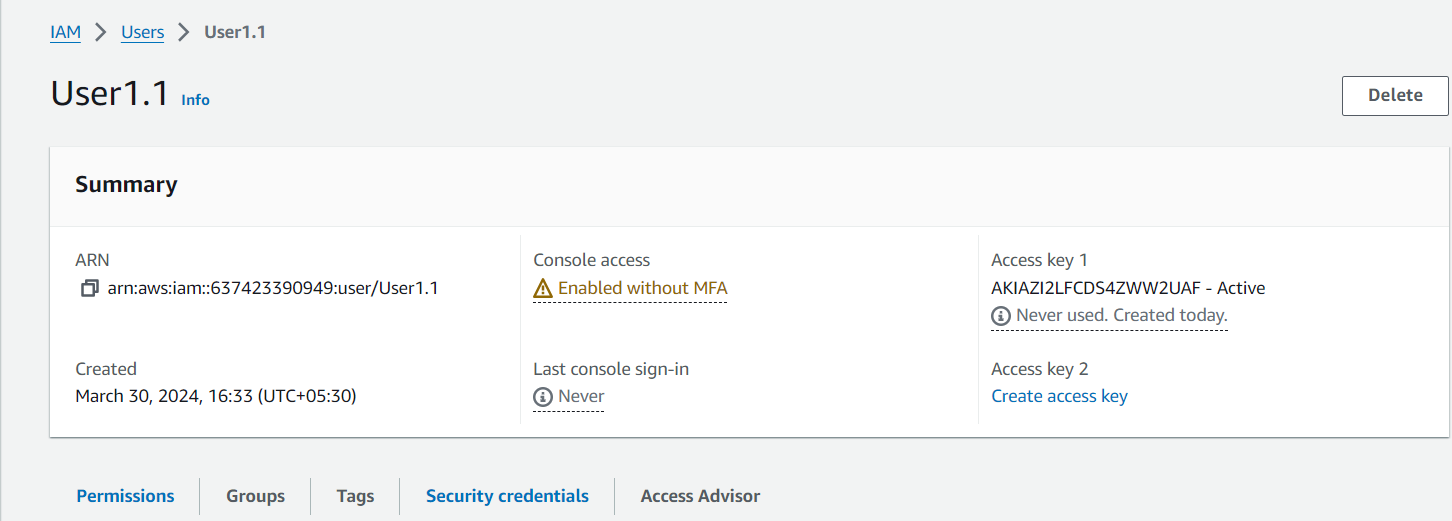
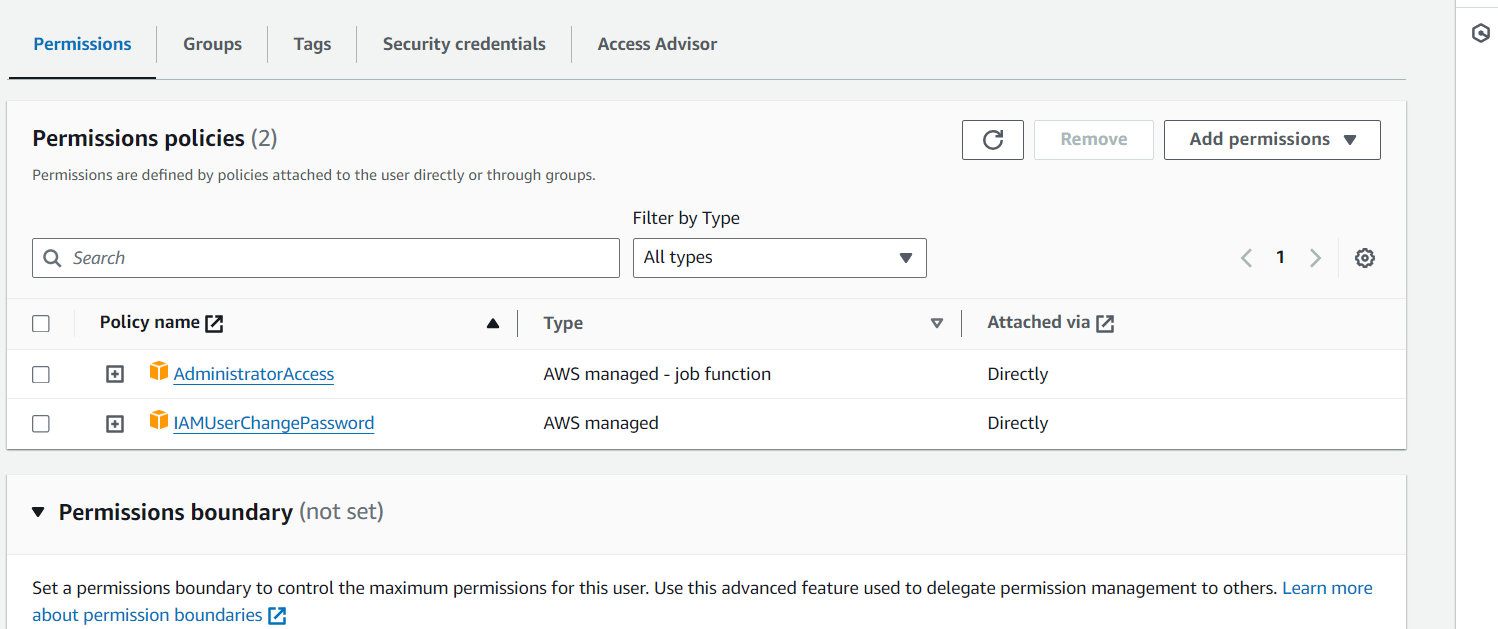
Now need o go the AWS Console and go to the IAM service create a user and provide the Administrator access and create the access key (click here).
Now I hope you have AWS cli in window and Ubuntu in your laptop, If not please install AWS Cli in window and Ubuntu (Click here).
Now go the Visual Studio Code and open the terminal and type aws --version , You can see we have AWS cli.

Now need to type AWS configure and provide to access key with the user how to provide the access key just go the my blog and check (cleck here)
Now need the create a provider.tf file.
provider.tf:
terraform {
  required_providers {
    aws = {
      source = "hashicorp/aws"
      version = "5.44.0"
    }
  }
}

provider "aws" {
  region = "ap-south-1"
}
Now need to create a main.tf file need to create auto scaling.
main.tf:
# Declare VPC
resource "aws_vpc" "default" {
  cidr_block = "10.0.0.0/16"
  # Add other VPC configuration attributes as needed
}

# Create subnet in ap-south-1
resource "aws_subnet" "example_subnet" {
  vpc_id            = aws_vpc.default.id
  cidr_block        = "10.0.1.0/24"  # Specify an appropriate CIDR block for your subnet
  availability_zone = "ap-south-1a"  # Choose an availability zone in ap-south-1
}

# Declare security group allowing inbound traffic on ports 22, 443, and 80
resource "aws_security_group" "my_ports" {
  name        = "MySecurityGroup_Life"
  vpc_id      = aws_vpc.default.id

  ingress {
    from_port   = 22
    to_port     = 22
    protocol    = "tcp"
    cidr_blocks = ["0.0.0.0/0"]
  }

  ingress {
    from_port   = 443
    to_port     = 443
    protocol    = "tcp"
    cidr_blocks = ["0.0.0.0/0"]
  }

  ingress {
    from_port   = 80
    to_port     = 80
    protocol    = "tcp"
    cidr_blocks = ["0.0.0.0/0"]
  }

  egress {
    from_port   = 0
    to_port     = 0
    protocol    = "-1"
    cidr_blocks = ["0.0.0.0/0"]
  }
}

# Declare key pair
resource "aws_key_pair" "my_key_name" {
  key_name   = "terraform-key"
  public_key = "ssh-rsa AAAAB3NzaC1yc2EAAAADAQABAAABgQDAmHobiwvLoiSSrFg3Fgg2jUqg5sqDjVL8pXbVPym08EzRTvhg0nF8dN0F6IYkNbJKvz/0KsvDI32ek9tTt+pWyabiiflmROAMU3h9q+cINFiU9bxFgH6P+mdboCAcvpipM8P+N6G9W7EUl5R1WfzWgw9xvDTn7rW32QWxzAUGq9FBGVvWVqE37uWXAWzsjBaIF07zyYqkkm53RrFmL/DPSklvScw6Yk8A8IdhMmLXoIplIKoMStuA3KQmQSl7hqT/oVwhbjh7IHuU/tuOpgKbTm7++pqg/W6uMxOnJmk4AAOsHXbEWnBeMYD7bdurGL7iJ4Jd8K11iHttk7eyc63G0m0kS8IA3emYhr3ljOTT62Jyw28Jpc+ZpkSgTewY+x2oTMwH+etNMmT9LUY51fCWrDneuWoYydcGLk0/tBmqFykaf+8aDVJwwMtIsVU/VBkz5XN6uSM/oVQpVY+CibcVNBBCgpqPlBgtKBUfCs2CmPiLOsqQIhelhTrpVgiX5Hk= udayyysharma@udayyysharma-HP-Laptop-15s-fq5xxx"
}

# Declare launch configuration
resource "aws_launch_configuration" "web_server_lc" {
  name            = "my_launch"
  image_id        = "ami-007020fd9c84e18c7"
  instance_type   = "t2.micro"
  security_groups = [aws_security_group.my_ports.id]
  key_name        = aws_key_pair.my_key_name.key_name

  user_data = <<-EOF
              #!/bin/bash
              echo "<html><body><h1>You're doing really Great</h1></body></html>" > index.html
              nohup python -m SimpleHTTPServer 80 &
              EOF
}

# Declare auto scaling group
resource "aws_autoscaling_group" "web_server_asg" {
  name                 = "web-server-asg"
  launch_configuration = aws_launch_configuration.web_server_lc.name
  min_size             = 1
  max_size             = 3
  desired_capacity     = 2
  health_check_type    = "EC2"
  vpc_zone_identifier  = [aws_subnet.example_subnet.id]  # Use the subnet created above
}
Now need to run the commands terraform init, terraform plan and terraform apply.

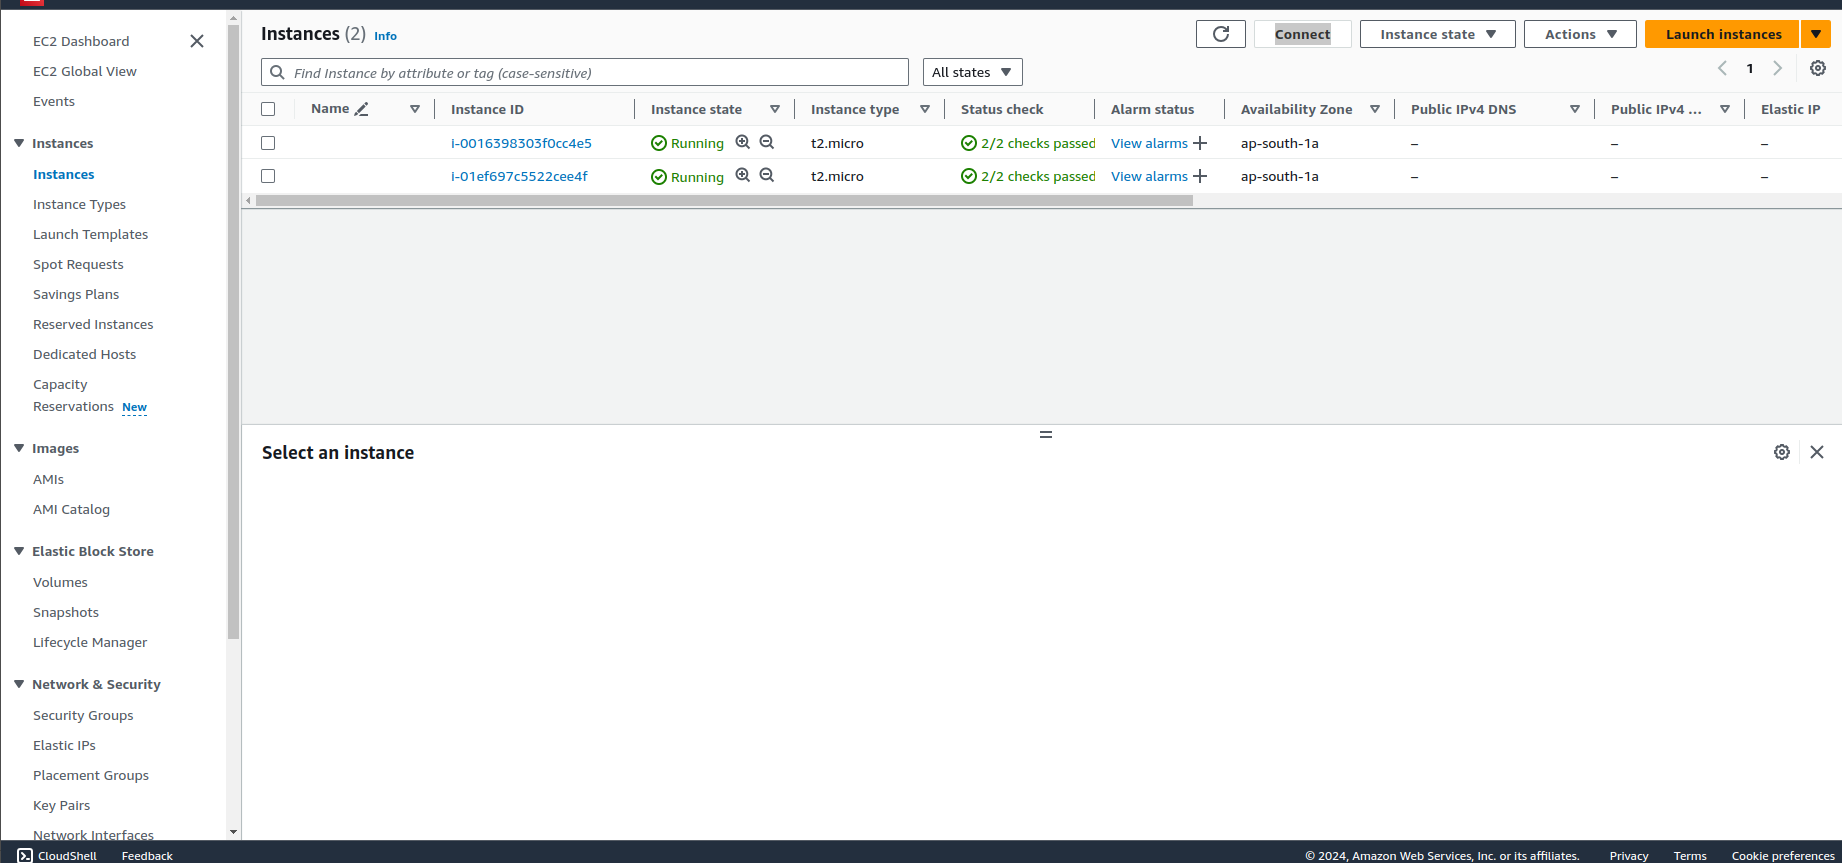
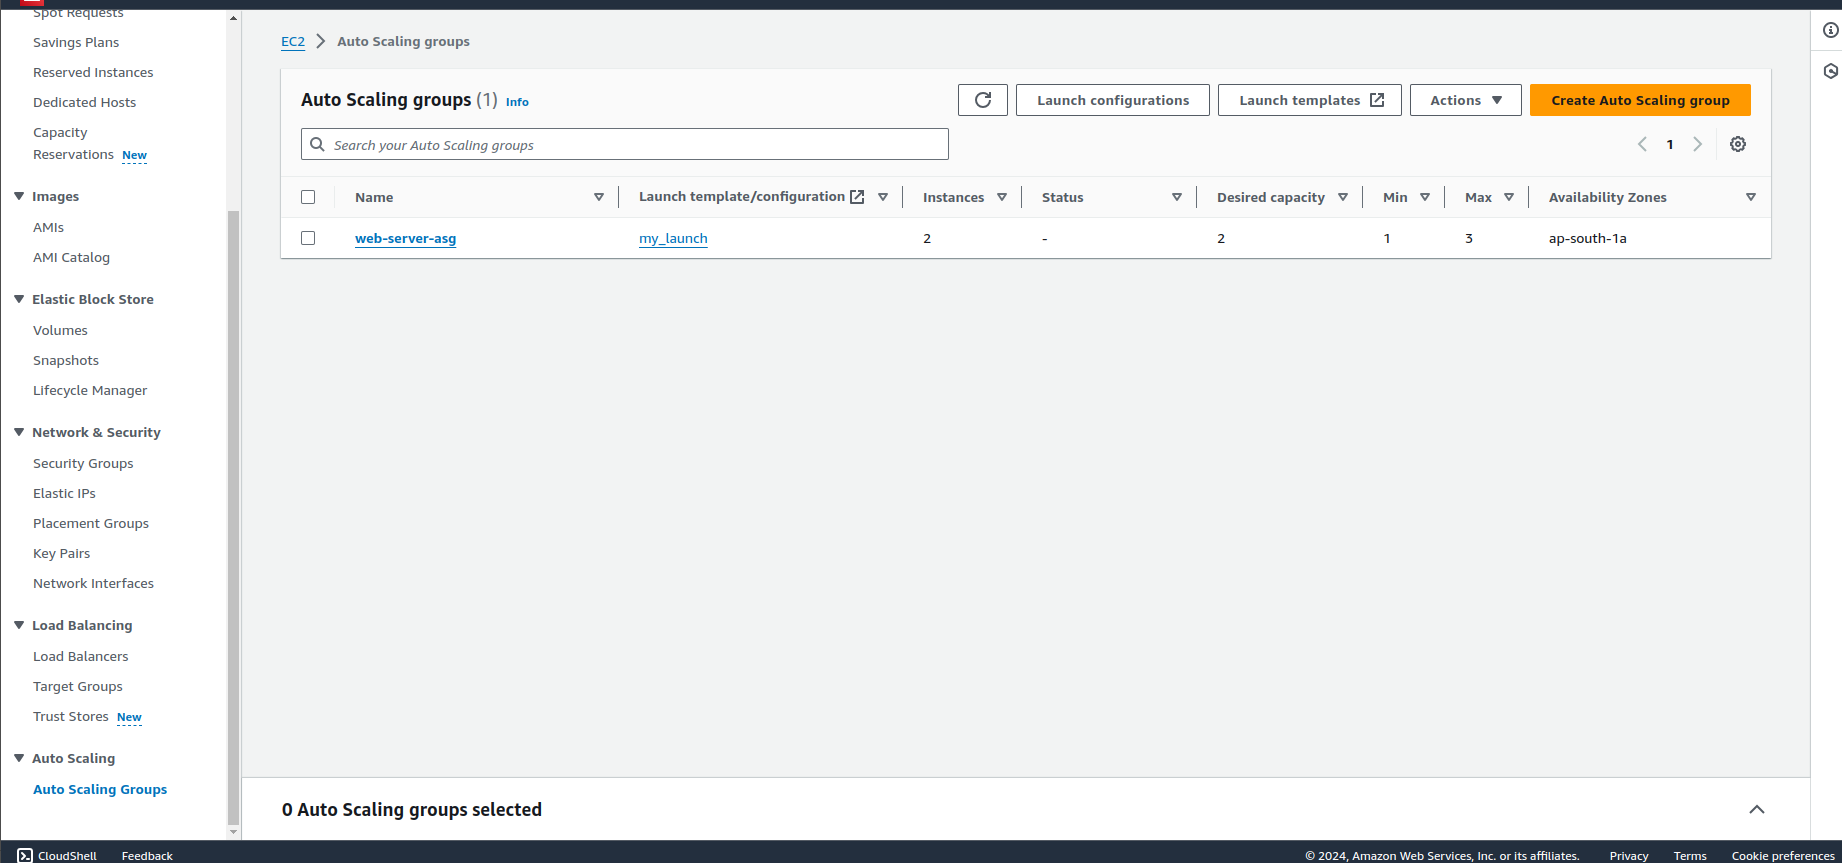
Now go the the AWS Console and go the Auto Scaling section and check we have web-server-asg auto scaling.
Now go the ec2 machine and check we have 2 ec2 machine.