

When you define a resource block in Terraform, by default, this specifies one resource that will be created. To manage several of the same resources, you can use either count or for_each, which removes the need to write a separate block of code for each one. Using these options reduces overhead and makes your code neater.
count is what is known as a ‘meta-argument’ defined by the Terraform language. Meta-arguments help achieve certain requirements within the resource block.
What is Count:
The count meta-argument accepts a whole number and creates the number of instances of the resource specified.
When each instance is created, it has its own distinct infrastructure object associated with it, so each can be managed separately. When the configuration is applied, each object can be created, destroyed, or updated as appropriate.
Create the above Infrastructure as code and demonstrate the use of Count:
Prerequisites:
Download to visual studio code (Click here).
understanding by AWS CLI (Click here).
understanding AWS IAM user (Click here).
How to Install terraform in window (Click here).
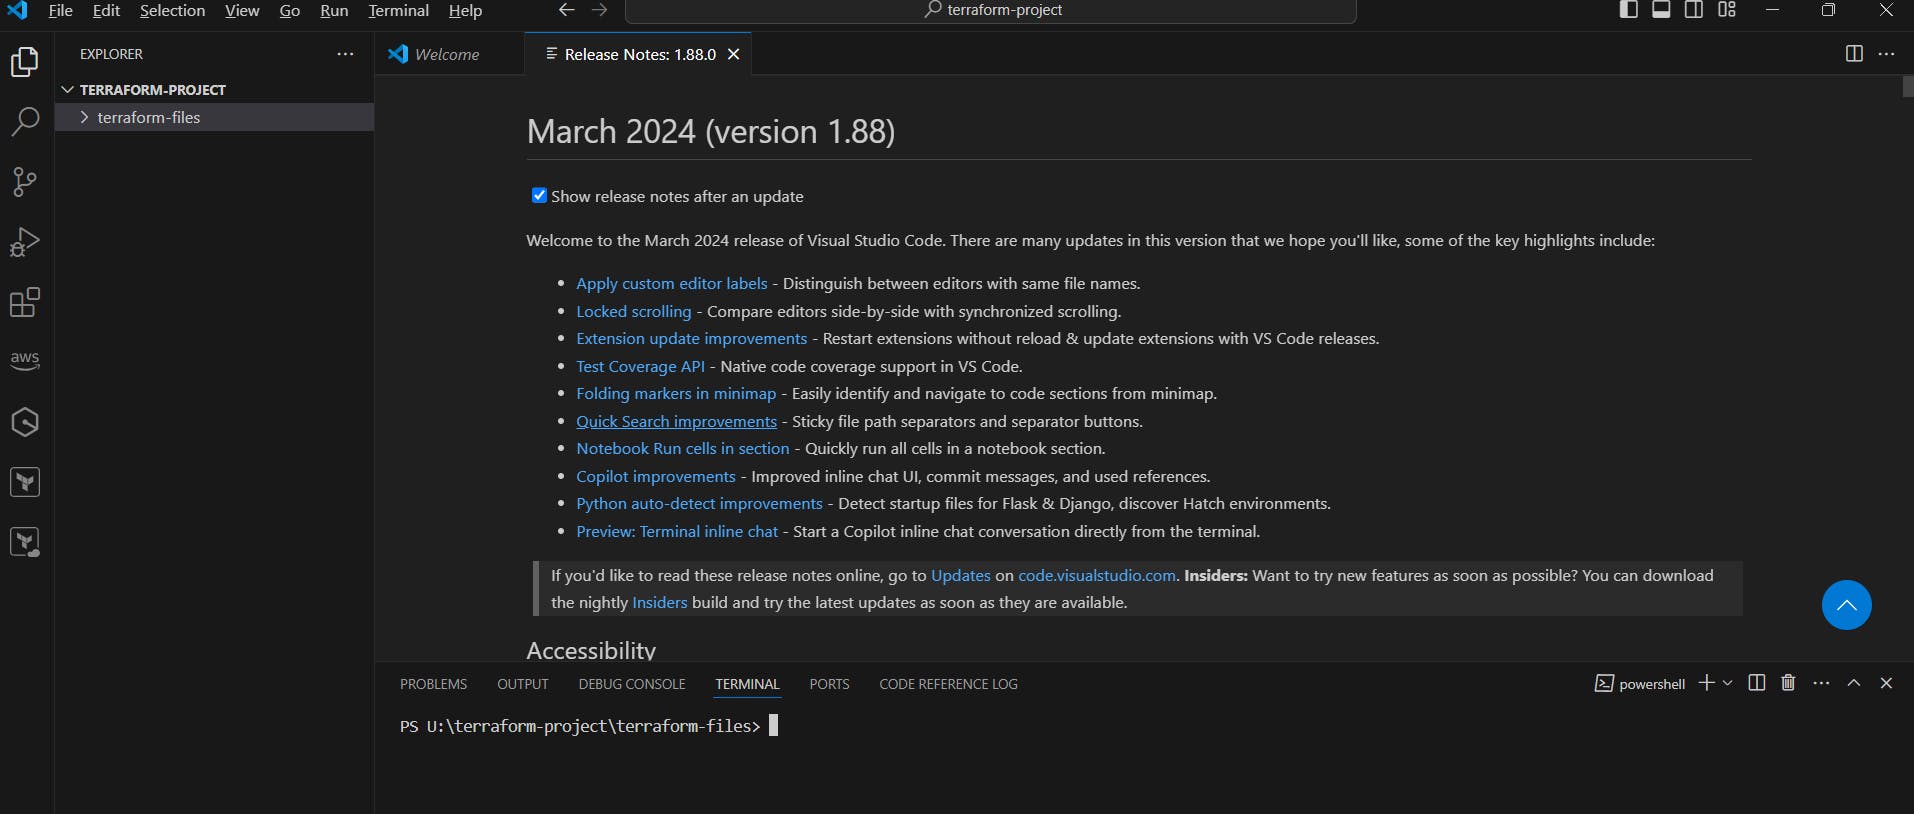
Now Need to open Visual studio code. and install the hashicorp terraform extension in your visual studio code after that create a folder that is terraform-project and go the terraform-project folder after that create a another folder terraform-files.
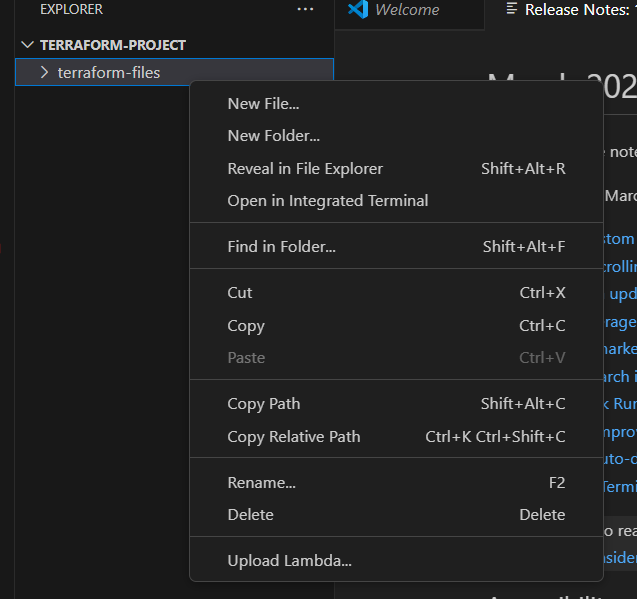
Now go the mouse in terraform-files and right click, open the open in integrated terminal.

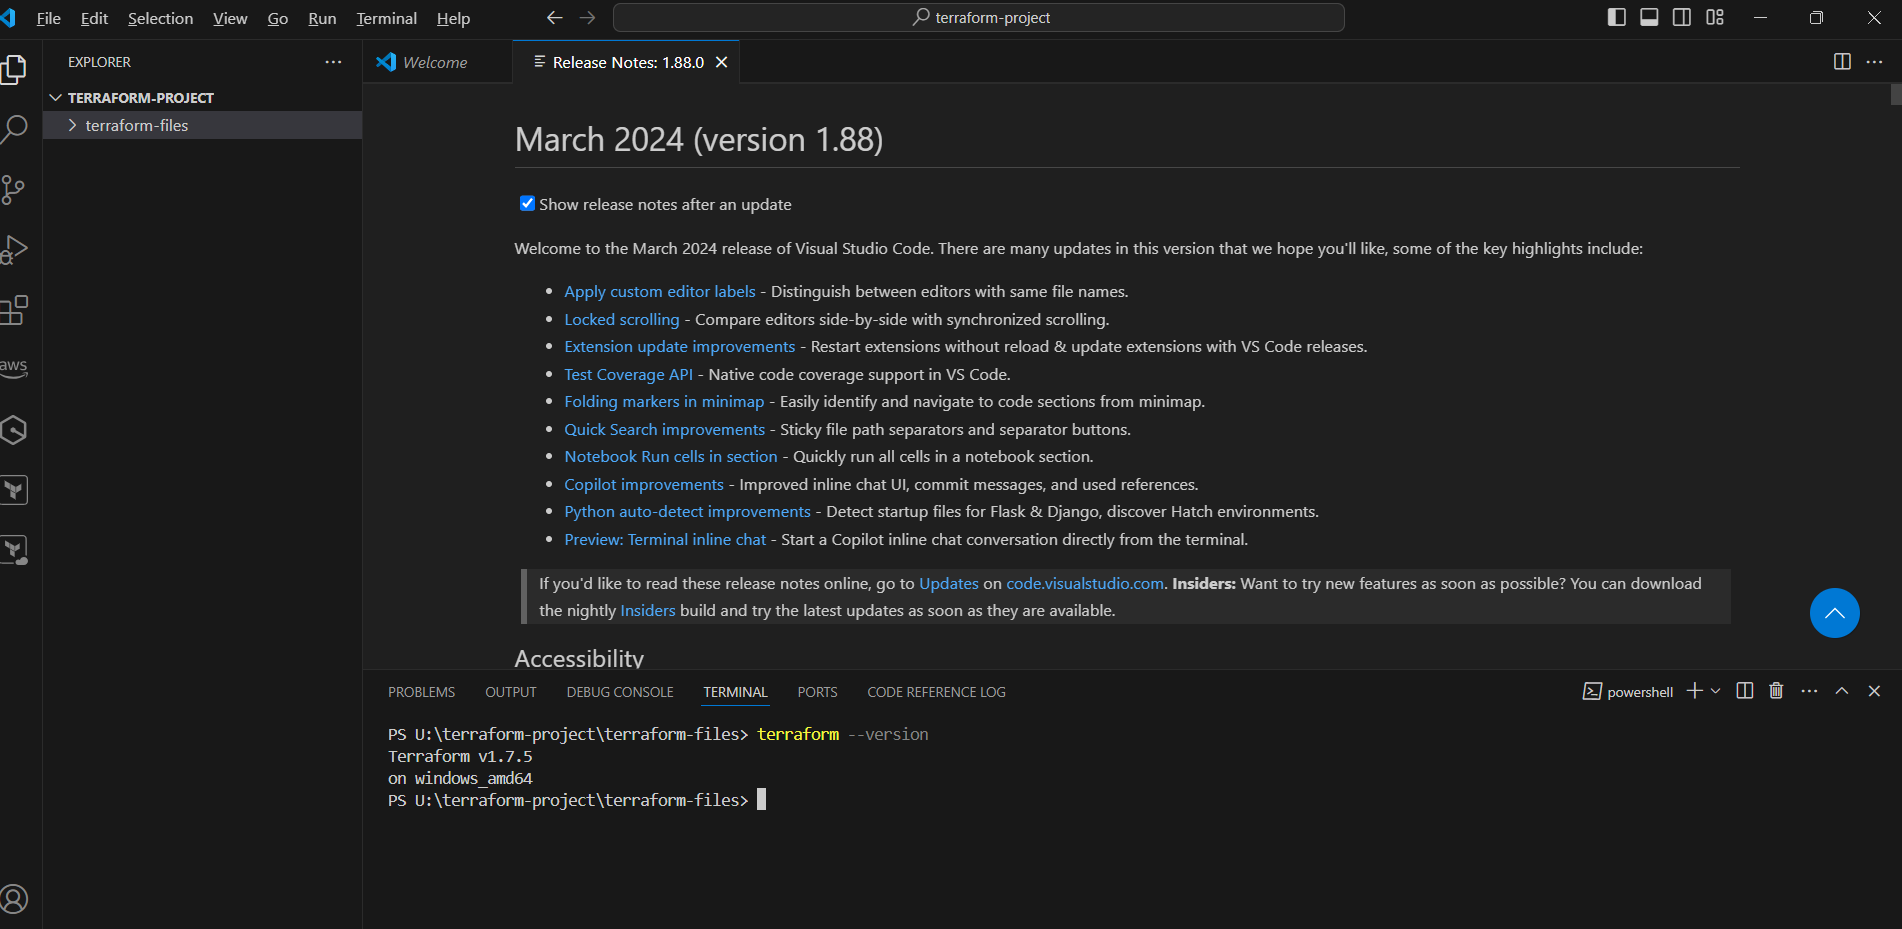
Now check we have terraform or not.

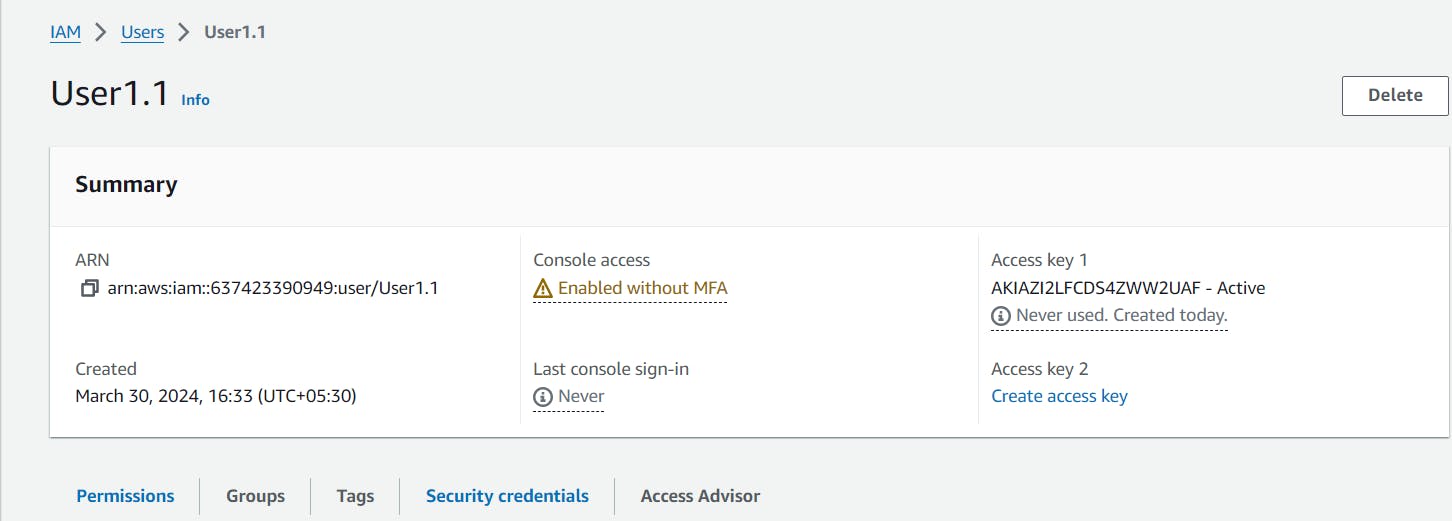
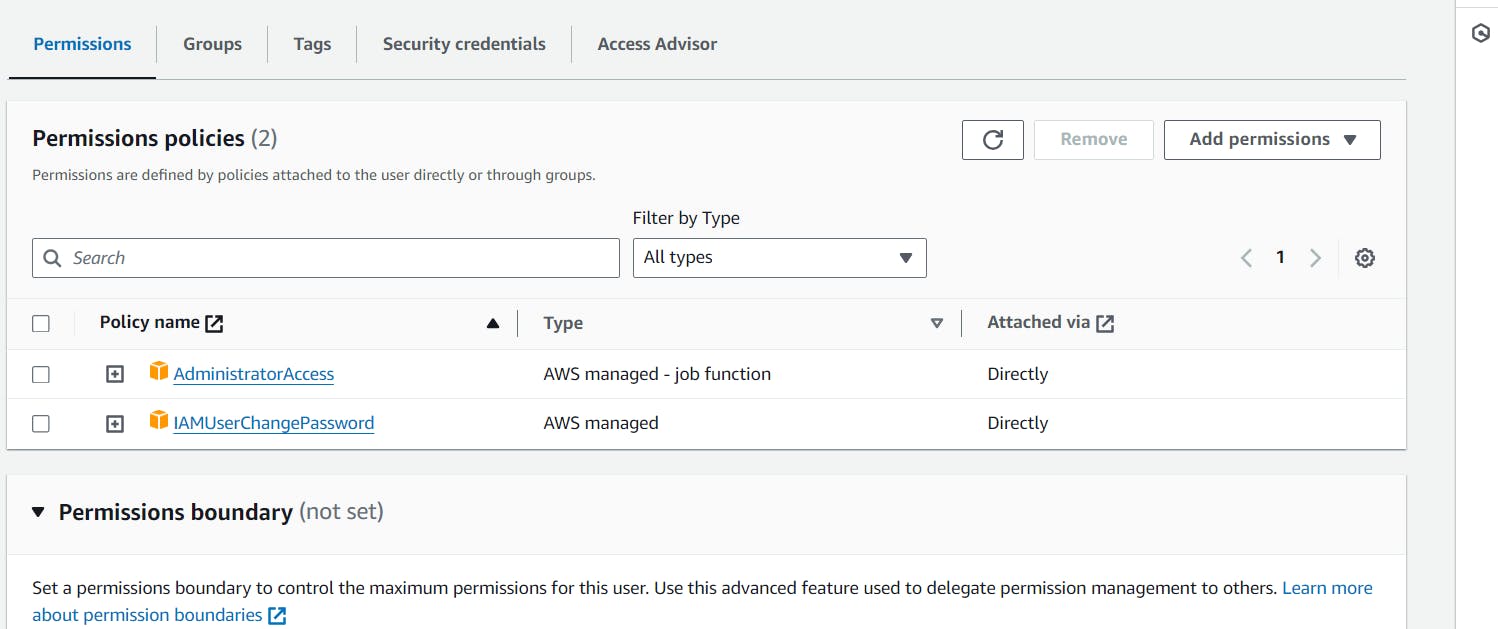
Now need o go the AWS Console and go to the IAM service create a user and provide the Administrator access and create the access key (click here).
Now I hope you have AWS cli in window and Ubuntu in your laptop, If not please install AWS Cli in window and Ubuntu (Click here).
Now go the Visual Studio Code and open the terminal and type aws --version , You can see we have AWS cli.

Now need to type aws configure and provide to access key with the user how to provide the access key just go the my blog and check (cleck here)
Now need the create a provider.tf file.
  terraform {
    required_providers {
      aws = {
        source = "hashicorp/aws"
        version = "5.44.0"
      }
    }
  }

  provider "aws" {
    region = "ap-south-1"
  }
Now need to create a main.tf file need to create ec2 machine.
  resource "aws_instance" "my_instances" {
    count = 4
    ami           = "ami-007020fd9c84e18c7"
    instance_type = "t2.micro"

    tags = {
      Name = "Server ${count.index}"
    }
  }
Now need to run the command terraform init, terraform plan and terraform apply.

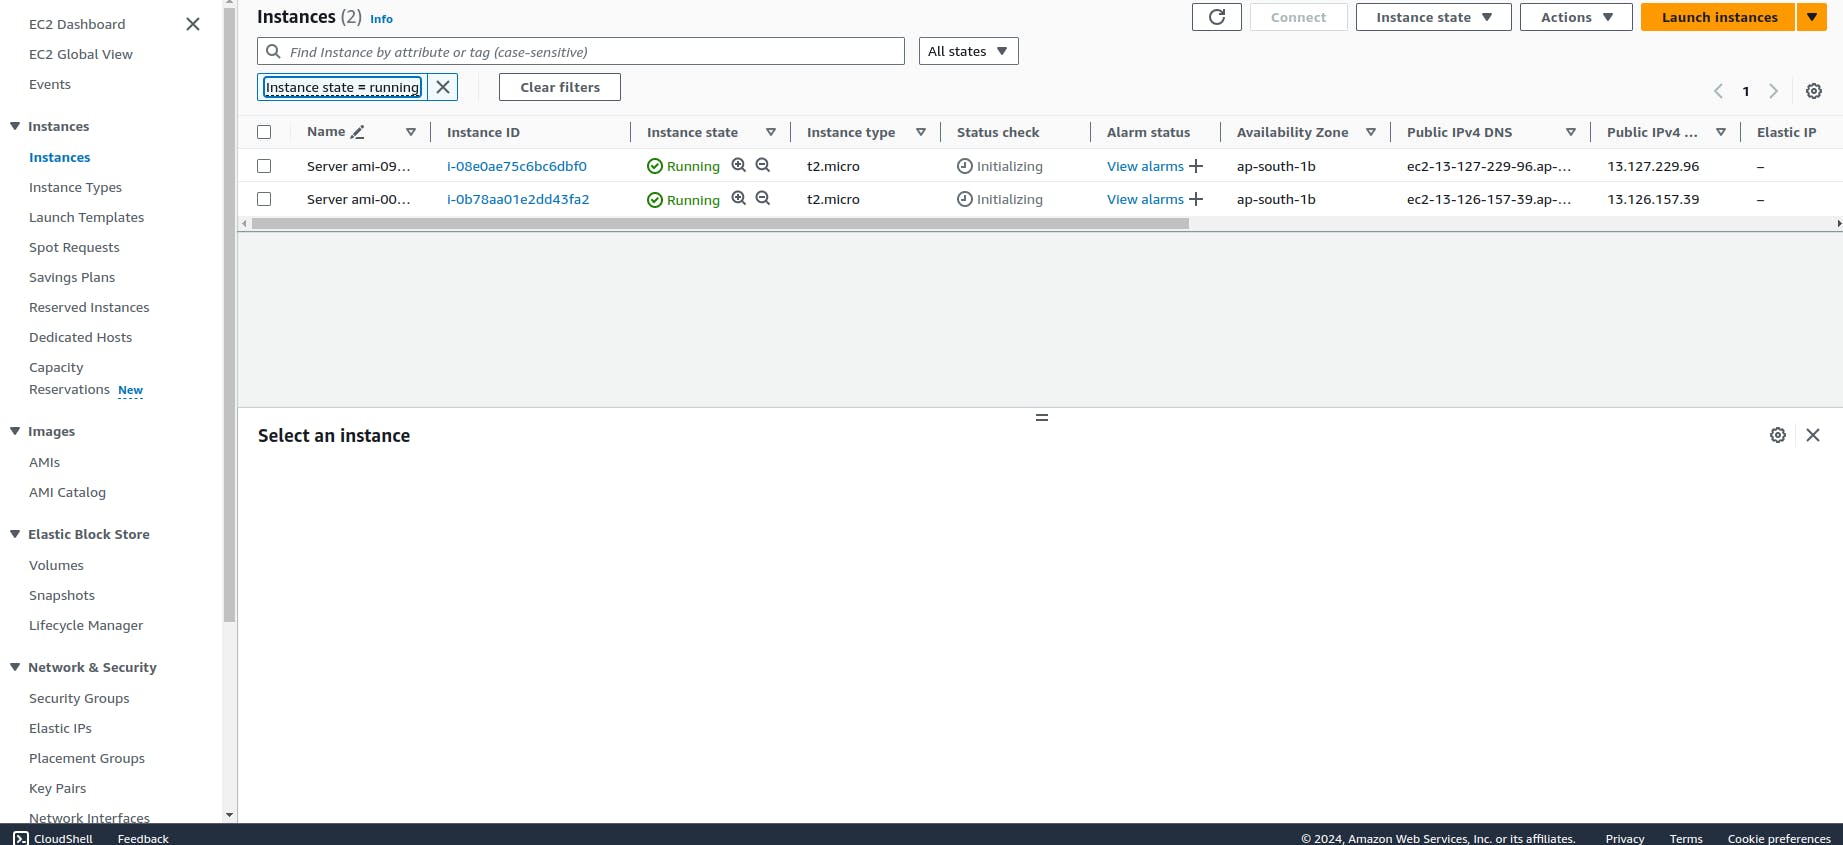
Now go the AWS EC2 Machine and check!
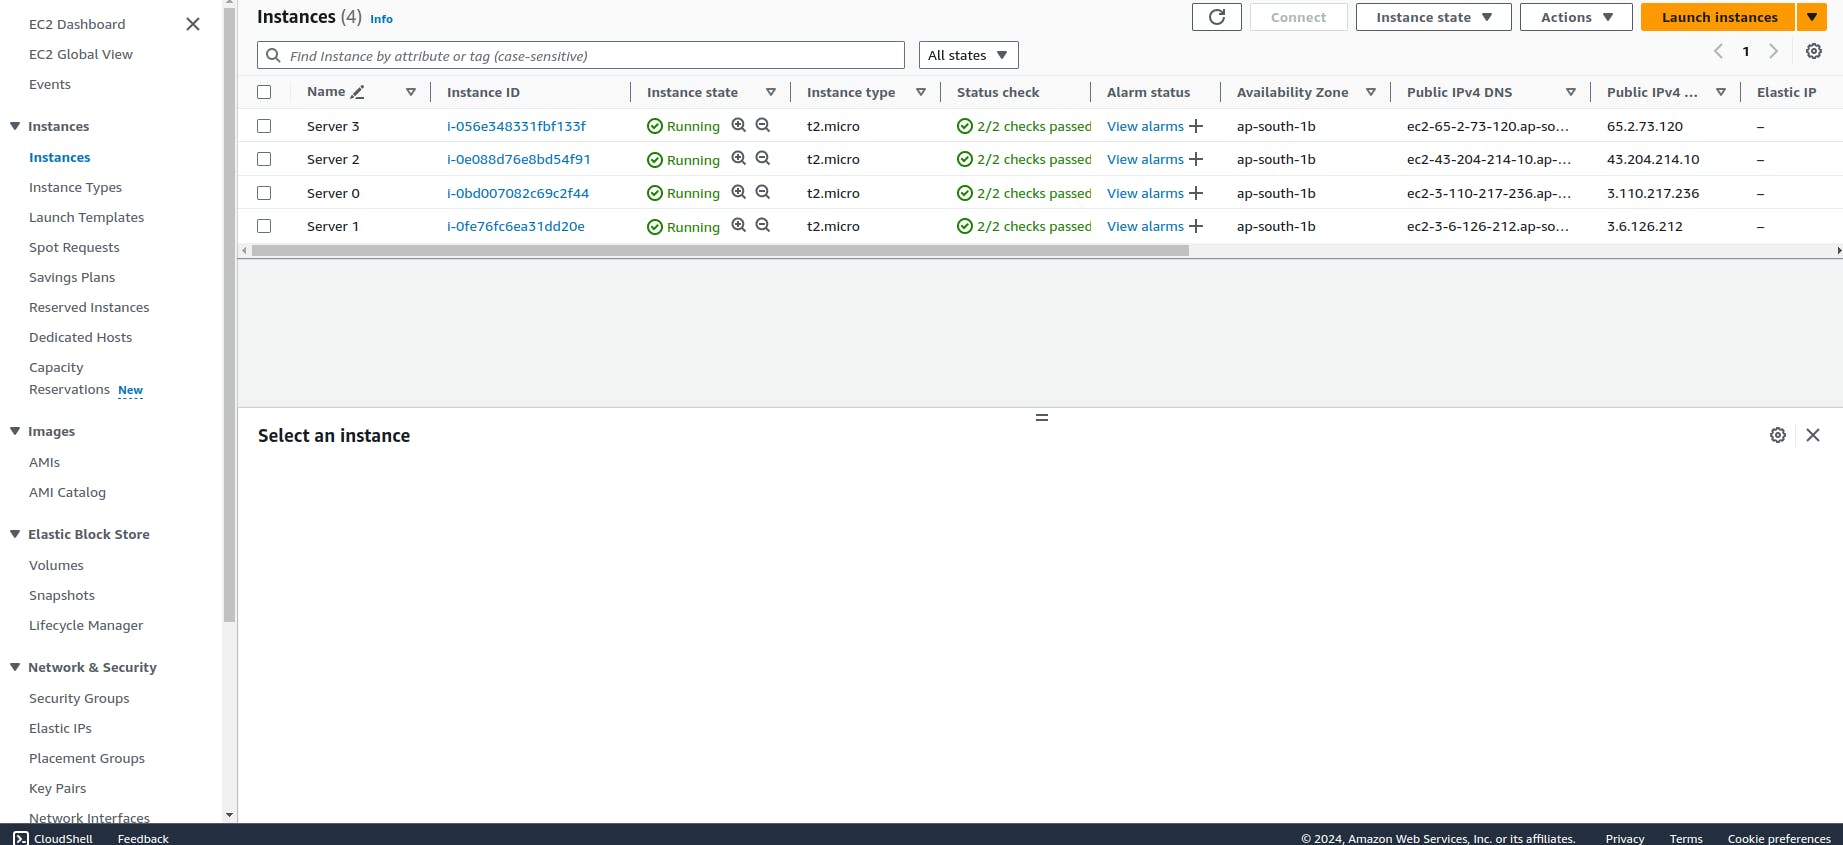
Now you can see we have 4 server it is means we have 4 EC2 machines, these machines name is Servers.
What is For_Each:
Like the count argument, the for_each meta-argument creates multiple instances of a module or resource block. However, instead of specifying the number of resources, the for_each meta-argument accepts a map or a set of strings. This is useful when multiple resources are required that have different values. Consider our Active directory groups example, with each group requiring a different owner.
Create the above Infrastructure as code and demonstrate the use of for_each:
Prerequisites:
Download to visual studio code (Click here).
understanding by AWS CLI (Click here).
understanding AWS IAM user (Click here).
How to Install terraform in window (Click here).
Now Need to open Visual studio code. and install the hashicorp terraform extension in your visual studio code after that create a folder that is terraform-project and go the terraform-project folder after that create a another folder terraform-files.

Now go the mouse in terraform-files and right click, open the open in integrated terminal.

Now check we have terraform or not.
Now need o go the AWS Console and go to the IAM service create a user and provide the Administrator access and create the access key (click here).
Now I hope you have AWS cli in window and Ubuntu in your laptop, If not please install AWS Cli in window and Ubuntu (Click here).
Now go the Visual Studio Code and open the terminal and type aws --version , You can see we have AWS cli.

Now need to type aws configure and provide to access key with the user how to provide the access key just go the my blog and check (cleck here)
Now need the create a provider.tf file.
  terraform {
    required_providers {
      aws = {
        source = "hashicorp/aws"
        version = "5.44.0"
      }
    }
  }

  provider "aws" {
    region = "ap-south-1"
  }
Now need to create a main.tf file need to create ec2 machine.
```json locals {
ami_ids = toset([
"ami-09298640a92b2d12c",
"ami-007020fd9c84e18c7",
])
}
resource "aws_instance" "server" {
for_each = local.ami_ids
ami = each.key
instance_type = "t2.micro"
tags = {
Name = "Server ${each.key}"
}
} ```
Now need to run the command terraform init, terraform plan and terraform apply.

Now go the AWS EC2 Machine and check!
Now you can see we have 2 servers it is means, we have 2 EC2 machines, These machines name is Servers.