

What is CI/CD:
Continuous Integration (CI) and Continuous Delivery/Continuous Deployment (CD) are integral concepts in modern software development practices, and Jenkins is a popular tool for implementing these processes.
Continuous Integration (CI):
CI involves regularly integrating code changes from multiple contributors into a shared repository. The primary goal is to detect and address integration issues early in the development process.
In Jenkins, CI is often achieved through automated builds triggered by events such as code commits to version control systems (e.g., Git). Jenkins can be configured to automatically pull the latest code, build the application, and run tests.
The CI pipeline ensures that the codebase is always in a consistent and functional state, reducing the likelihood of integration problems that can arise when different developers work on different parts of the code.
Continuous Delivery (CD):
Continuous Delivery extends the principles of CI by automating the process of delivering the application to staging or pre-production environments. The goal is to have a reliable and automated deployment process, making it easier to release changes to users at any time.
Jenkins facilitates Continuous Delivery by defining deployment pipelines that include steps like packaging the application, deploying it to a staging environment, and running additional tests. This process ensures that the application is ready for production deployment but leaves the decision to deploy in the hands of the development or operations team.
Continuous Deployment (CD):
Continuous Deployment takes automation a step further by automatically deploying code changes to production environments once they pass all tests in the CD pipeline.
Jenkins can be configured to implement Continuous Deployment by automating the deployment process to production, reducing manual intervention. However, organizations adopting Continuous Deployment often have strict controls, including thorough testing and monitoring, to ensure the quality and reliability of production releases.
What Is a Build Job?
A "build job" typically refers to a specific task or process in the context of software development and continuous integration/continuous deployment (CI/CD) pipelines. In software development, a "build" is the process of compiling source code, linking libraries, and creating executable files or artifacts that can be run on a computer.
A build job is a set of instructions and commands that automate the process of building a software project. This job is often part of a larger CI/CD pipeline, where various tasks are automated to ensure the efficient and reliable delivery of software. The purpose of a build job is to produce a deployable artifact, such as an executable, library, or package, from the source code.
Build jobs are crucial for maintaining code quality, ensuring consistency across environments, and catching errors early in the development process. They are commonly used in conjunction with version control systems, where developers contribute code changes, and the CI/CD pipeline triggers build jobs to validate and integrate those changes into the project.
Different build systems and tools exist, such as Jenkins, Travis CI, GitLab CI/CD, and others, each providing a framework for defining and executing build jobs. These tools help automate tasks like compilation, testing, and packaging, streamlining the development and deployment processes.
What is Webhook?
A webhook is a mechanism for one system to send real-time data to another system as soon as an event occurs. It is commonly used in web development and integration scenarios to enable communication between different applications or services. Instead of requiring constant polling for updates, a webhook allows systems to push information to each other in a more efficient and event-driven manner.
Here's how a webhook typically works:
Event Occurs:
A specific event, such as a user's action on a website or a change in data, triggers the need for information to be sent to another system.
Webhook Setup:
The system generating the event (source) provides a URL endpoint to the system that needs to receive the information (destination). This URL is the webhook endpoint.
Registration:
The destination system registers or subscribes to the webhook by providing its endpoint URL to the source system.
Event Payload:
When the specified event occurs, the source system immediately sends a payload of data to the registered endpoint (webhook) of the destination system.
Processing:
The destination system processes the received data and takes appropriate actions based on the information provided in the payload.
Webhooks are commonly used in various scenarios, including:
Integration between Services: Webhooks enable seamless communication between different web services and APIs.
Real-time Updates: They are used for receiving real-time updates, such as notifications, changes in data, or user interactions.
Automation: Webhooks are integral to many automation processes, ensuring that systems can react promptly to events.
Popular web services, like GitHub, Stripe, and Slack, offer webhook functionalities. For example, in GitHub, you can set up webhooks to receive notifications about repository events, such as code pushes or pull requests. This allows for automated workflows and integrations with other services.
Jenkins Pipeline:
Jenkins Pipeline is a suite of plugins that supports implementing and integrating continuous delivery pipelines into Jenkins, an open-source automation server. A Jenkins Pipeline allows you to define an entire build, test, and deployment process as code, which can be version-controlled and shared among team members.
Key features of Jenkins Pipeline include:
Declarative Syntax: Jenkins Pipeline supports both declarative and scripted syntax. The declarative syntax provides a more structured and simpler way to define pipelines, making it easier for users to understand and maintain.
Code as Configuration: Pipelines are defined as code, usually in a Jenkinsfile, which can be stored alongside your application code in a version control system. This enables you to manage and version your build and deployment configurations in a consistent manner.
Pipeline Stages: Pipelines are organized into stages, which represent a phase in the delivery process. Each stage can contain multiple steps, and the overall pipeline structure allows for parallel and sequential execution of these stages.
Integration with SCM: Jenkins Pipelines can be triggered automatically based on changes to source code repositories. This ensures that builds and deployments are initiated in response to code changes, providing a streamlined and automated workflow.
Extensibility: Jenkins Pipeline is highly extensible and supports a wide range of plugins. This allows users to integrate with various tools and services, such as version control systems, build tools, testing frameworks, and deployment platforms.
Visualization: Jenkins provides a visual representation of pipeline executions, allowing users to monitor the progress and status of each stage. This visual feedback is valuable for troubleshooting and understanding the flow of the pipeline.
Reusability: Pipelines can be reused across different projects and environments. This promotes consistency in the CI/CD process and makes it easier to manage and maintain pipelines for multiple projects.
Jenkins Pipeline is a powerful tool for implementing continuous integration and continuous delivery (CI/CD) practices, enabling teams to automate and streamline their software delivery processes.
Jenkins Declarative Pipeline with Docker (Django Based Project):
How to install Jenkins , Docker in AWS EC2 Ubuntu Machine:
Login to AWS Console:
Go to the AWS Management Console (https://aws.amazon.com/).
Sign in with your AWS account.
Navigate to EC2:
In the AWS Management Console, navigate to the EC2 service.
Launch an Instance:
Click on the "Instances" in the left navigation pane.
Click the "Launch Instances" button.
Choose an Amazon Machine Image (AMI):
In the "Step 1: Choose an Amazon Machine Image (AMI)" section, select an Ubuntu AMI. You can search for "Ubuntu" in the search bar and choose an appropriate version (e.g., Ubuntu Server 20.04 LTS).
Choose an Instance Type:
In the "Step 2: Choose an Instance Type" section, select "t2.xlarge" as the instance type.
Click "Next: Configure Instance Details."
Configure Instance Details:
In the "Step 3: Configure Instance Details" section:
Set the "Number of instances" to 1.
Optionally, you can configure additional settings, such as network, subnet, IAM role, etc.
Click "Next: Add Storage."
Add Storage:
In the "Step 4: Add Storage" section, you can leave the default storage settings or adjust as needed.
Click "Next: Add Tags."
Add Tags:
In the "Step 5: Add Tags" section, click "Add Tag."
For "Key," enter "Name" and for "Value," enter "Jenkins" (or your preferred name).
Click "Next: Configure Security Group."
Configure Security Group:
In the "Step 6: Configure Security Group" section:
Create a new security group or use an existing one.
Add inbound rules to allow HTTP (port 80), HTTPS (port 443), and SSH (port 22) traffic.
Click "Review and Launch."
Review and Launch:
Review your configuration settings.
Click "Launch."
Select Key Pair:
In the key pair dialog, select "Choose an existing key pair" and choose the "jenkinsandubuntu" key pair.
Acknowledge that you have access to the private key.
Click "Launch Instances."
View Instances:
Once the instance is launched, you can view it in the EC2 dashboard.
Wait for the instance to reach the "running" state.
Setup docker and Jenkins in ububtu:
Go to Ubuntu Machine and update the ubuntu machine:
sudo apt-get update
After that install docker and docker-compose.
sudo apt-get install docker.io docker-compose -y
After that install to the jenkins
sudo apt update
sudo apt install fontconfig openjdk-17-jre
sudo wget -O /usr/share/keyrings/jenkins-keyring.asc \
  https://pkg.jenkins.io/debian-stable/jenkins.io-2023.key
echo deb [signed-by=/usr/share/keyrings/jenkins-keyring.asc] \
  https://pkg.jenkins.io/debian-stable binary/ | sudo tee \
  /etc/apt/sources.list.d/jenkins.list > /dev/null
sudo apt-get update
sudo apt-get install jenkins
After that In docker group add ubuntu and Jenkins and Reboot the Ubuntu.
sudo usermod -aG docker $USER
sudo usermod -aG docker jenkins
sudo reboot
After that Enable the docker and Jenkins.
sudo systemctl enable jenkins
sudo systemctl enable docker
How to Setup Jenkins in Ubuntu Machine Live:
Showing GitHub File:
1. Docker File:
FROM python:3.9

WORKDIR /app/backend

COPY requirements.txt /app/backend
RUN pip install -r requirements.txt

COPY . /app/backend

EXPOSE 8000
2. Jenkins File
pipeline {
    agent any

    stages{
        stage("Clone Code"){
            steps {
                echo "Cloning the code"
                git url:"https://github.com/Udaysharma311/django-notes-app.git", branch: "main"
            }
        }
        stage("Build & Test"){
            steps {
                echo "Building the image"
                sh "docker build -t my-note-app ."
            }
        }
        stage("Push to Docker Hub"){
            steps {
                echo "Pushing the image to docker hub"
                withCredentials([usernamePassword(credentialsId:"DockerHubCreds",passwordVariable:"dockerHubPass",usernameVariable:"dockerHubUser")]){
                sh "docker tag my-note-app ${env.dockerHubUser}/my-note-app:latest"
                sh "docker login -u ${env.dockerHubUser} -p ${env.dockerHubPass}"
                sh "docker push ${env.dockerHubUser}/my-note-app:latest"
                }
            }
        }
        stage("Deploy"){
            steps {
                echo "Deploying the container"
                sh "docker-compose up -d"

            }
        }
    }
}
3. message.py File
#!/usr/bin/env python
"""Django's command-line utility for administrative tasks."""
import os
import sys


def main():
    """Run administrative tasks."""
    os.environ.setdefault('DJANGO_SETTINGS_MODULE', 'notesapp.settings')
    try:
        from django.core.management import execute_from_command_line
    except ImportError as exc:
        raise ImportError(
            "Couldn't import Django. Are you sure it's installed and "
            "available on your PYTHONPATH environment variable? Did you "
            "forget to activate a virtual environment?"
        ) from exc
    execute_from_command_line(sys.argv)


if __name__ == '__main__':
    main()
4.Docker-Compose File
version : "3.3"
services :
  web :
     image : trainwithshubham/my-note-app:latest
     ports :
         - "8000:8000"
Git Hub File Link:
Jenkins Setup Run Django Based Project:
First Step login start your Machine go to cmd Prompt
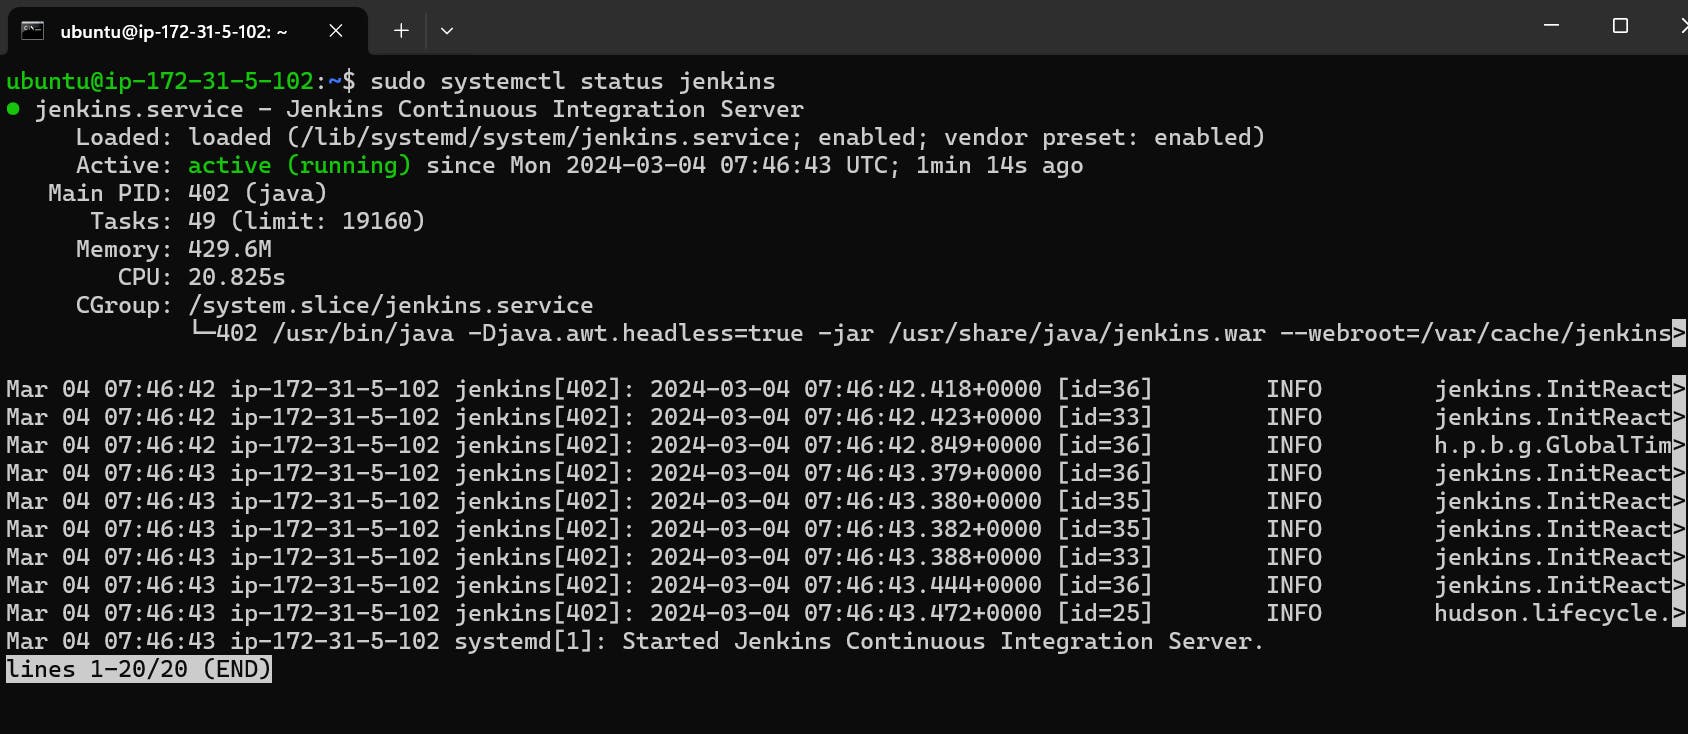
Check the Status your Jenkins Status is running or not
Copy your public IP in EC2 and add port 8080 , Paste to the browser.

Enter the user name and login the Jenkins
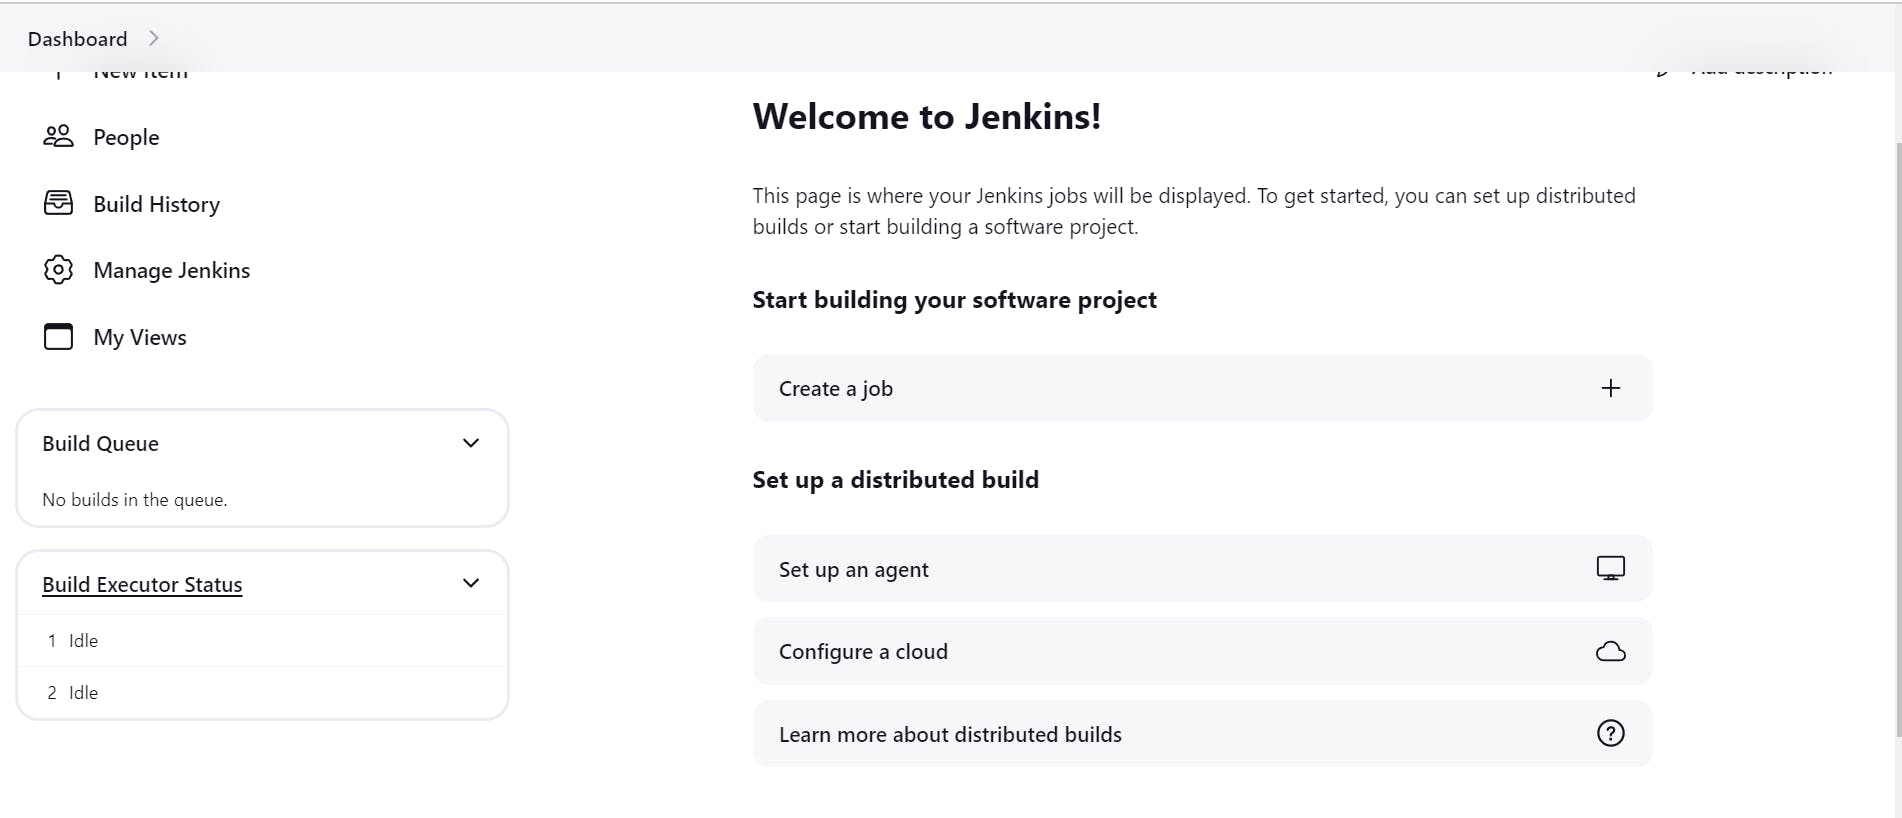
After that click the create a job and fill the requirements!
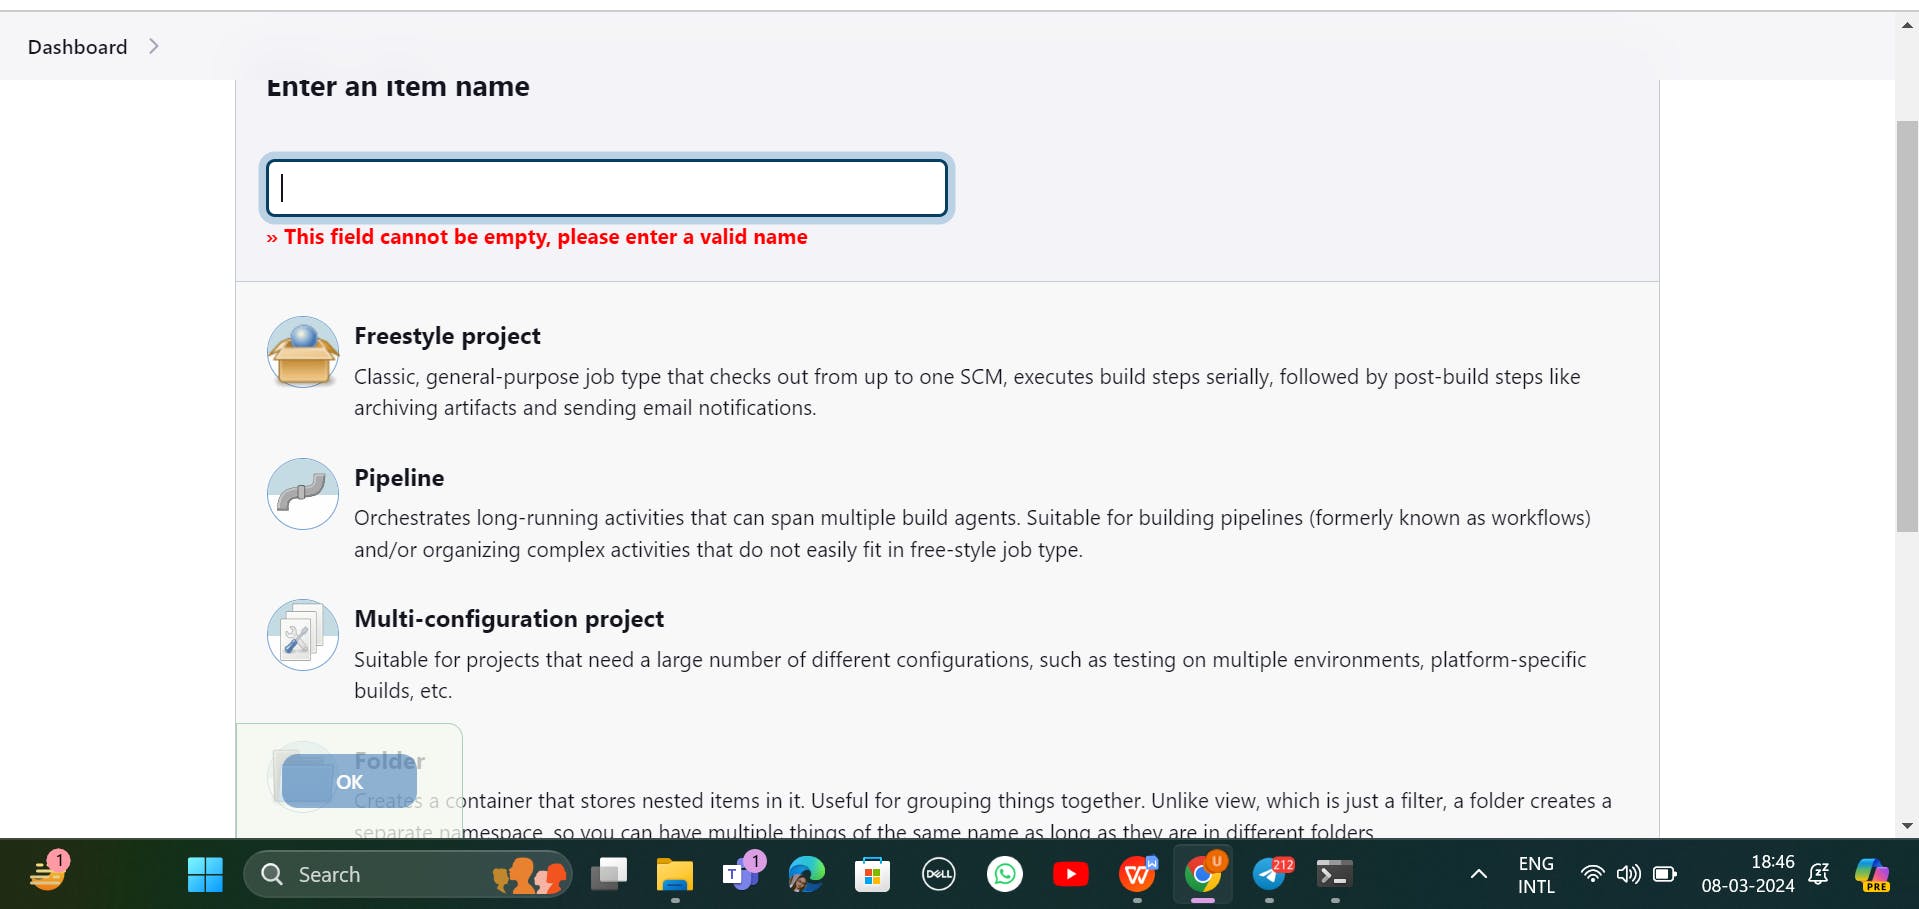
After that Type to Enter an item name that is django-app and select to pipeline and click to ok button.

When you click ok button, It is showing like that

After that enter to Description that is (This is Django based project). After that select the Github Project, Enter the Github link

After that go to build triggers , Select the Github hook trigger for GitSCM polling
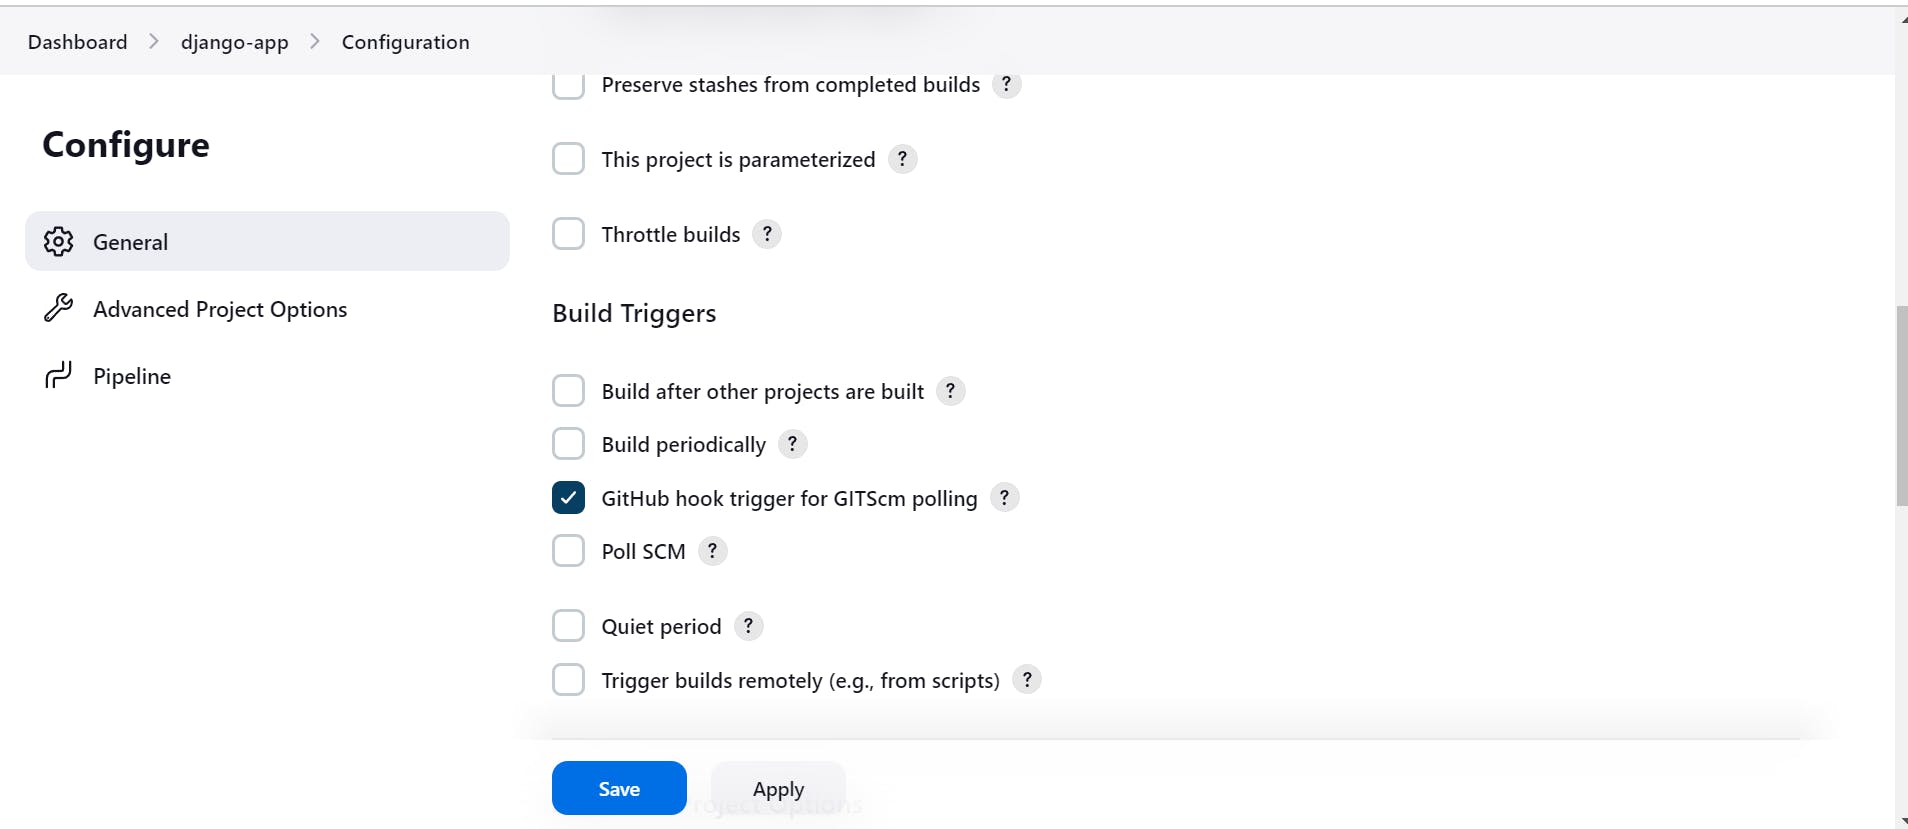
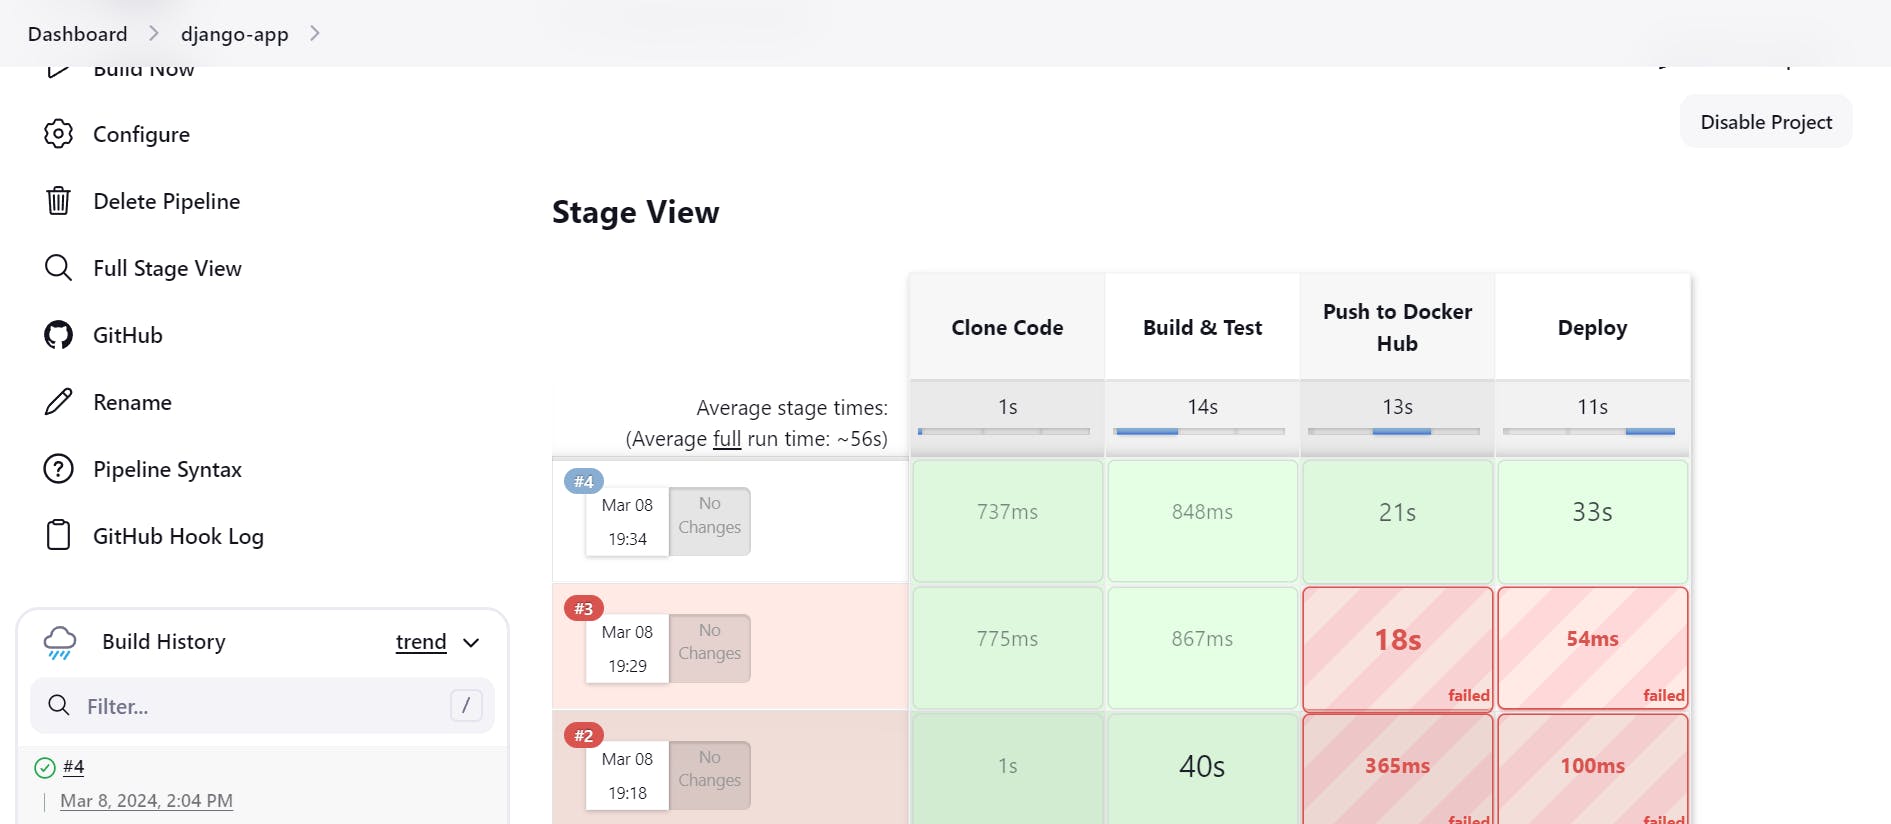
After that save to this and click to build now.

When I click to Build now, It is showing to green right

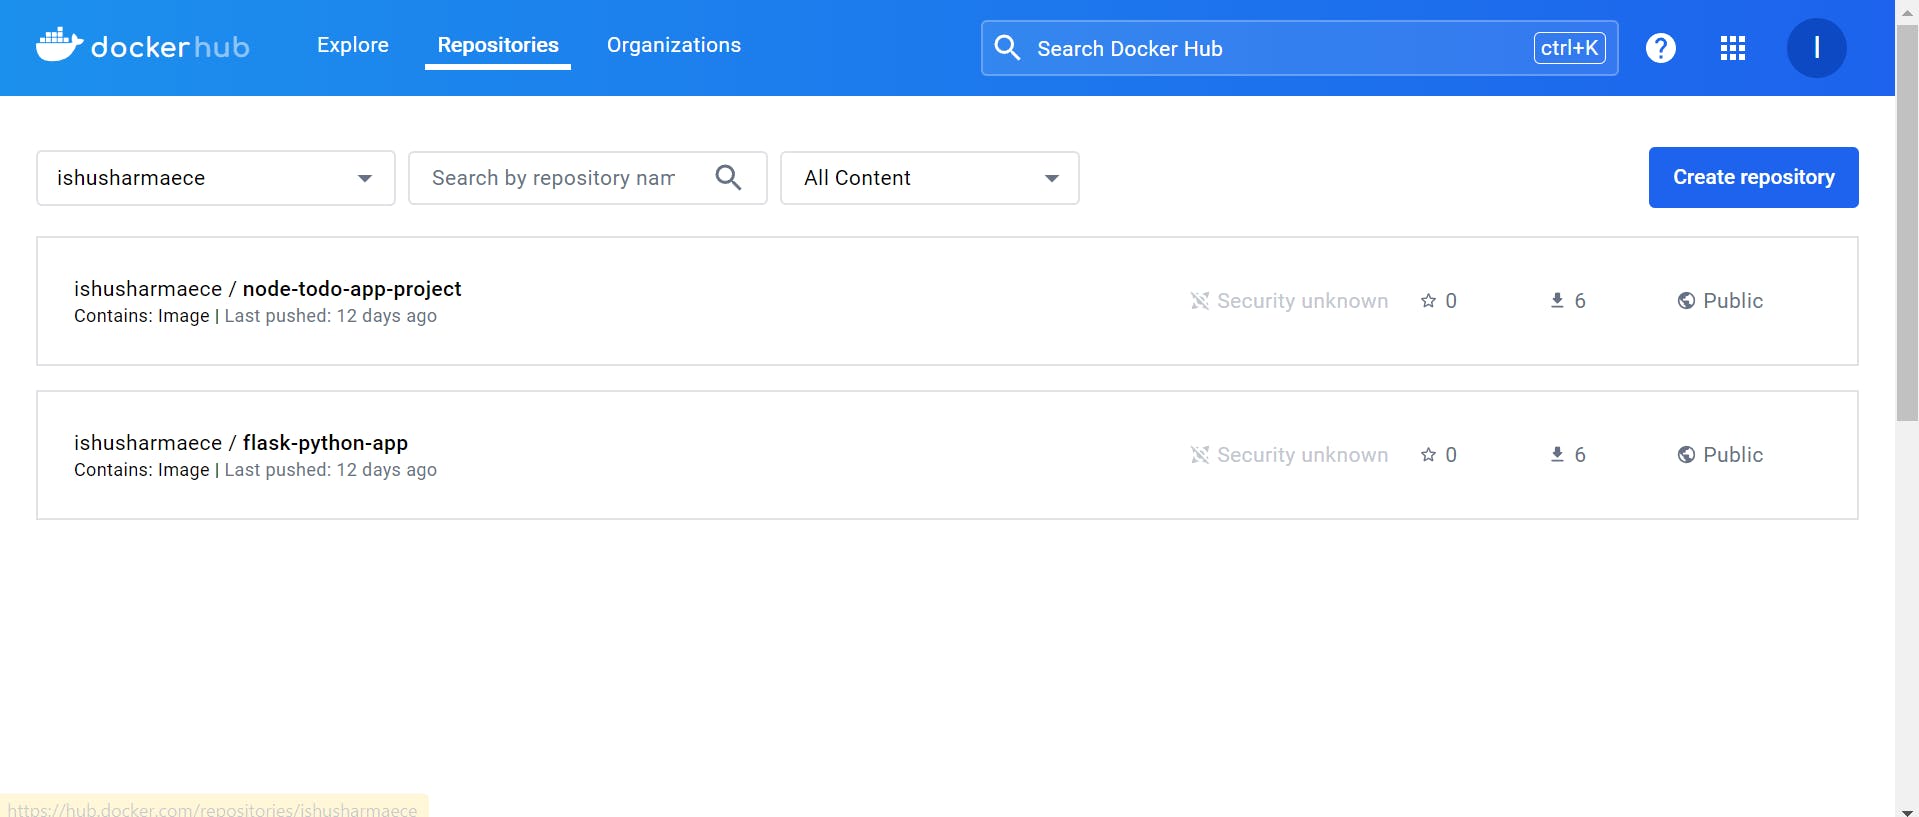
After that go to Docker Hub, create the Account and Login to Docker hub.
After that go the dasbord and click the Manage jenkins.

when you click the Manage jenkins go to credentials and create the Credentials
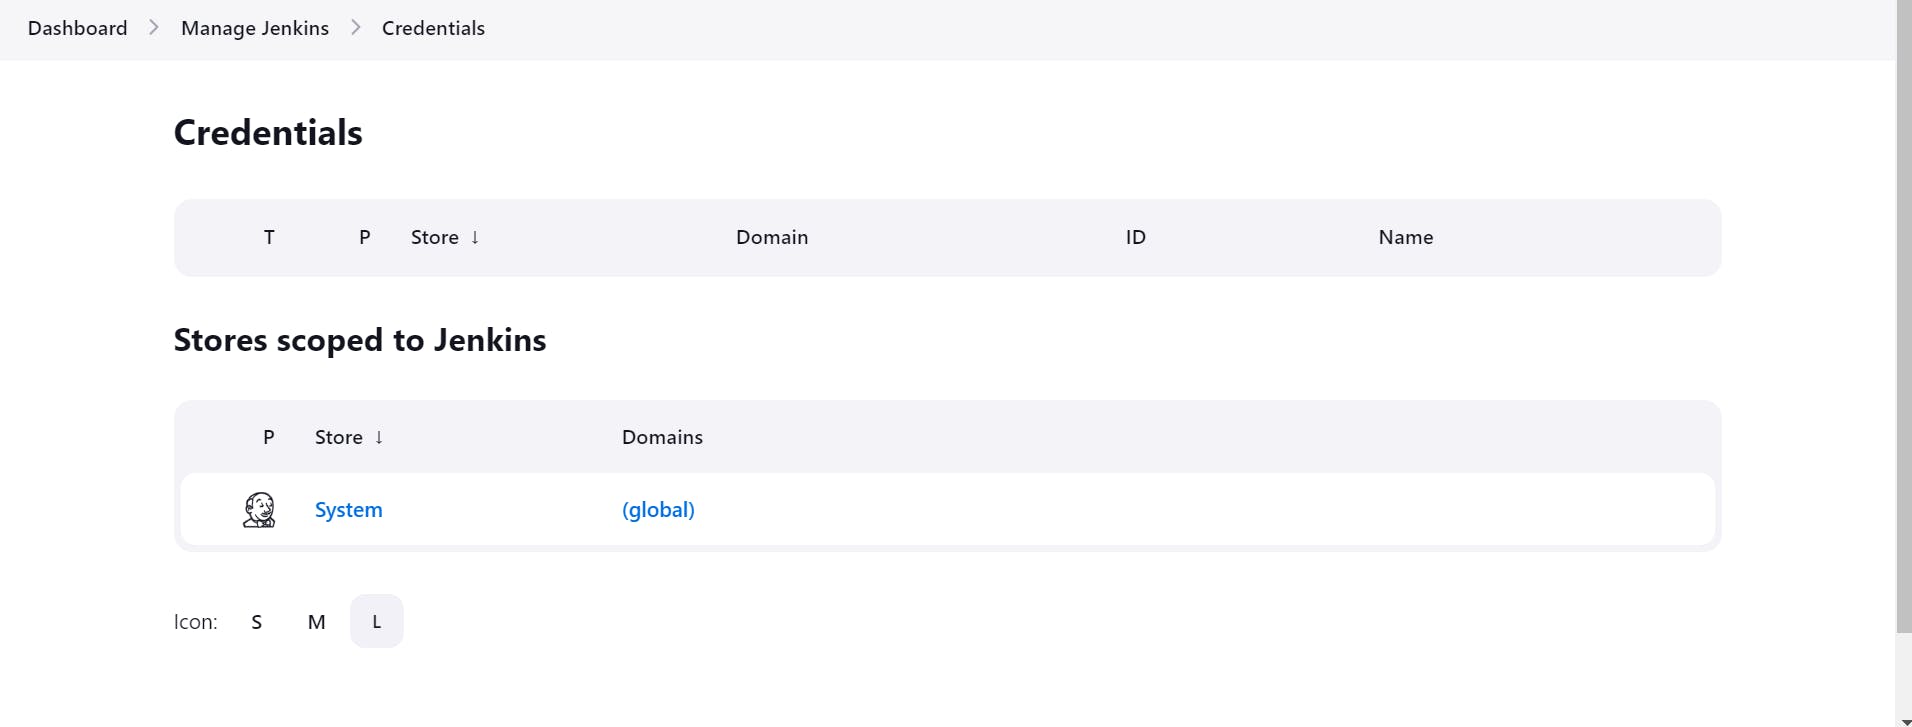
After that go to the global, It is mean click the global button

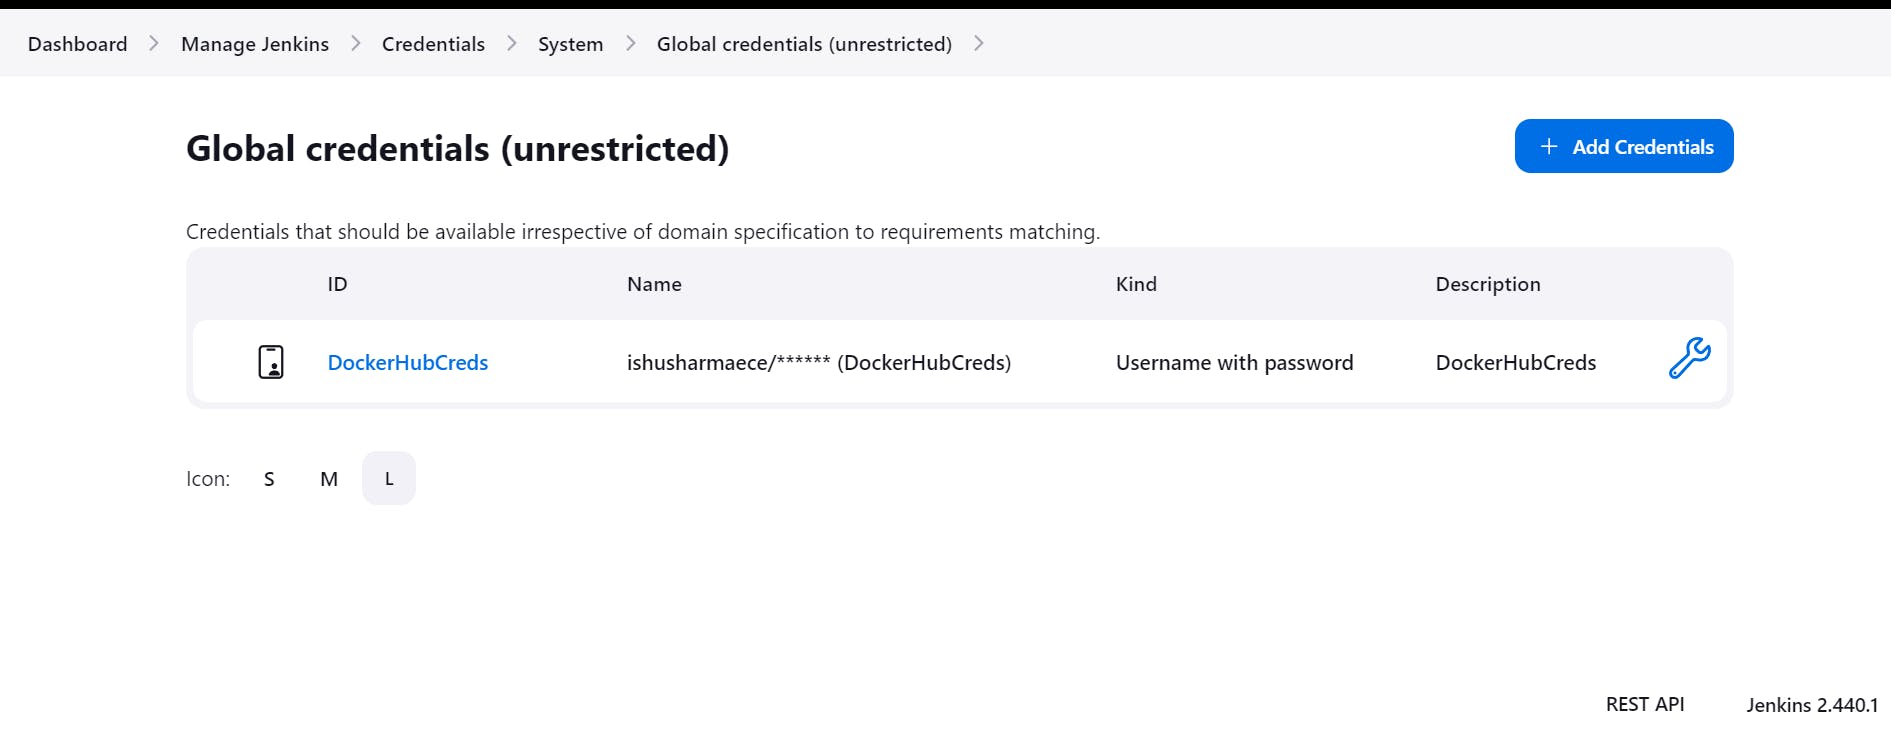
when you click the Global button, After that click the Add Credentials.

After that enter docker hub user name, Docker hub Password, ID and Docker hub Description.
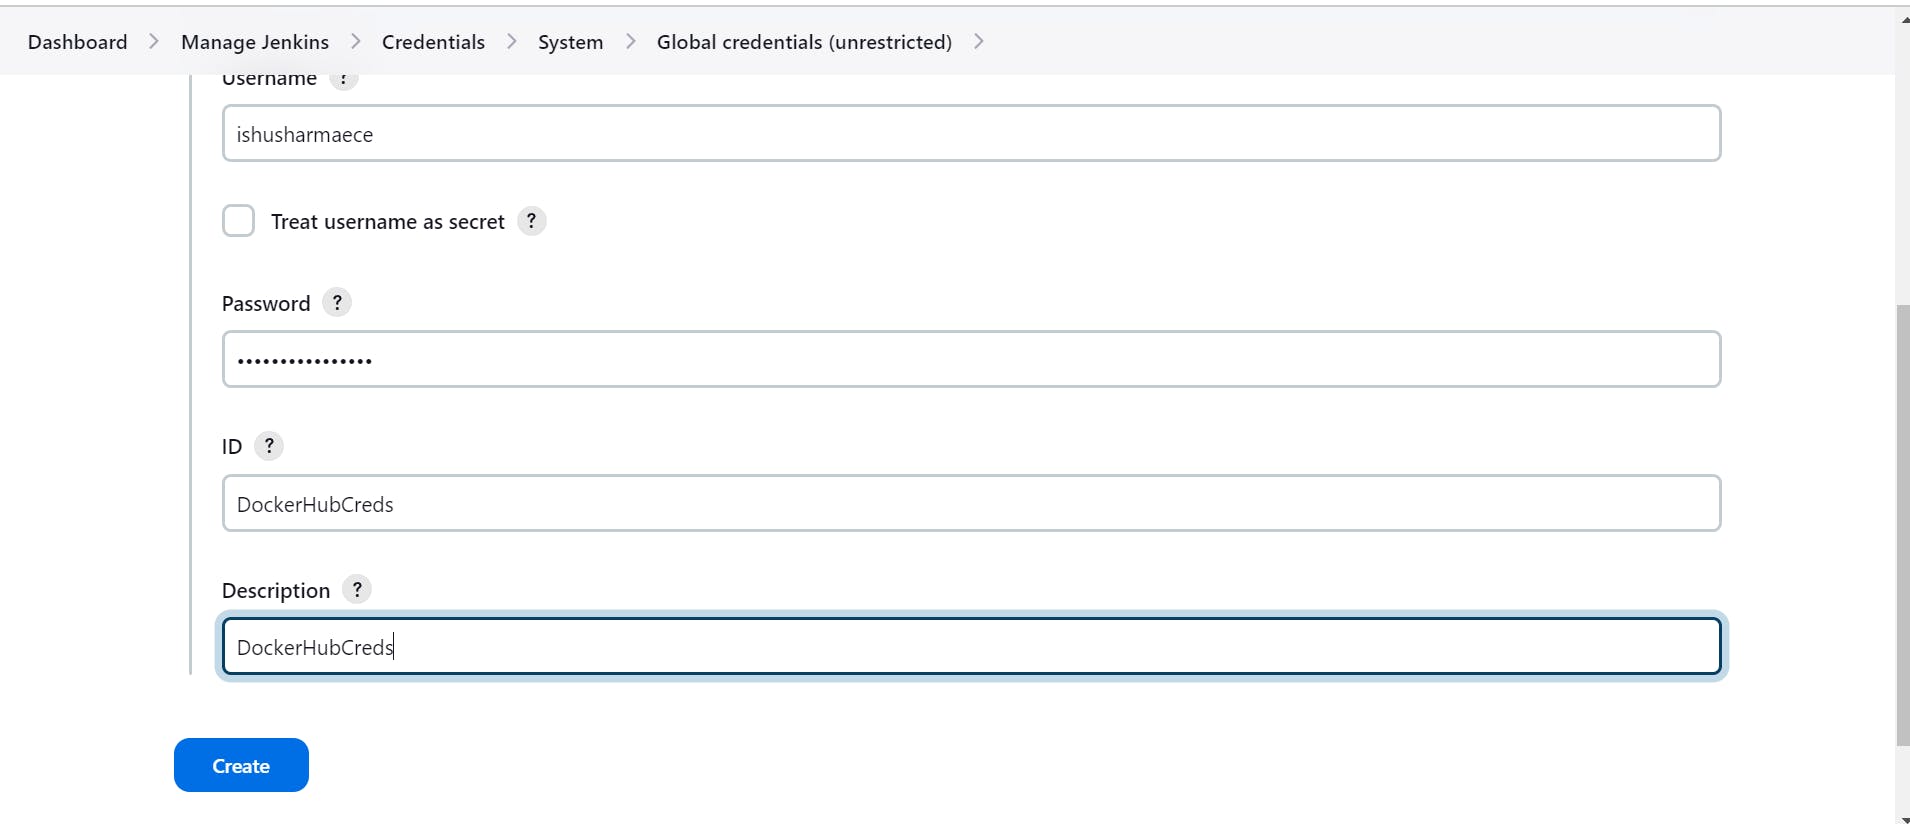
After that click to create button.
After that go to Dasbord, Go to the Django-app and configure now Django-app.
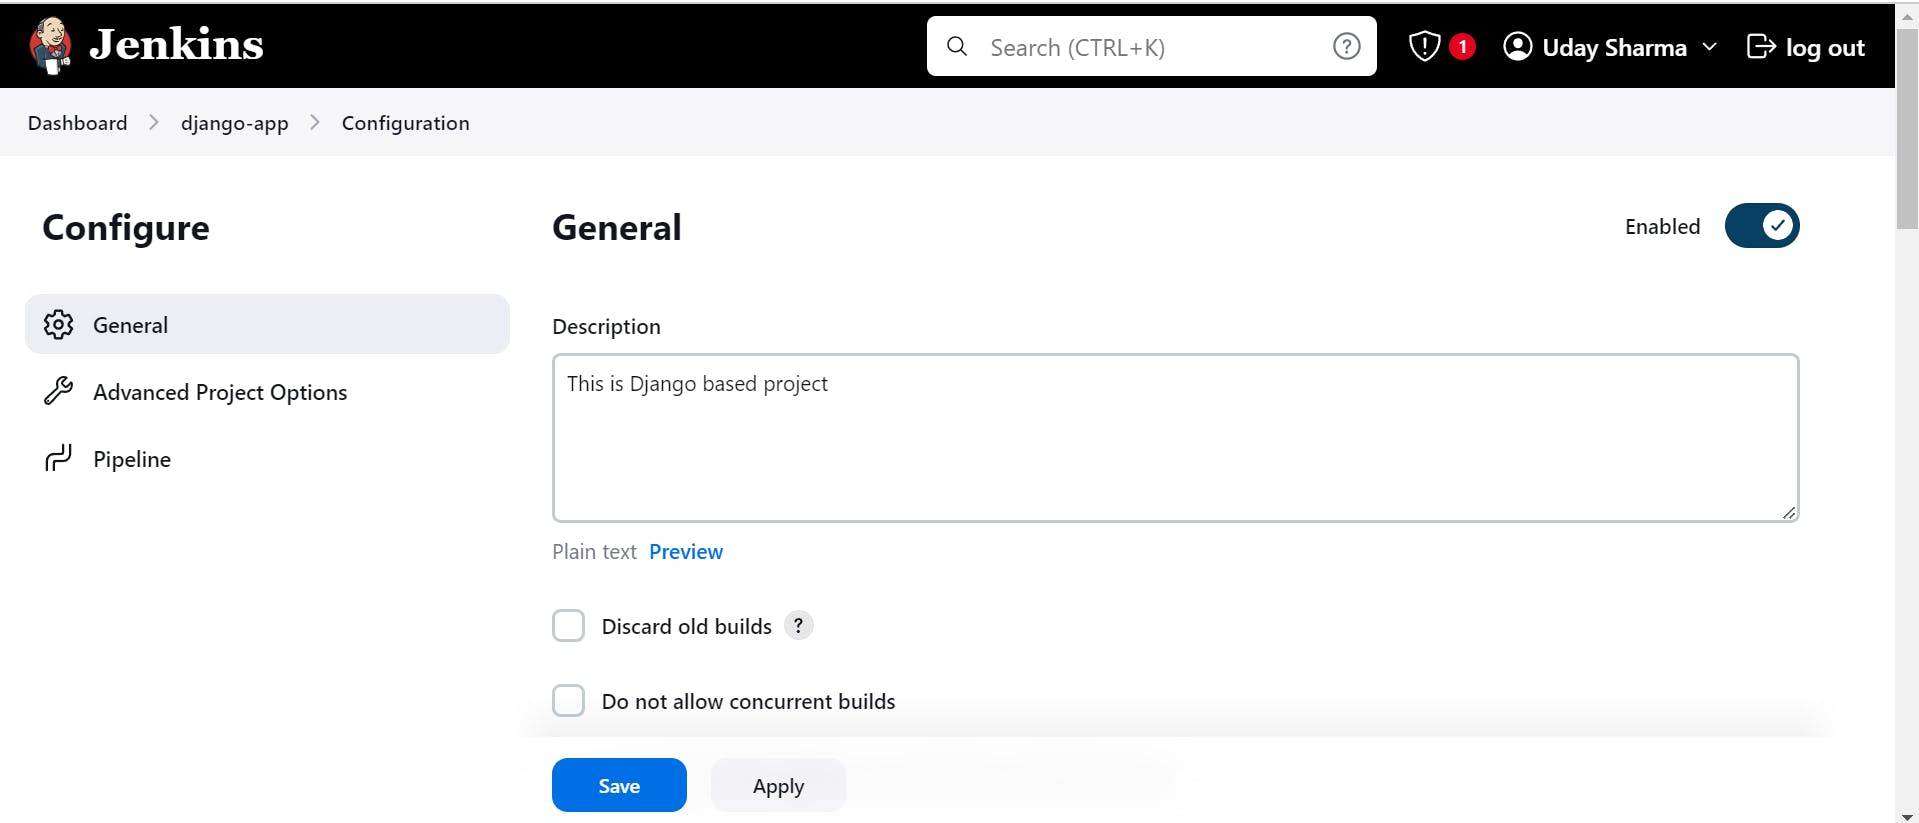
In Configuration go to pipeline and write groovy programing. It appears there might be a slight misspelling in your question. If you're referring to "Groovy" programming, Groovy is a dynamic programming language for the Java Virtual Machine (JVM). It is often used as a scripting language for Java applications and provides features similar to Java while also adding some syntactic sugar and dynamic language features.


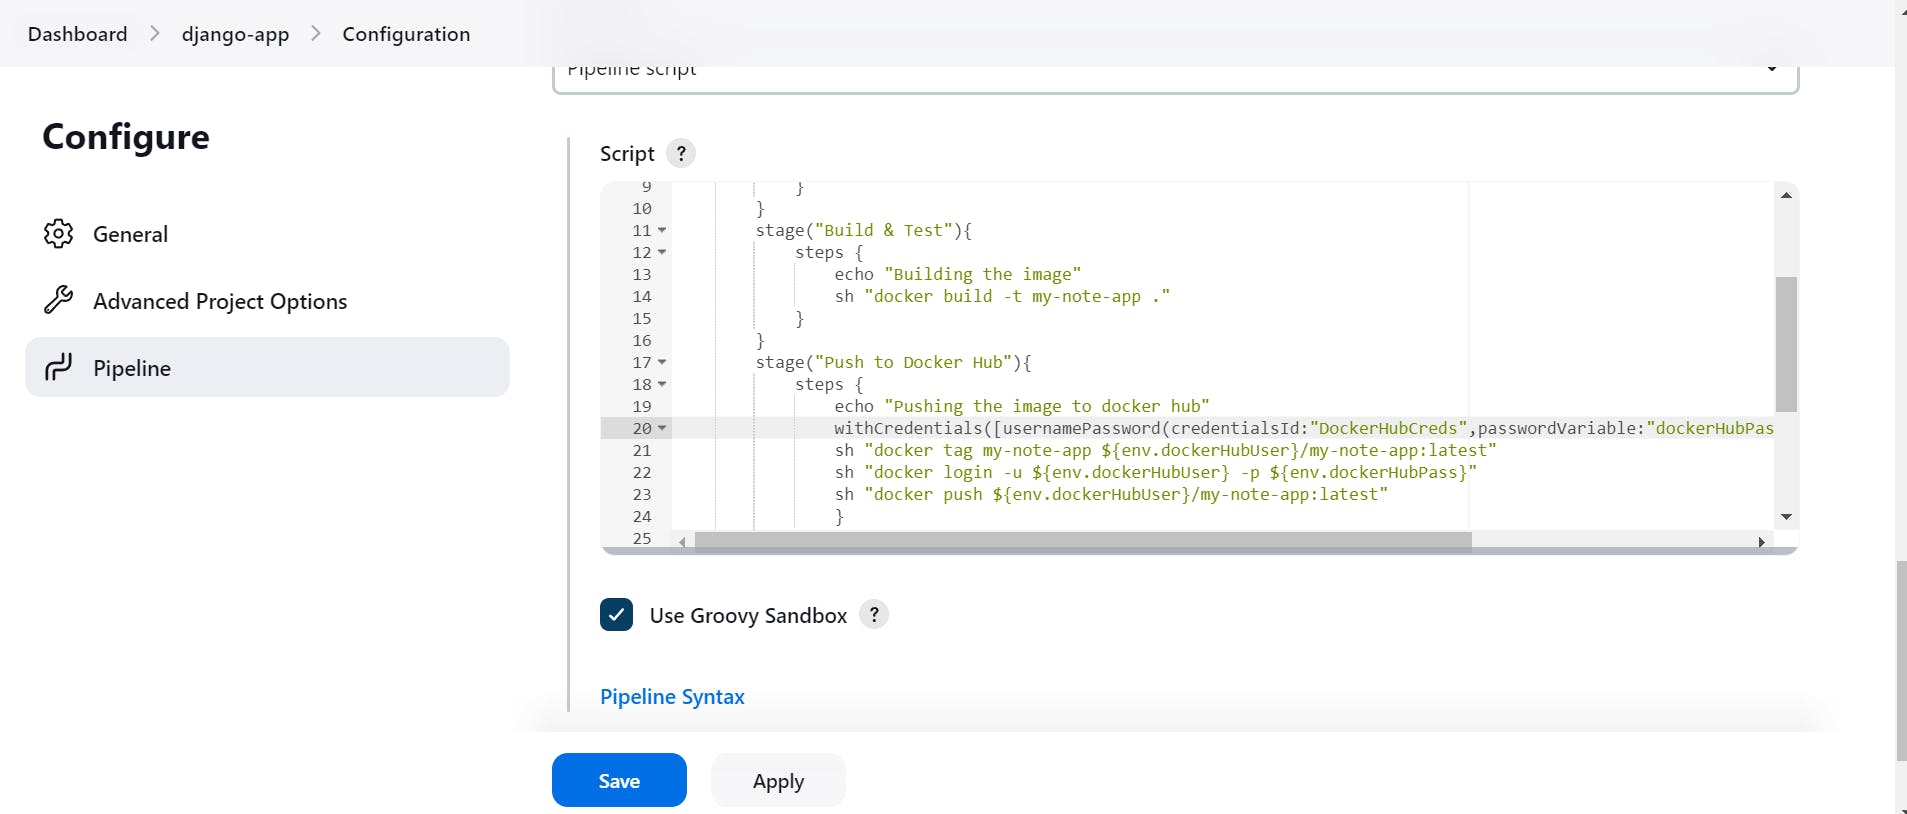
After that click to save button and click to Build now button.
Now we need go to EC2 machine , go to security group Section, go to inbound rules add 8000 port Number
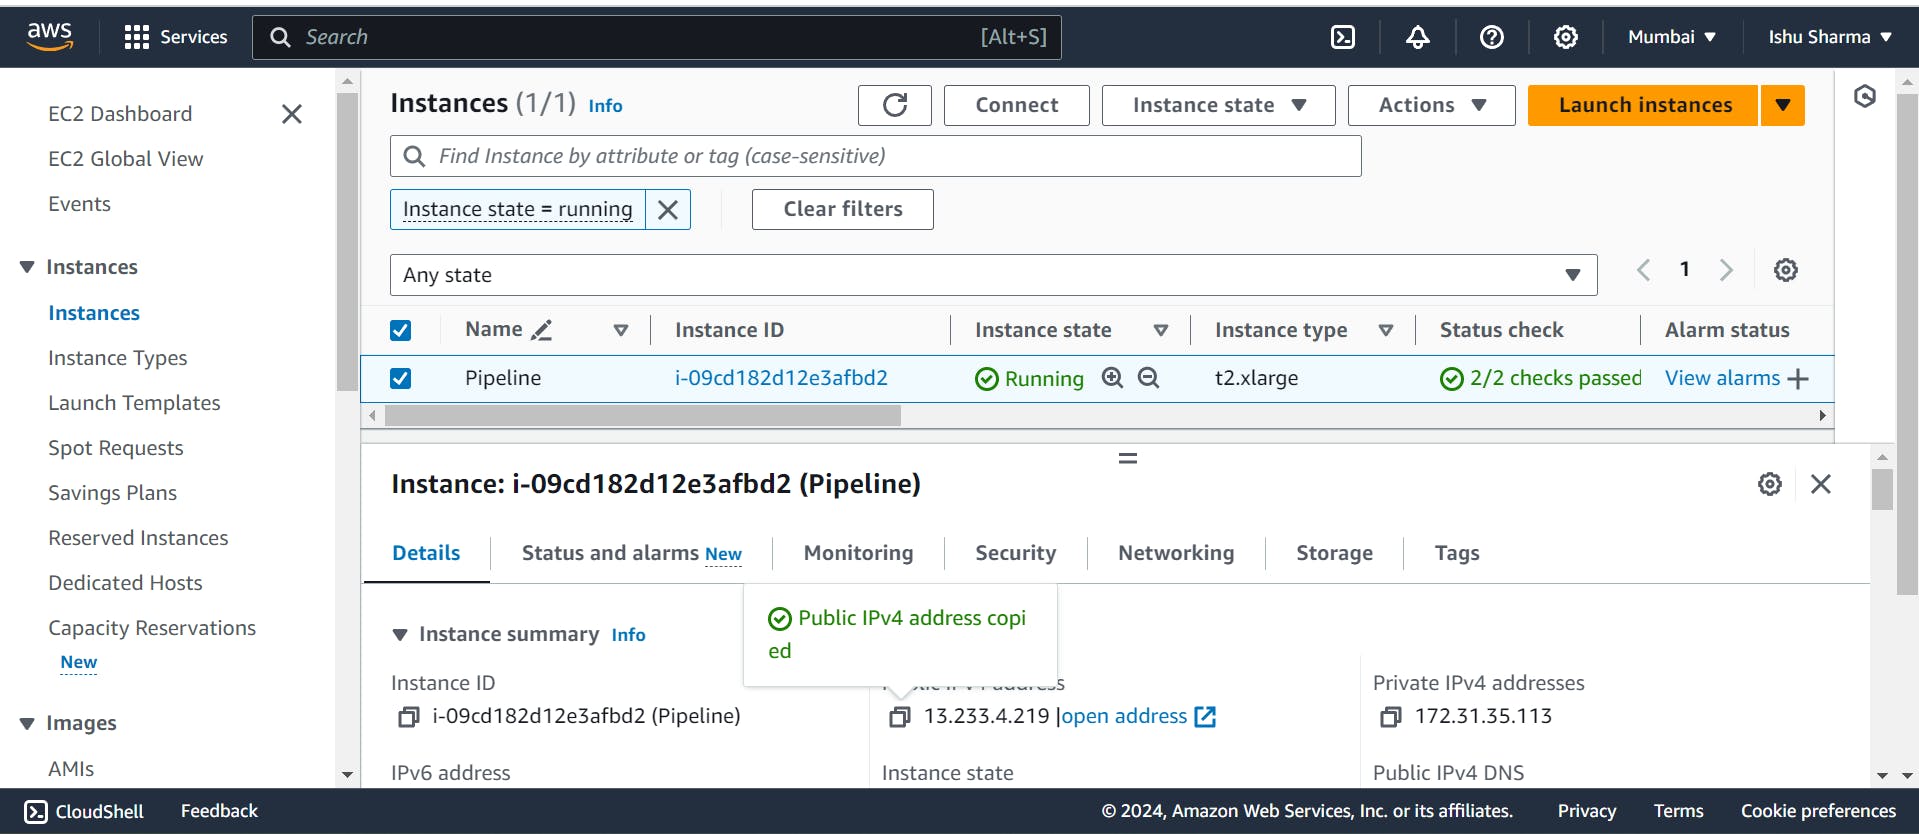

After that copy to Ec2 public id and paste to chrom browser include 8000 port number

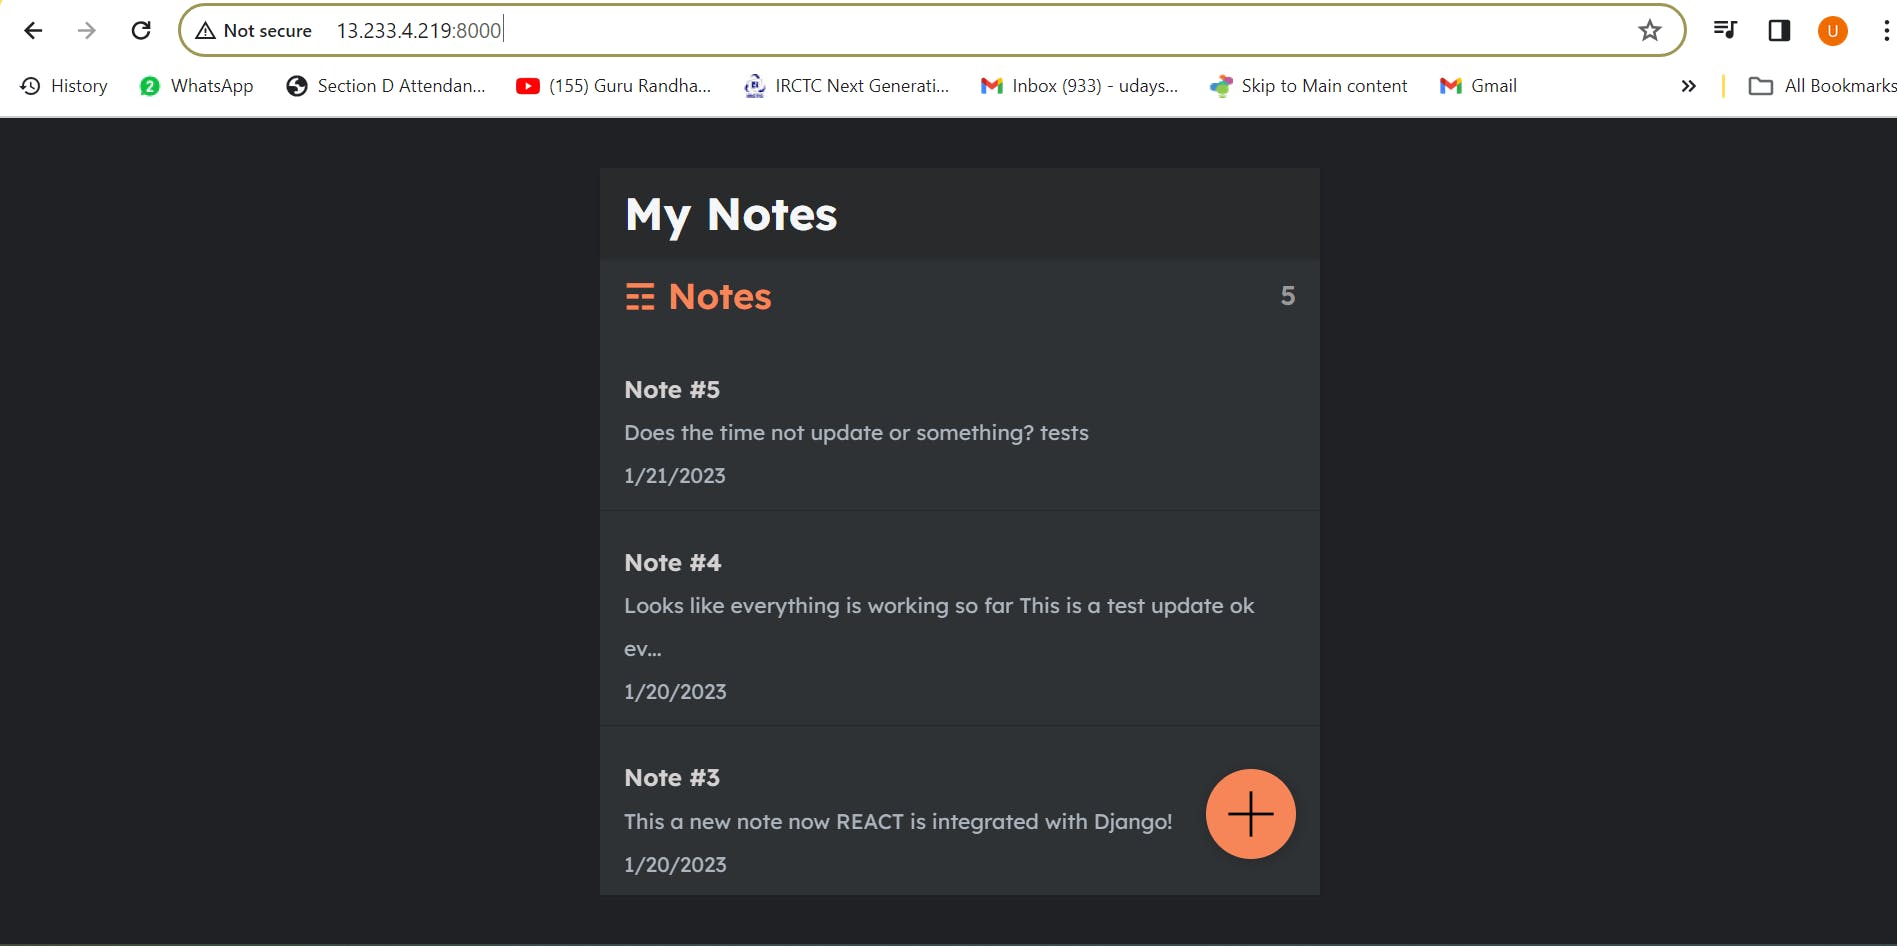

now you see Django Based Project running.