CI/CD Pipeline on AWS - Part 4

What is AWS CodePipeline?
AWS CodePipeline is a fully managed continuous integration and continuous delivery service. It automates the build, test, and deployment phases of your release process, enabling you to rapidly and reliably deliver features, fixes, and updates to your software applications. With CodePipeline, you can model and visualize your software release process, define the sequence of actions to be executed, and automate the entire workflow from code changes to production deployment.
Why Do We Need CodePipeline?
CodePipeline offers several benefits that are crucial for modern software development and deployment practices:
Automation: CodePipeline automates the repetitive and manual tasks involved in the release process, such as building, testing, and deploying code changes. This reduces human errors, accelerates the release cycle, and improves overall efficiency.
Consistency: By defining a standardized release pipeline with predefined stages and actions, CodePipeline ensures consistency across different releases and environments. This helps maintain quality and reliability throughout the software development lifecycle.
Visibility: CodePipeline provides a visual representation of the release pipeline, allowing teams to monitor the progress of code changes as they move through various stages. This visibility enables better collaboration, faster feedback, and quicker resolution of issues.
Scalability: CodePipeline scales seamlessly with your application and workload, supporting deployments of any size and complexity. Whether you're releasing a small feature update or a major application overhaul, CodePipeline can handle it with ease.
Integration: CodePipeline integrates seamlessly with other AWS services and third-party tools, allowing you to customize and extend your release process according to your specific requirements. Whether you need to trigger builds based on code commits, run tests using third-party testing frameworks, or deploy to multiple environments simultaneously, CodePipeline can be tailored to fit your needs.
Real-Time Example: Using CodePipeline to Deploy a Web Application
Let's consider a real-world scenario where a development team is using AWS CodePipeline to automate the deployment of a web application:
Source Stage: The development team works collaboratively on the web application codebase hosted on GitHub. Whenever a developer pushes new code changes to the repository, CodePipeline detects the changes and triggers the pipeline.
Build Stage: In the build stage, CodePipeline pulls the latest code from the GitHub repository and initiates a build process using AWS CodeBuild. CodeBuild compiles the source code, runs automated tests, and packages the application artifacts into a deployable format.
Test Stage: Once the build is successful, CodePipeline deploys the application artifacts to a staging environment where automated tests are executed. These tests include unit tests, integration tests, and end-to-end tests to ensure the functionality and quality of the application.
Review Stage: After the tests pass in the staging environment, CodePipeline triggers a manual approval process, where designated team members review the changes and provide their approval for deployment to the production environment.
Deploy Stage: Upon receiving approval, CodePipeline deploys the application artifacts to the production environment using AWS CodeDeploy. The deployment process follows best practices such as rolling deployments or blue-green deployments to minimize downtime and risk.
Monitor Stage: Finally, CodePipeline monitors the production environment using AWS CloudWatch, collecting metrics and logs to track the performance and health of the application. Any issues or anomalies detected are automatically reported to the development team for investigation and resolution.
Throughout this entire process, the development team can visualize the progress of code changes in the CodePipeline dashboard, collaborate effectively, and ensure a smooth and reliable release of their web application.
In summary, AWS CodePipeline is a powerful CI/CD service that enables development teams to automate and streamline the software release process. By providing automation, consistency, visibility, scalability, and integration capabilities, CodePipeline empowers teams to deliver high-quality software quickly and efficiently.
Create a simple index.html file in CodeCommit Repository
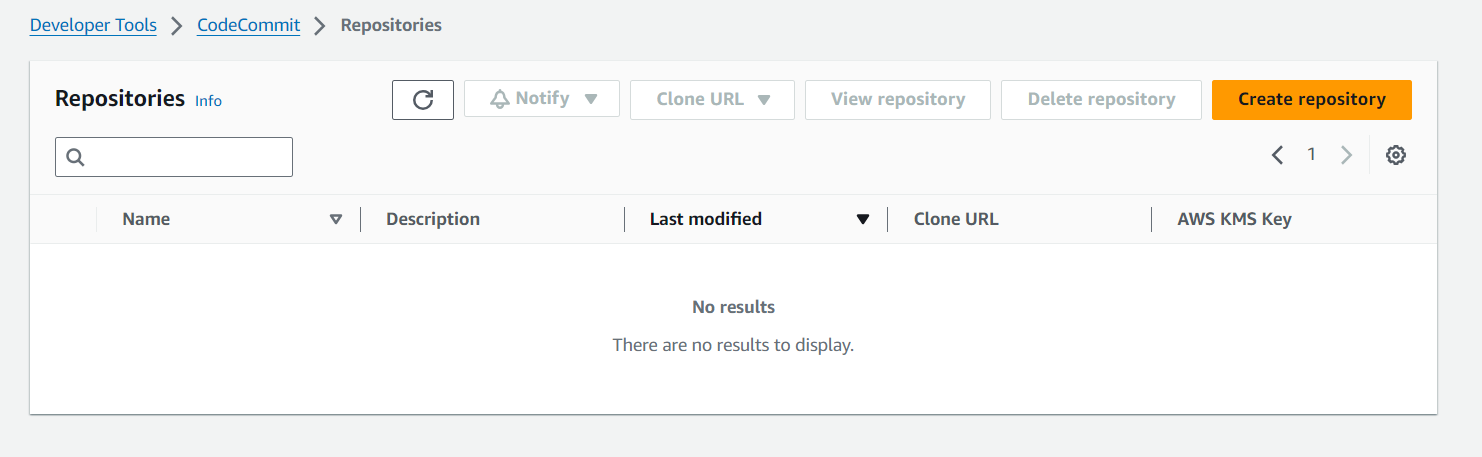
First we need to open to AWS Code Commit and Create repository.

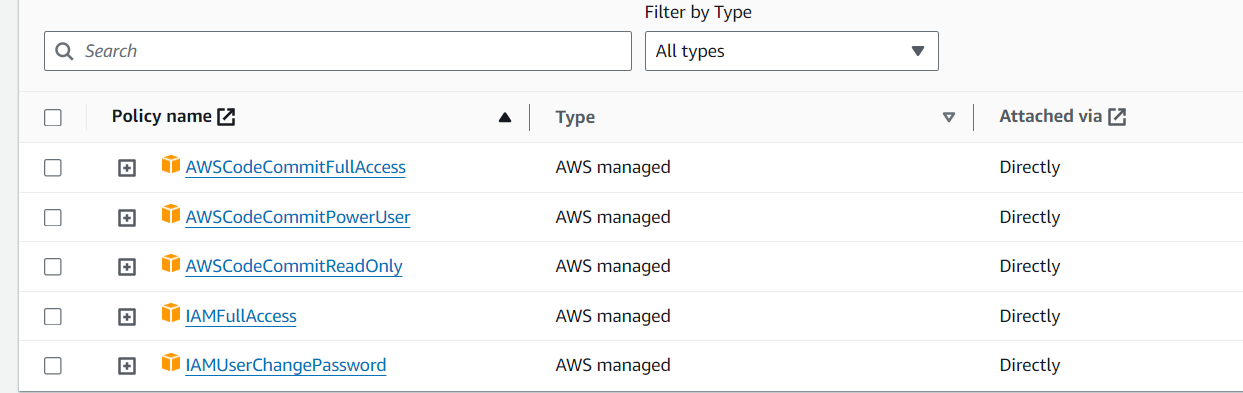
No need to change any thing, Just click to create button. After that go IAM And Create a user and provide the permissions.
After that go to USER, go Security credentials and go to HTTPS Git credentials for AWS CodeCommit, Gereate the credentials. How to creeate a user you can check my IAM Blog (Click here).

After that we need to Visual studio code and open the folder and create a file.
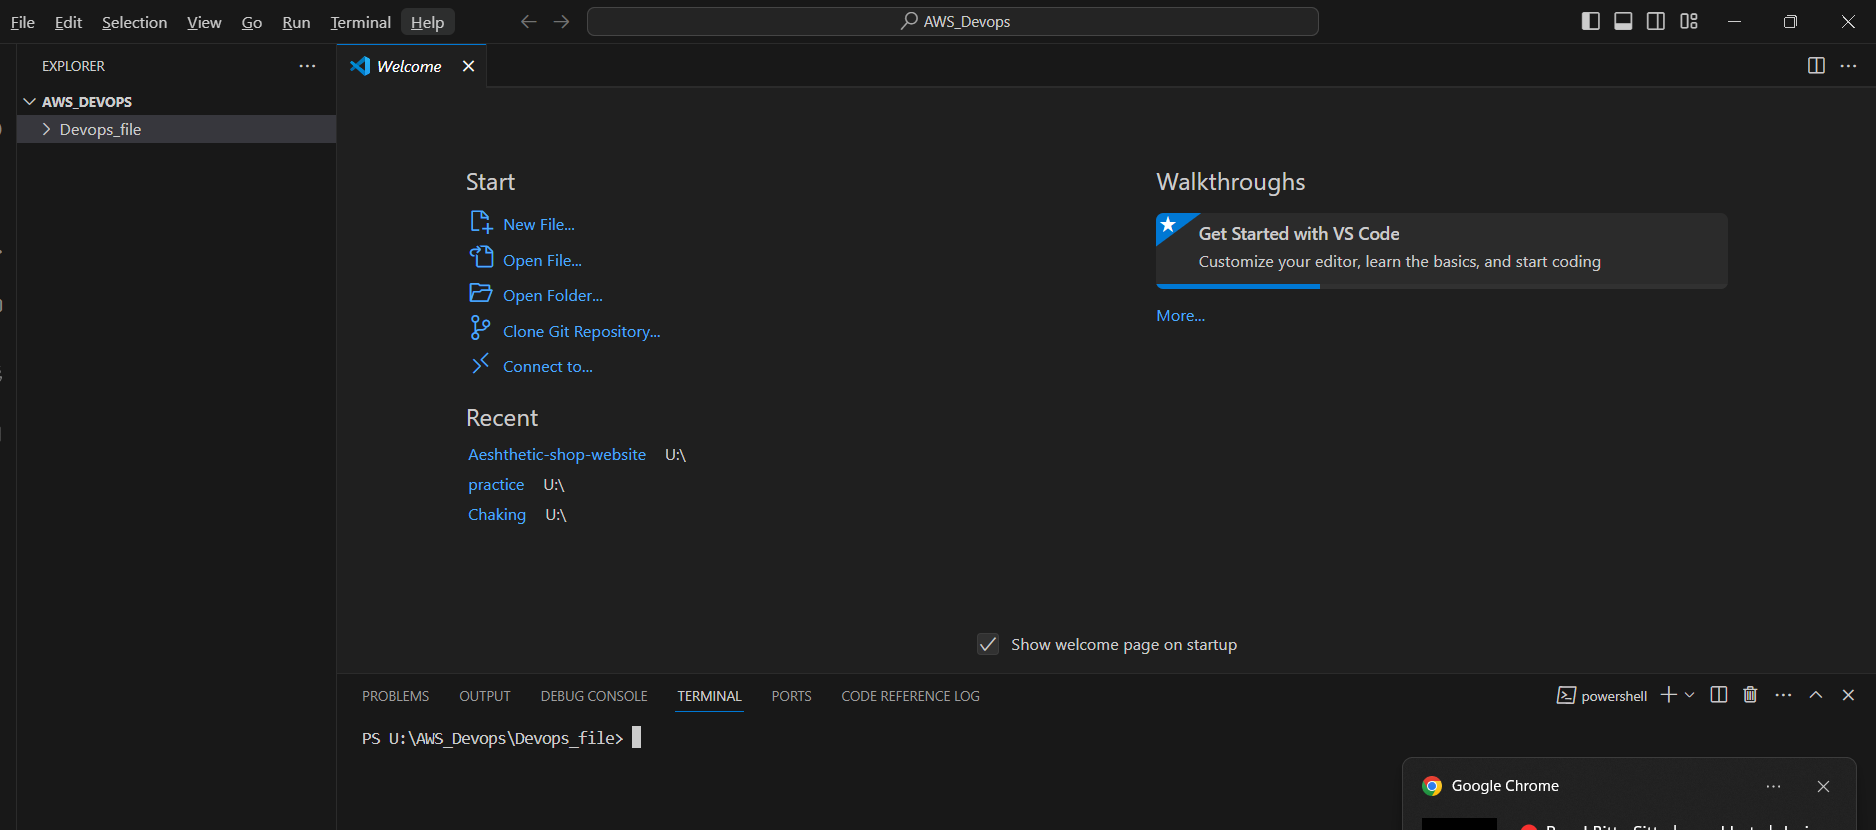
Now we need to one in integrated terminal.
Now we need to go to code commit and clone the https, After that Click to clone url and Click to clone https. Now we have recevied clone url copy this url and paste to visual studio code. when you paste this url it need to HTTPS Git credentials for AWS CodeCommit. Provide that credentials.

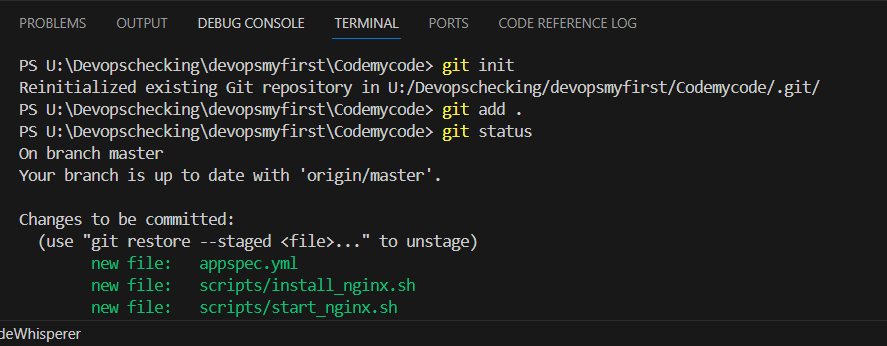
Now clone is done, First we need to init all and check which branch we have.
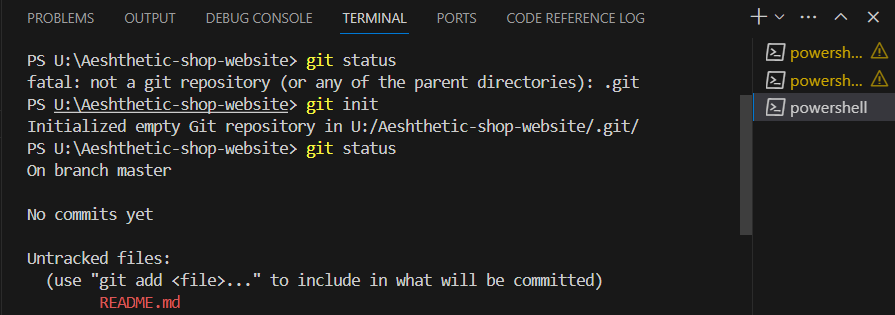
So we have master branch so we need run add command because index.html file is blogs to working directoy need to push staging area.
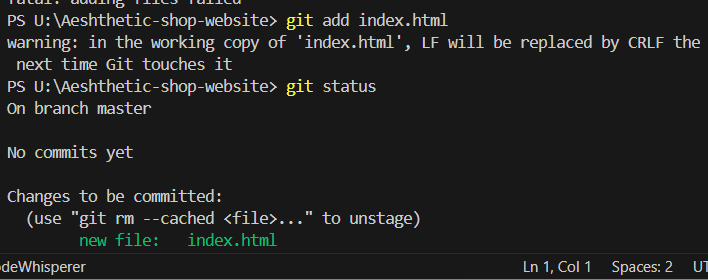
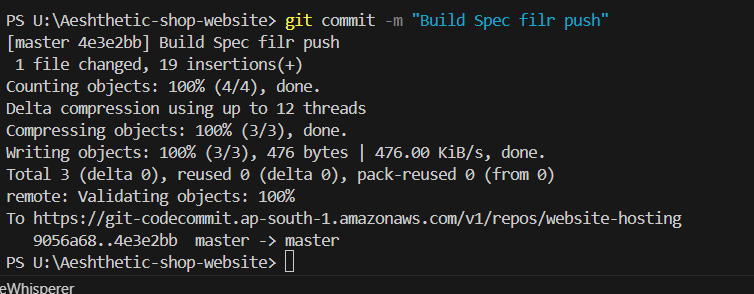
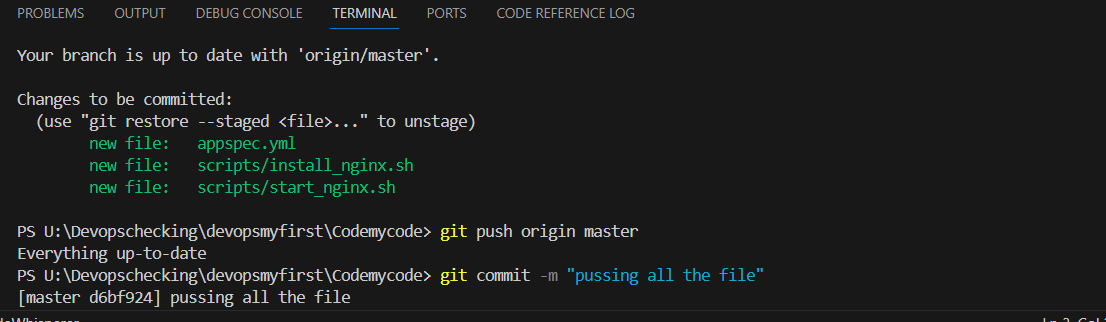
Now, we need to commit and provide some message.

Now, we need to push this file to code commit.
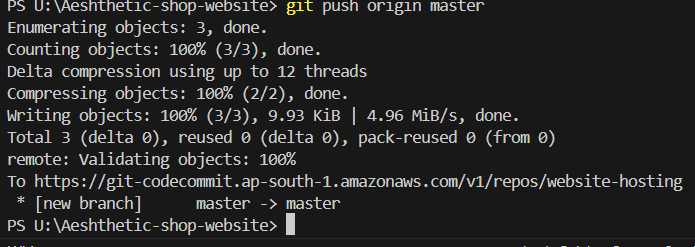
Now push command is done, go to the code commit and refresh the service. we have index. html file

Build the index.html using nginx server
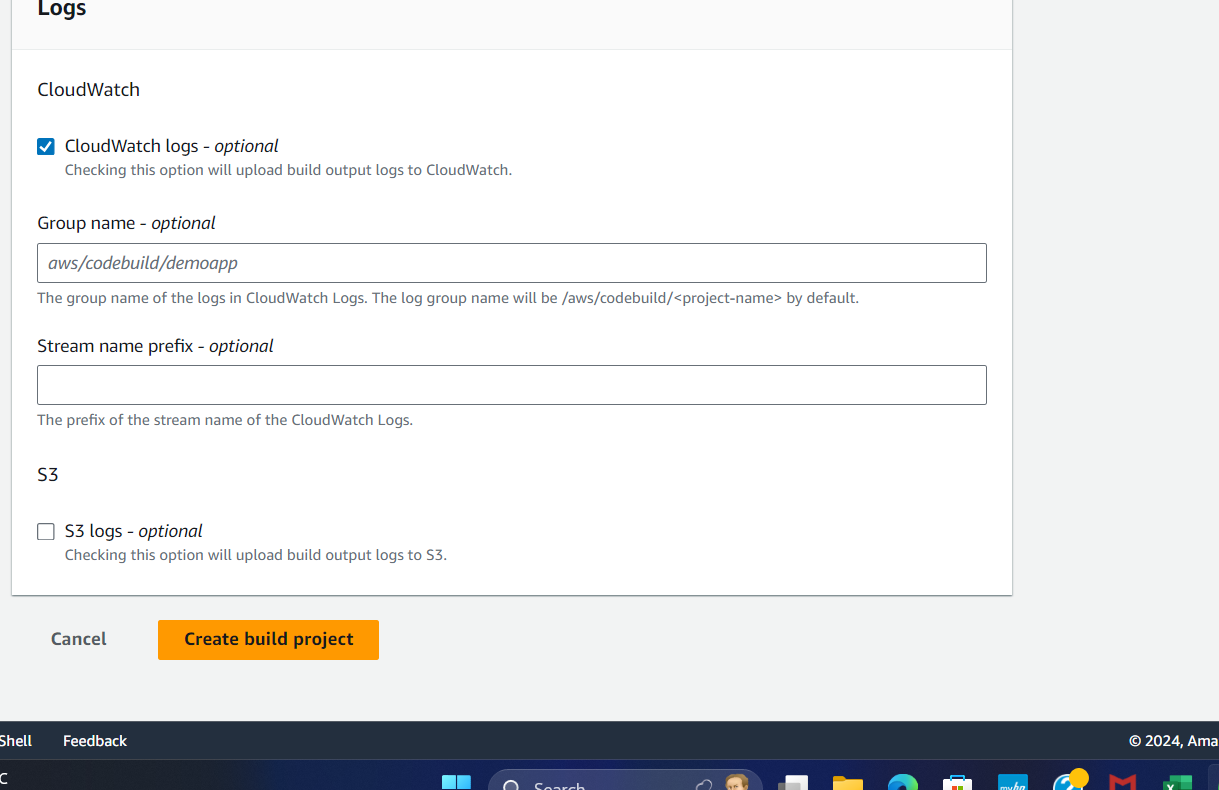
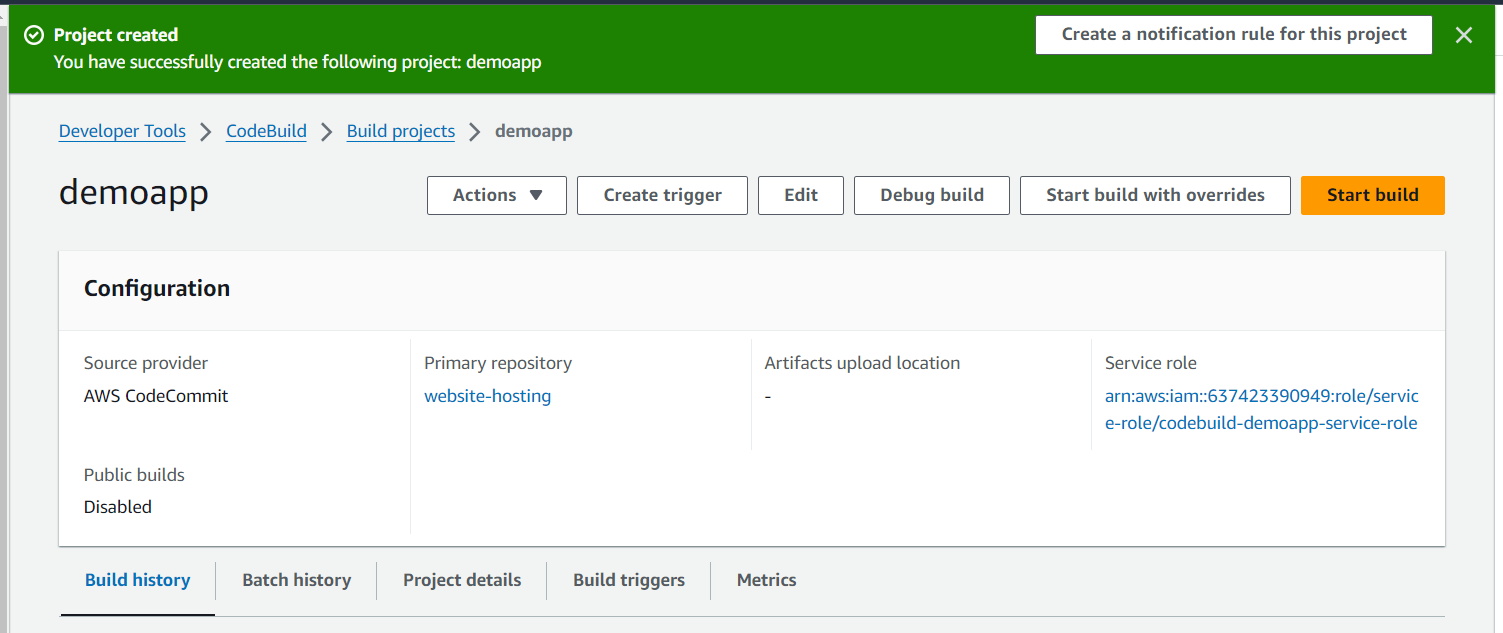
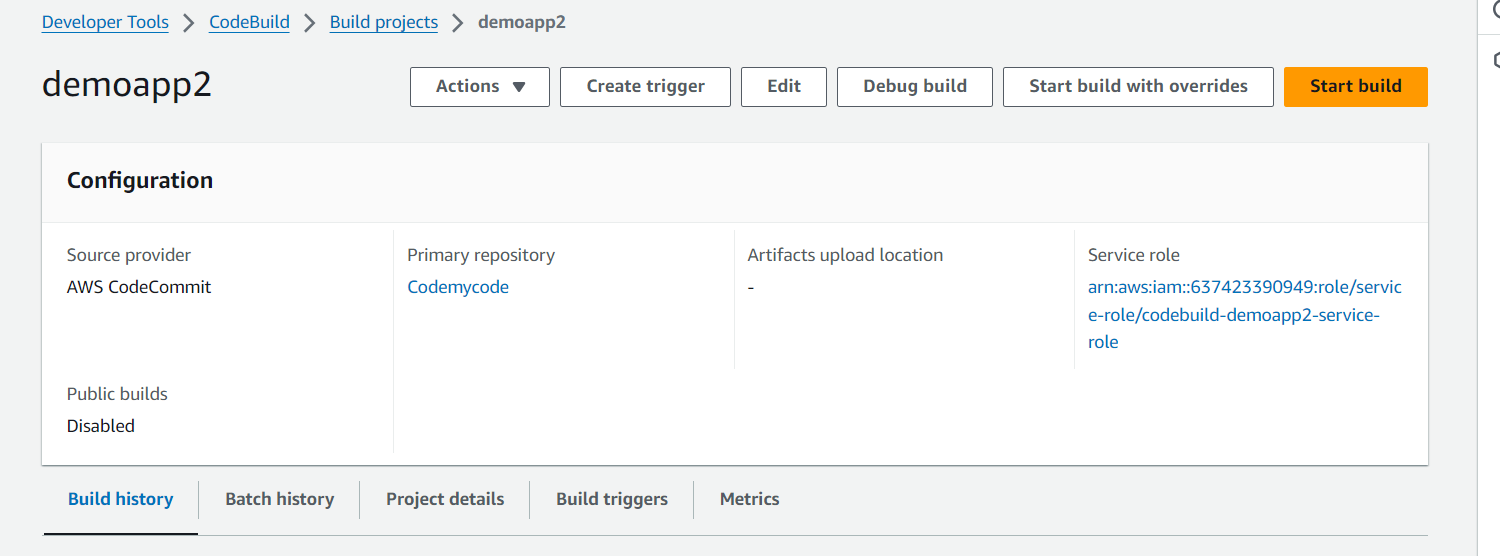
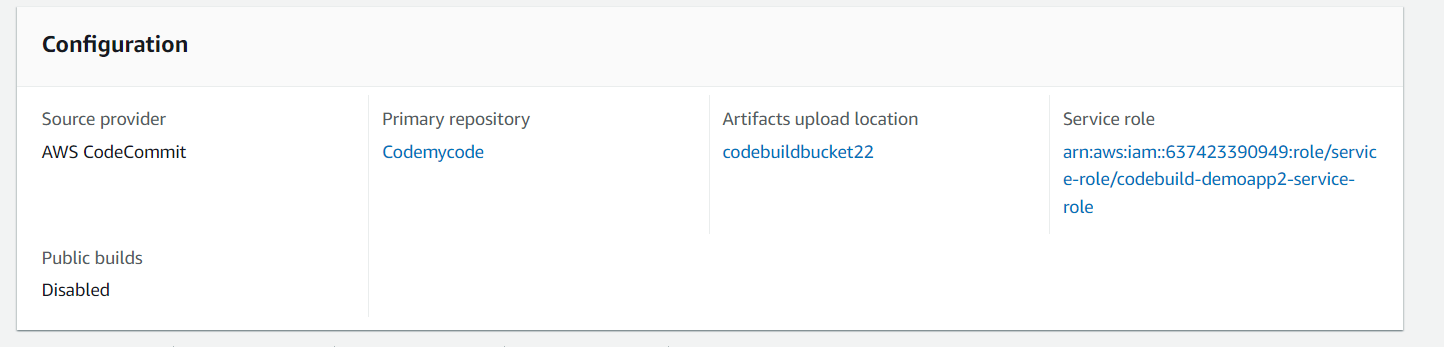
Now go to the code build service, go to the build projects.
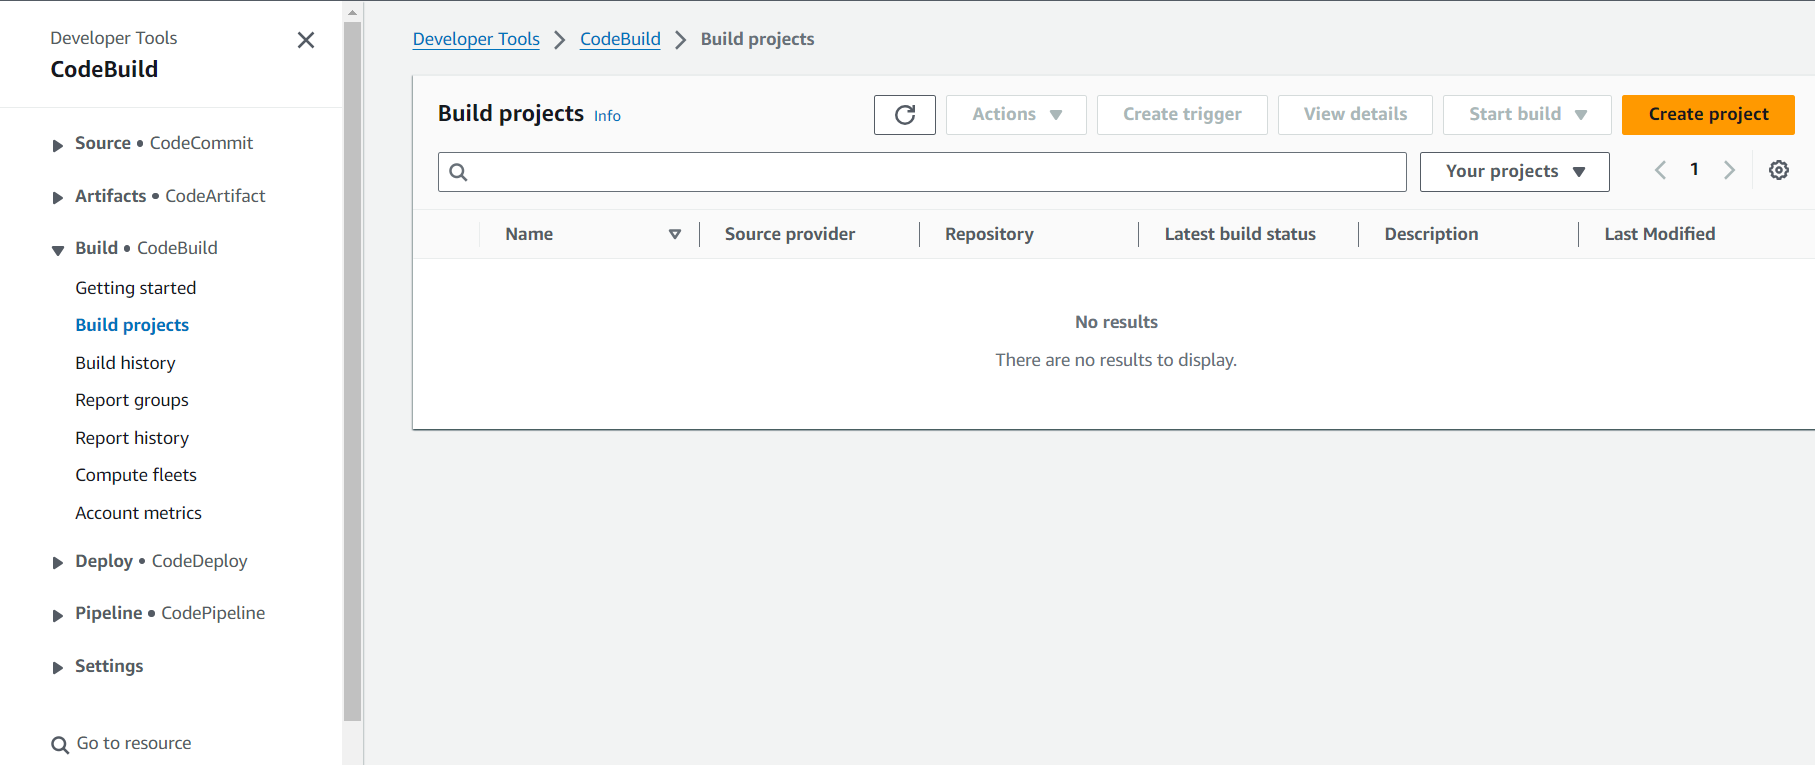
Click to Create Project.
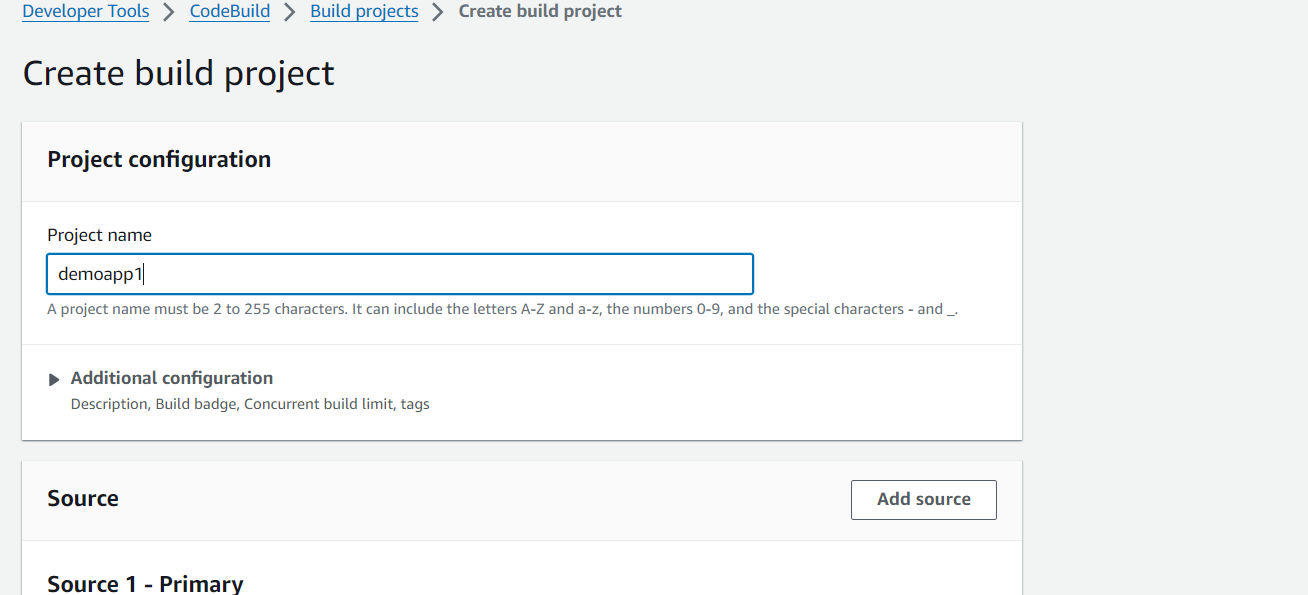
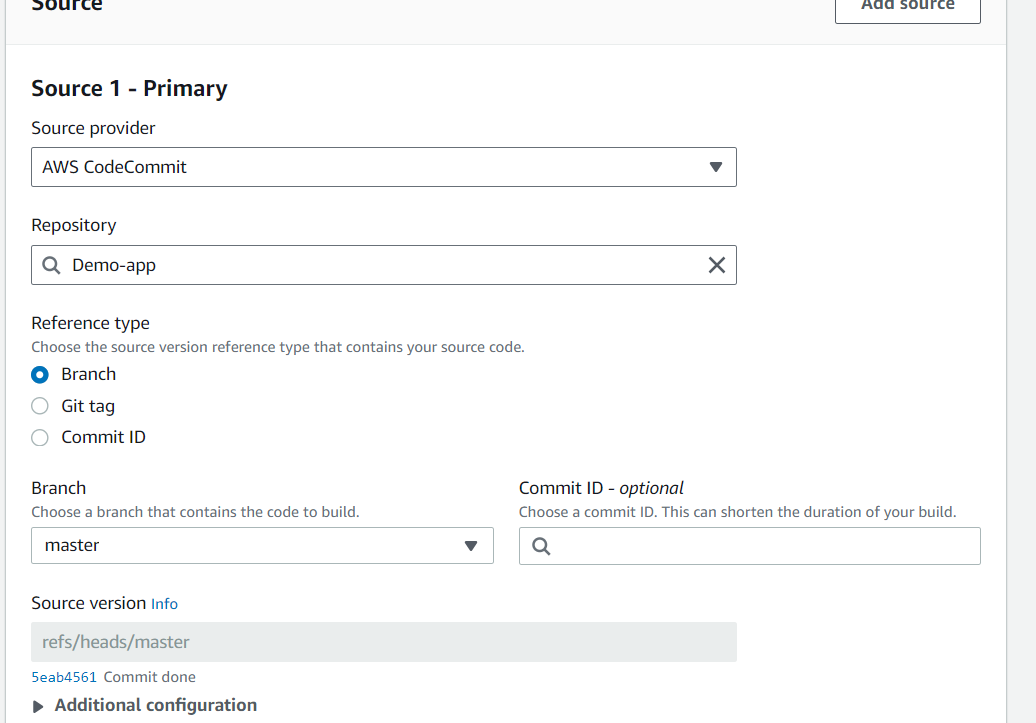
No need to change anything just click create build project.
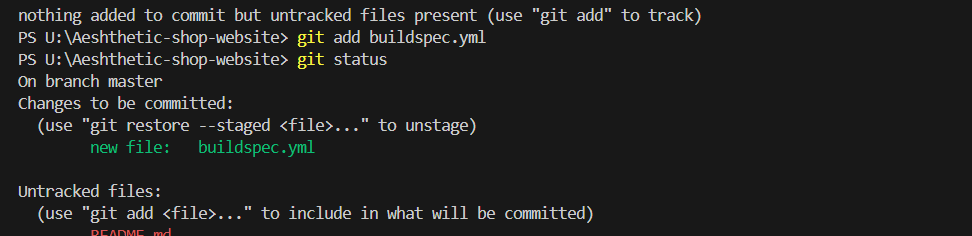
Now we need to do buildspec.yml file and push this file to Codecommit
Buildspec.yml file:
version: 0.2
os: linux

phases:
  install:
    commands:
      - echo "Installing NGINX"
      - sudo apt-get update -y
      - sudo apt-get install -y nginx

  build:
    commands:
      - echo "Build started on $(date)"
      - cp index.html /var/www/html/

  post_build:
    commands:
      - echo "Configuring NGINX"

artifacts:
  files:
    - /var/www/html/index.html

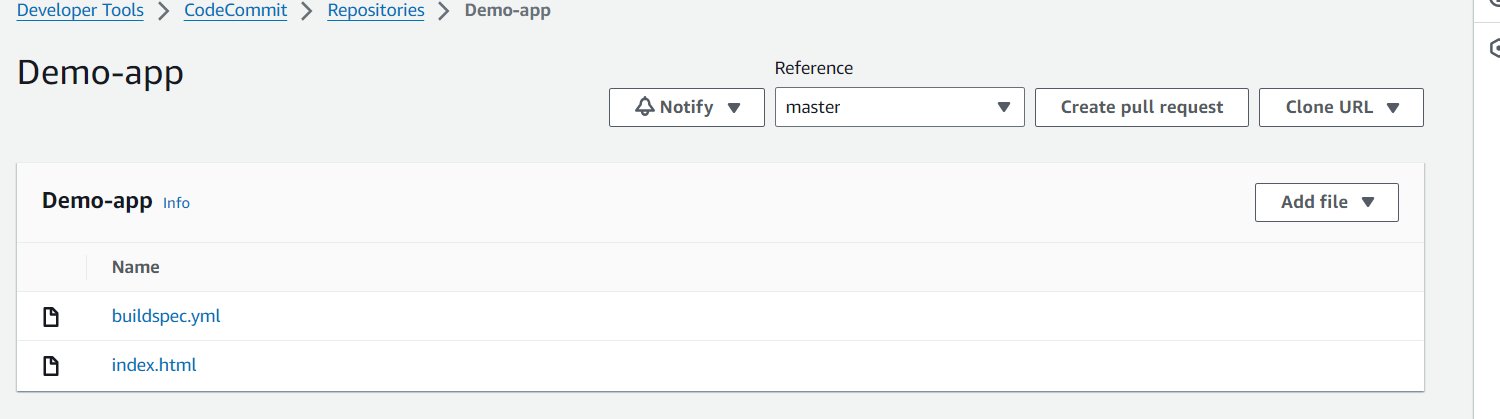
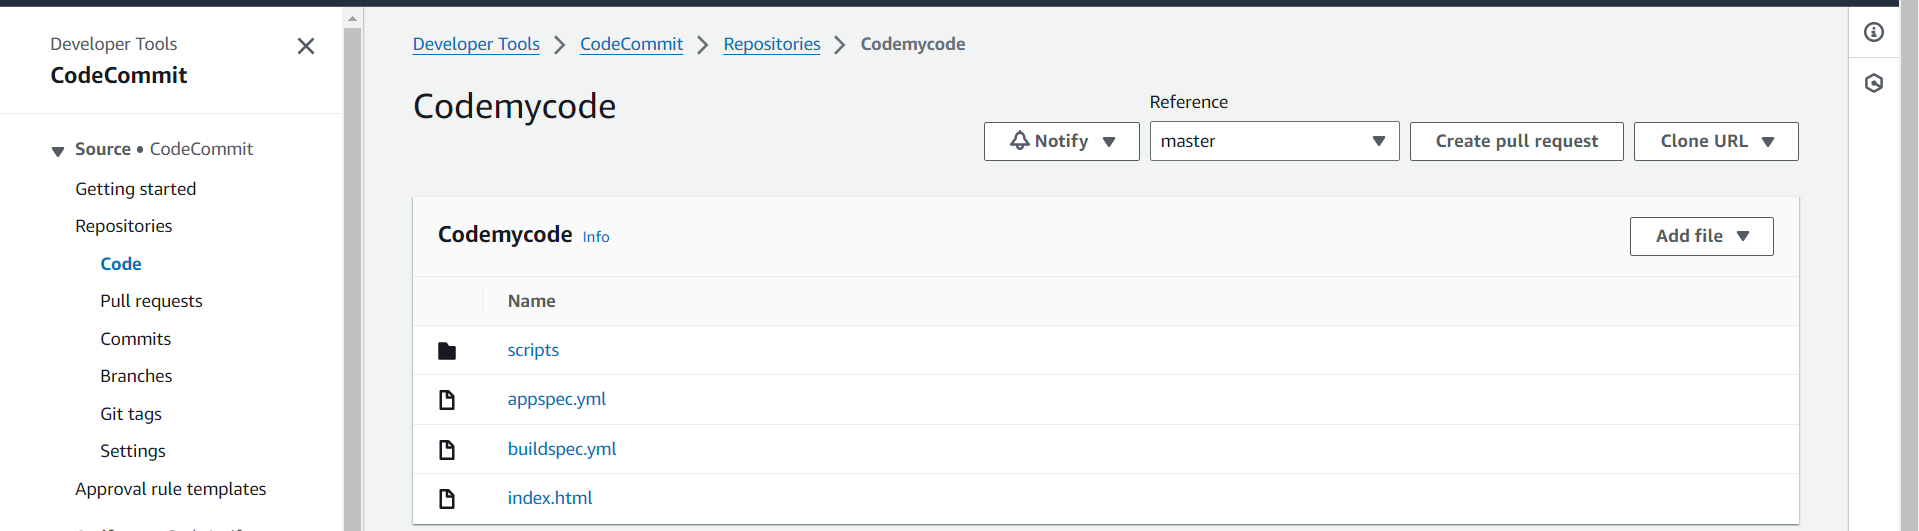
Now go the Code commit and see we have buildspec file.
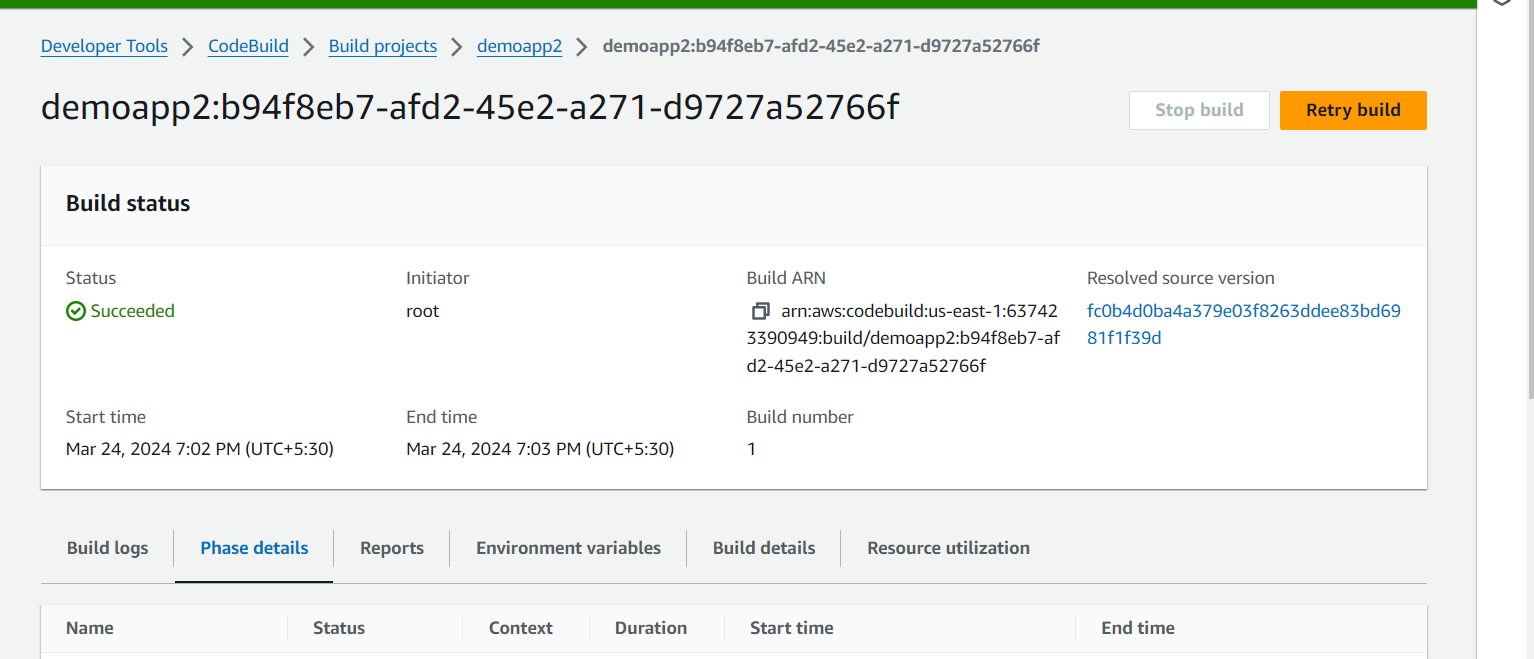
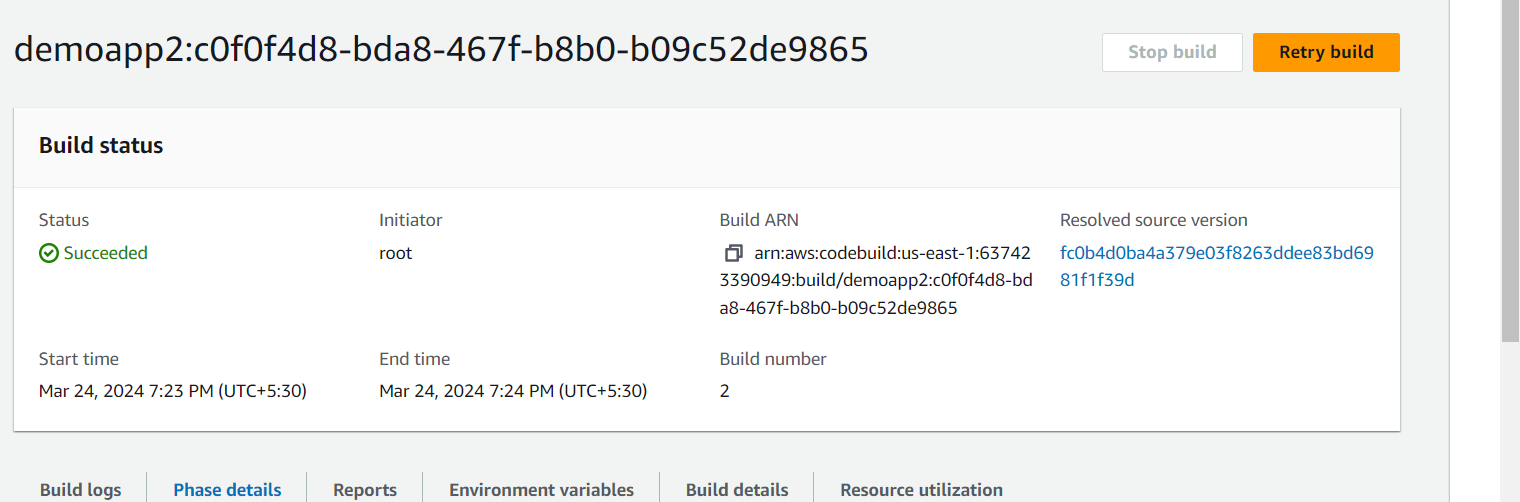
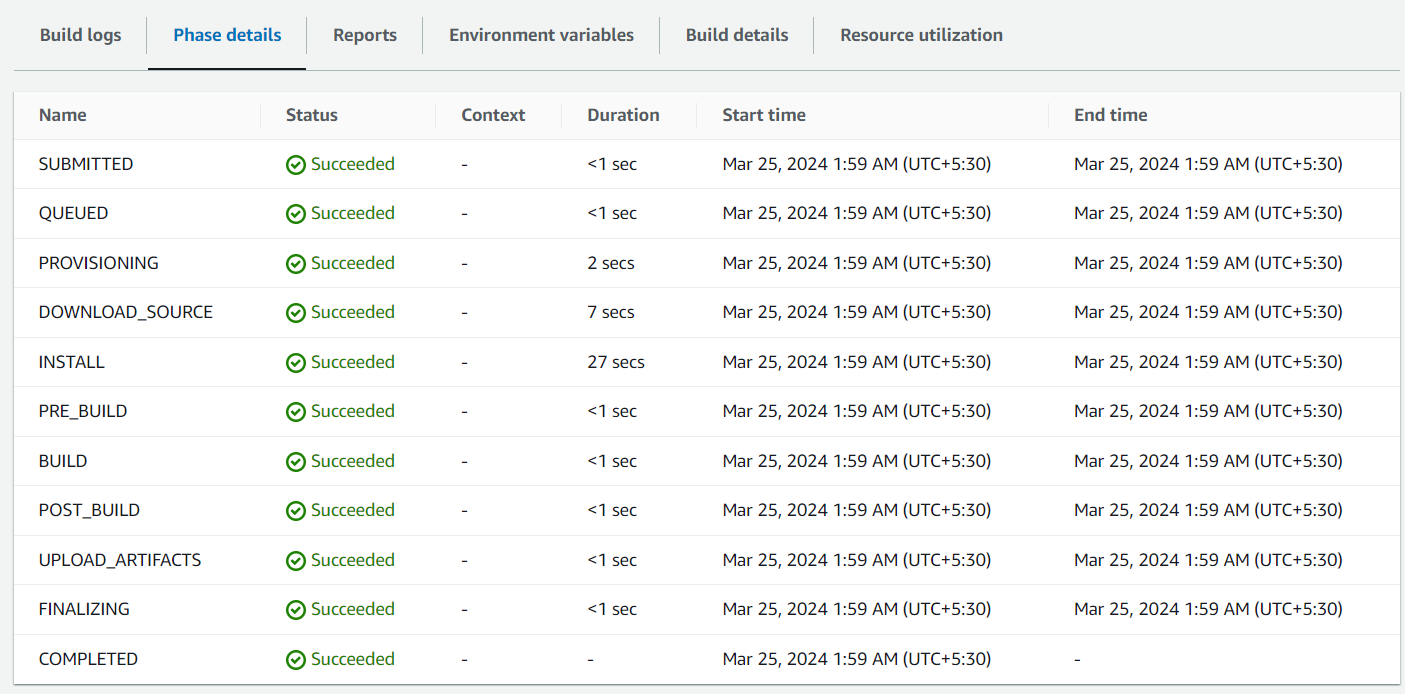
Now go the code build service and start build service.
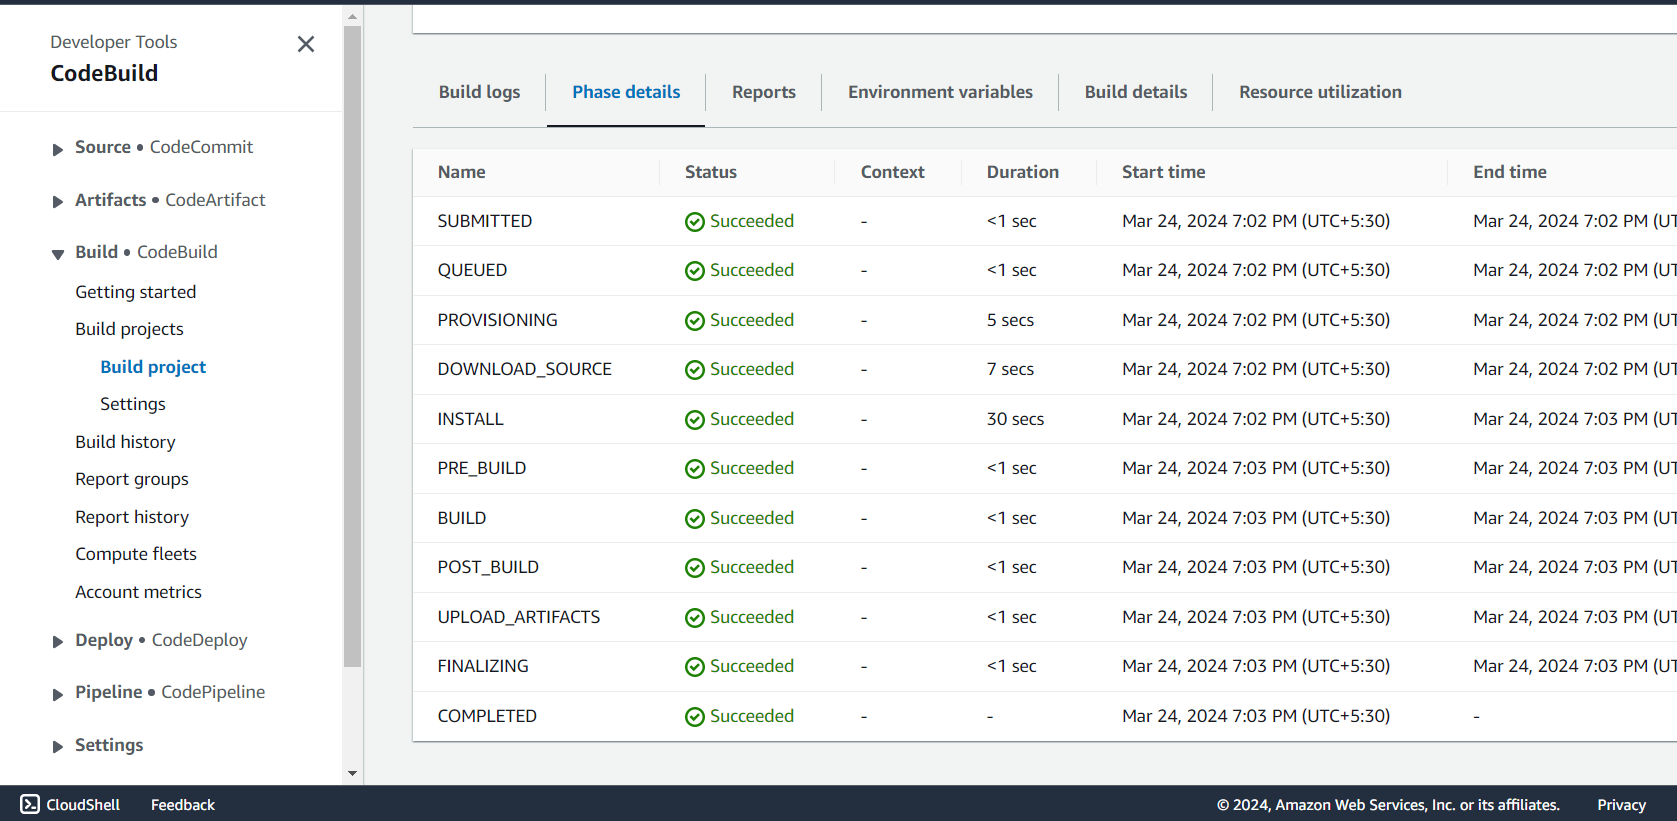
Now all the code build service success.
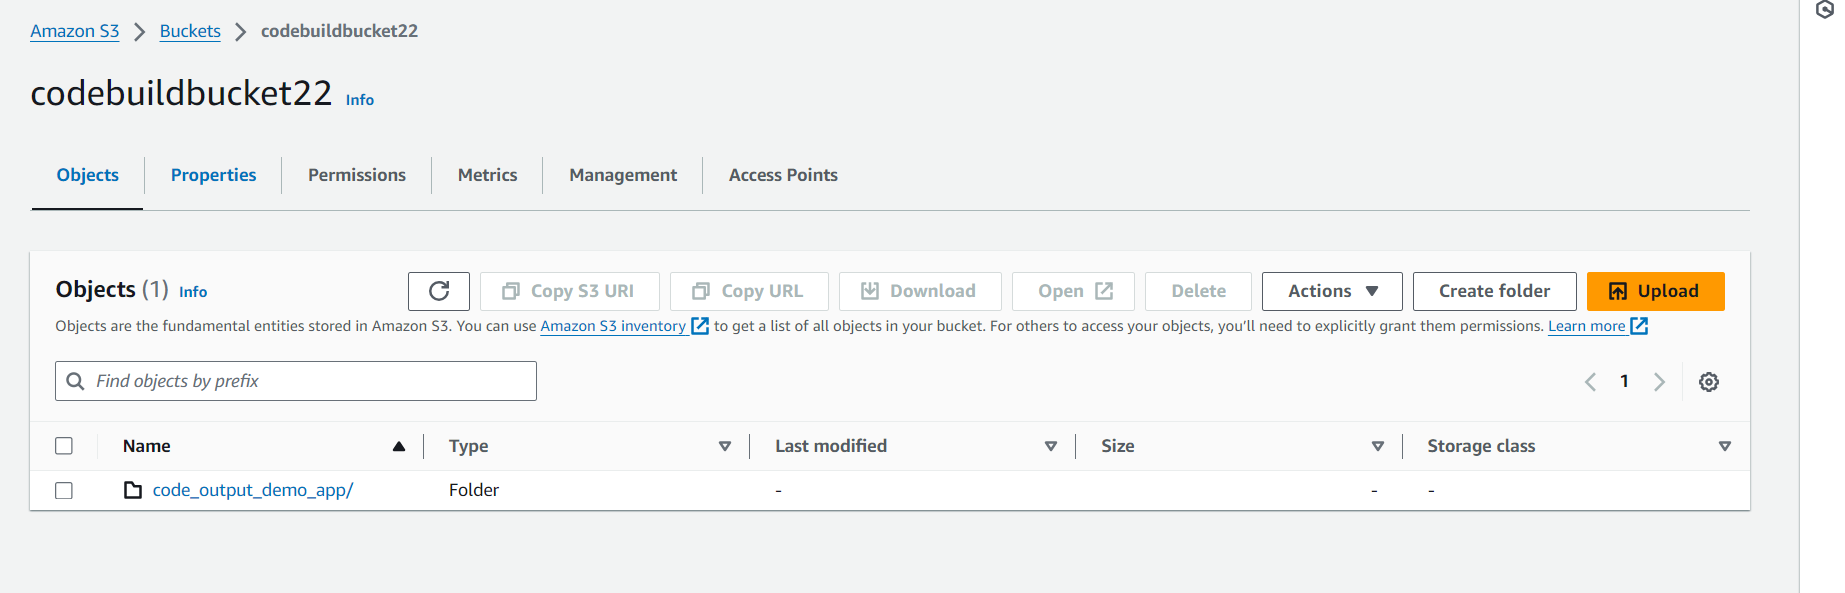
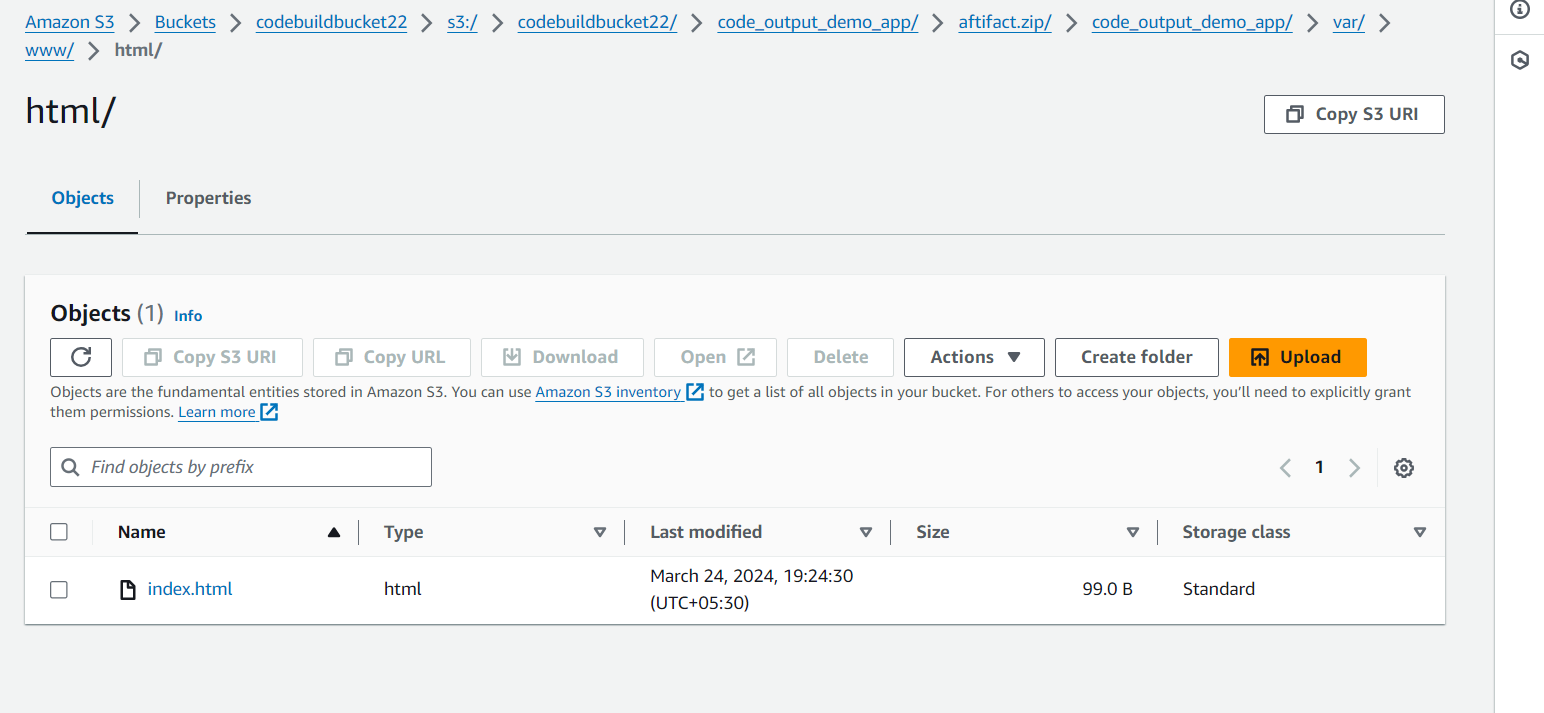
Now go S3 Bucket and create a one bucket.

Now we have codebuildbucket22 bucket. how to create a bucket just go to my blog (click this link here).
Now go to the codebuildbucket22 and create a folder also copy the url.
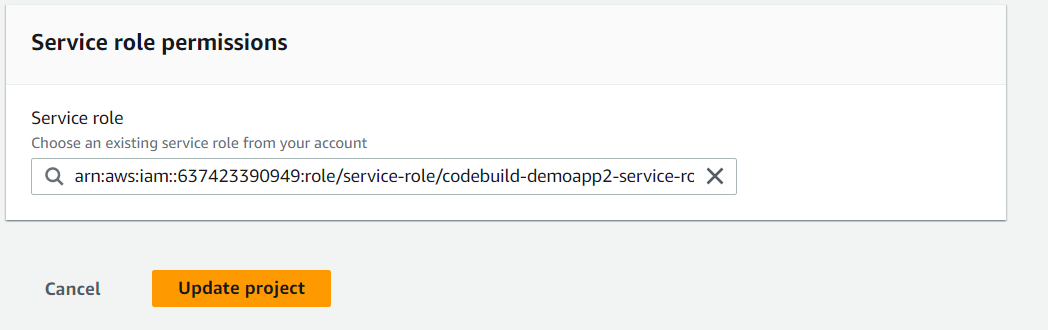
Now we need to go the codebuild and go to the artifacts upload location. click to edit button and go to artifacts.
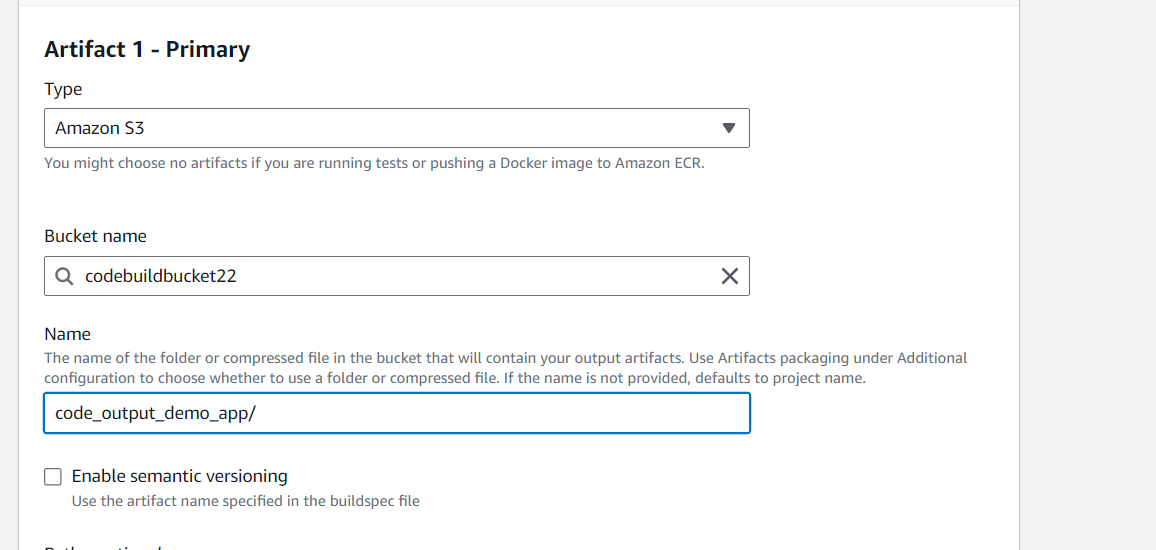
For Path paste the URL, go S3 Bucket that is codebuildbucket22, go the folder code_output_demo and copy the url and paste here path section include artifact.zip.
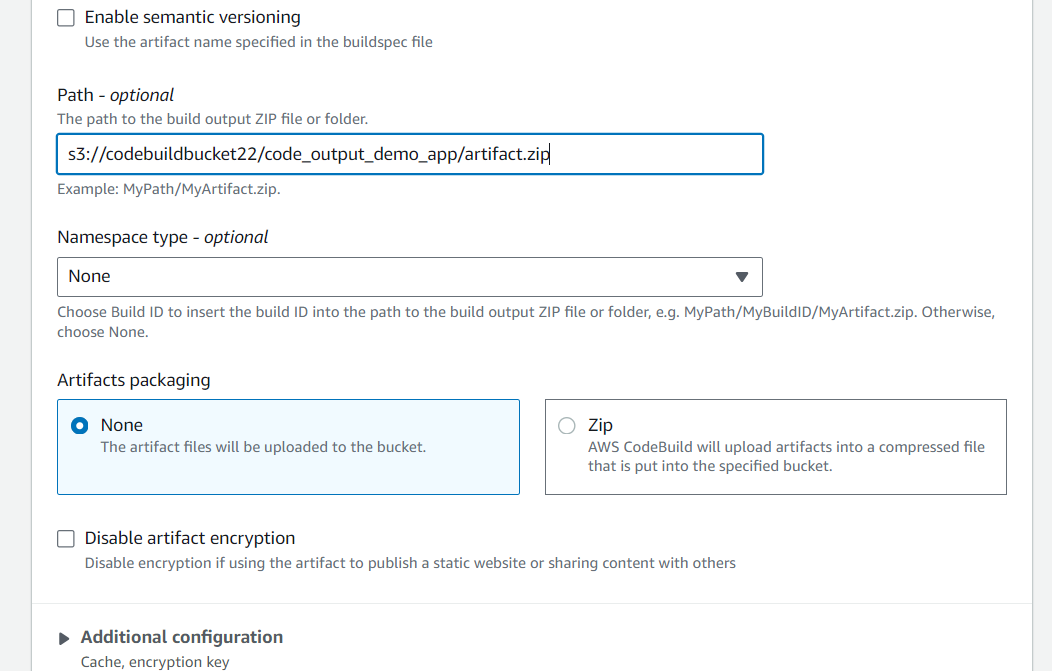
Now no need to change anything, Just click upload project.
Now we have artifact.
Now we need to start build again then you can see build is done
Now go the bucket and refresh it that you can see all the artifact is record.
Appspec.yaml file for CodeDeploy:
The appspec.yaml file is a crucial component when using AWS CodeDeploy, as it defines how CodeDeploy should deploy your application onto your instances. Here's why it's needed:
Deployment Instructions:
appspec.yamlspecifies the deployment instructions for your application. It defines what needs to happen before, during, and after the deployment process. This includes actions such as fetching the latest version of the application, running scripts to set up the environment, stopping and starting services, etc.Lifecycle Hooks: CodeDeploy uses lifecycle event hooks to execute custom actions at different stages of the deployment process. The
appspec.yamlfile specifies these hooks, allowing you to run scripts or perform actions at specific points, such as before installation, after installation, before traffic is shifted, etc. This gives you control over the deployment process and allows for customization based on your application's requirements.Version Control: It serves as a version-controlled configuration file for your deployment process. By keeping deployment instructions in a version-controlled file like
appspec.yaml, you can track changes, collaborate with team members, and maintain consistency across deployments.Standardization:
appspec.yamlprovides a standardized way to define deployment configurations across different types of applications and environments. This helps ensure consistency and reliability in the deployment process, especially in environments with multiple applications or teams deploying different services.Ease of Use: Using
appspec.yamlsimplifies the deployment process by centralizing deployment configurations in a single file. This makes it easier to manage deployments, troubleshoot issues, and onboard new team members.
In summary, the appspec.yaml file is essential for AWS CodeDeploy because it defines deployment instructions, lifecycle hooks, version control, standardization, and ease of use, all of which are crucial for orchestrating successful deployments of your application.
appspec.yml:
version: 0.0
os: linux
files:
  - source: /
    destination: /var/www/html

hooks:
  AfterInstall:
    - location: scripts/install_nginx.sh
      timeout: 300
      runas: root

  ApplicationStart:
    - location: scripts/start_nginx.sh
      timeout: 300
      runas: root
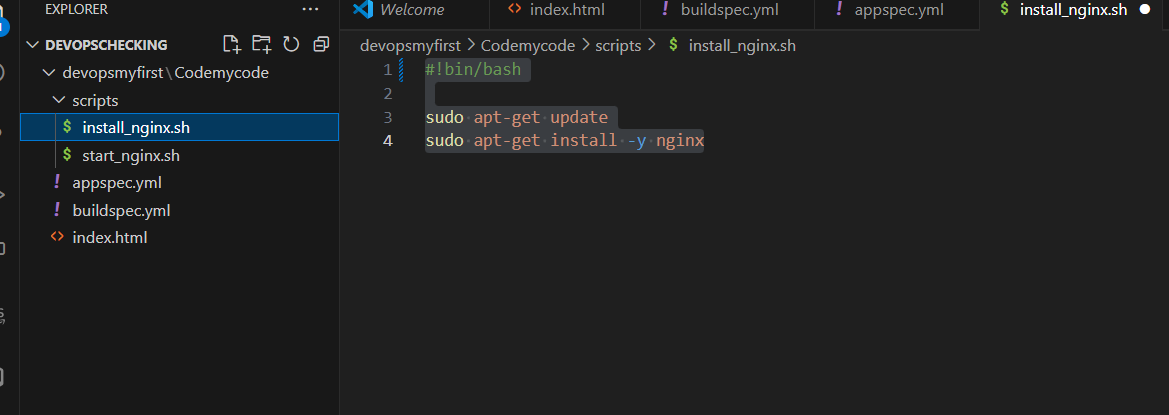
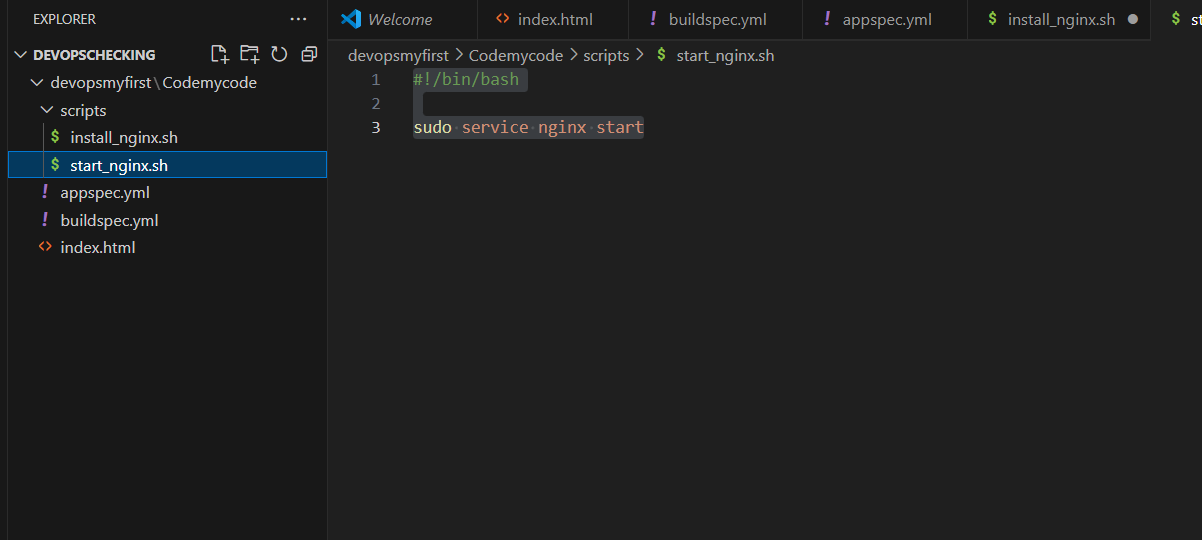
Scripts:
install_nginx.sh:
 #!bin/bash

 sudo apt-get update
 sudo apt-get install -y nginx
start_nginx.sh:
 #!/bin/bash

 sudo service nginx start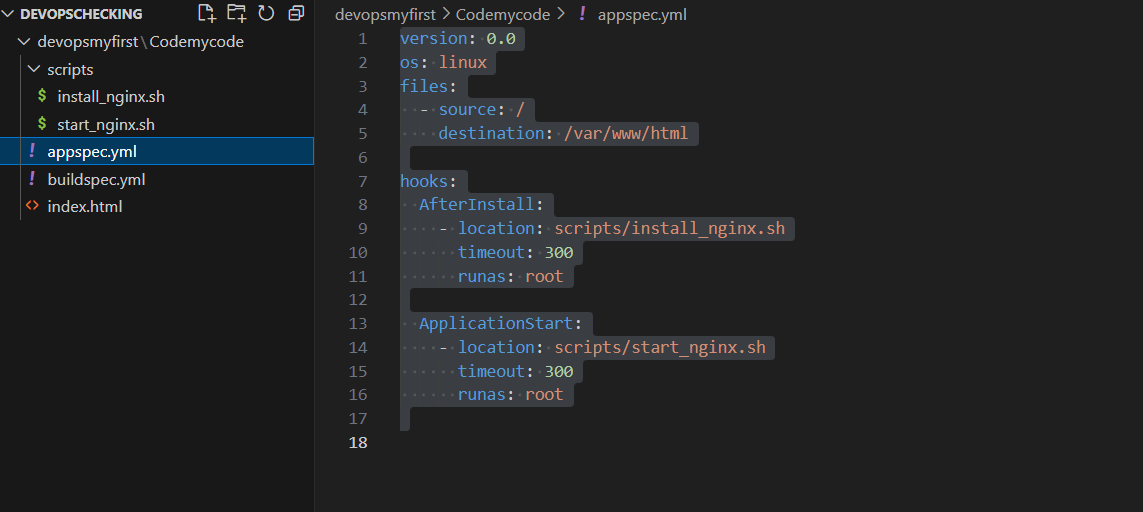
Now go to the codecommit service, and refresh it.
Now need to build this file go to codebuild service, Click to start build button.
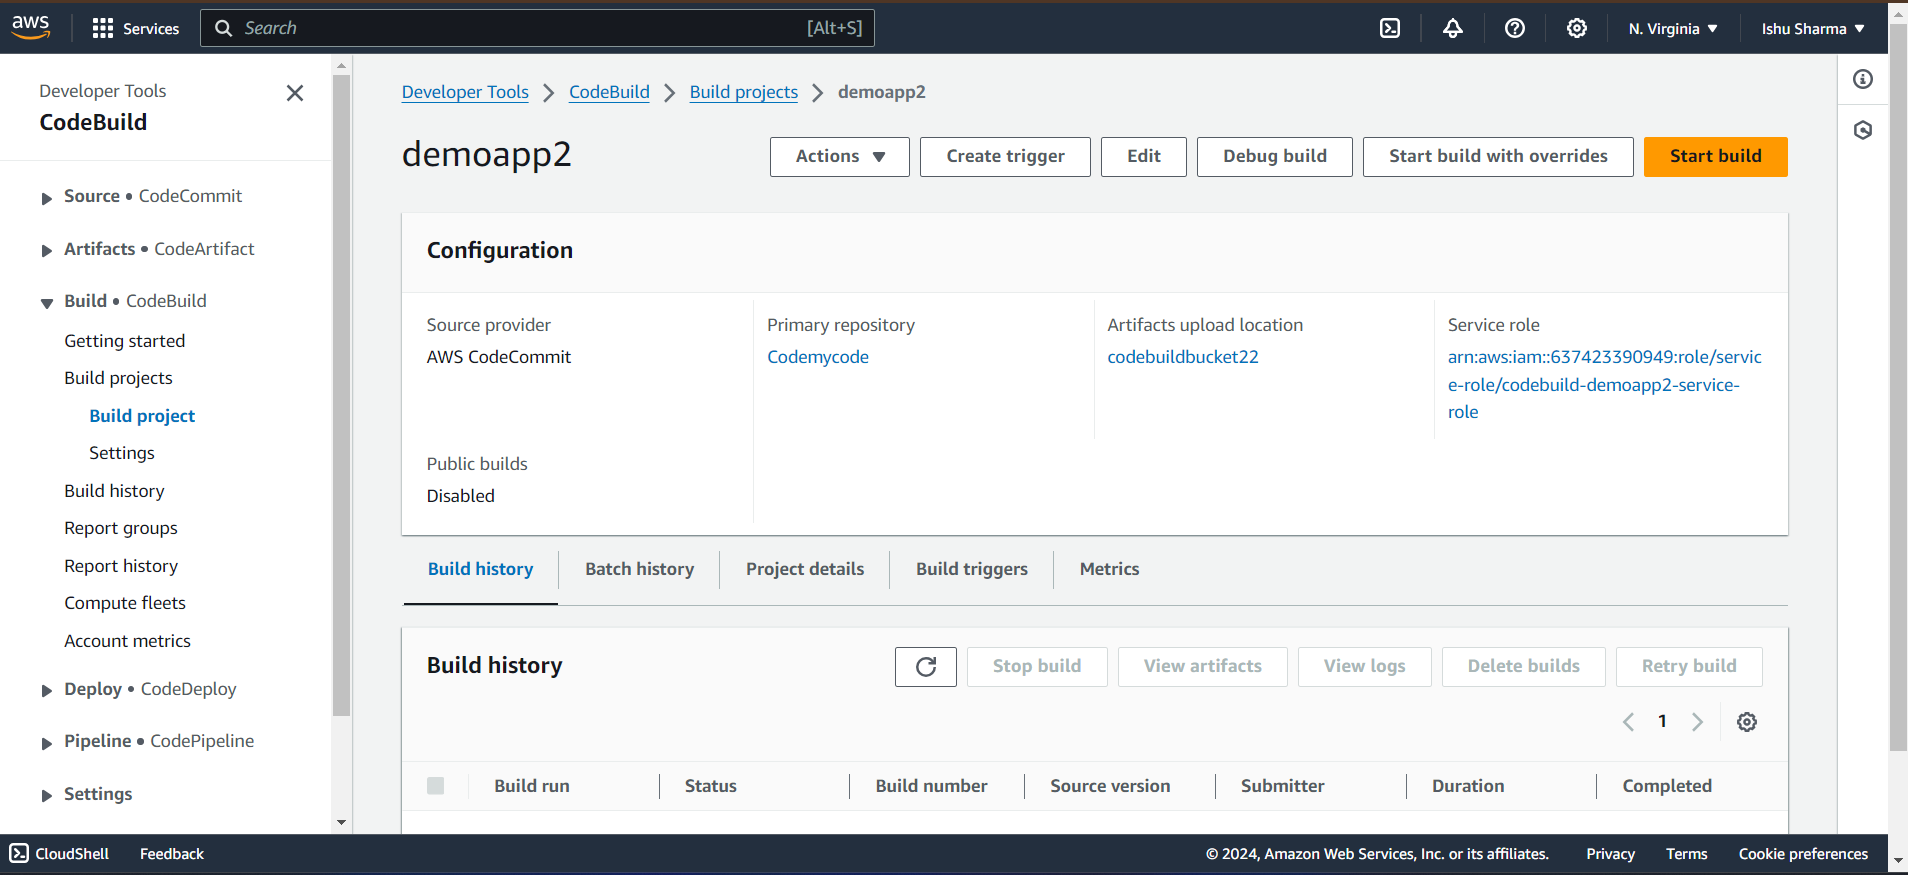
Now build is done.
Go to the S3 Bucket and check all the artifacts is record.
Create a EC2 Machine:
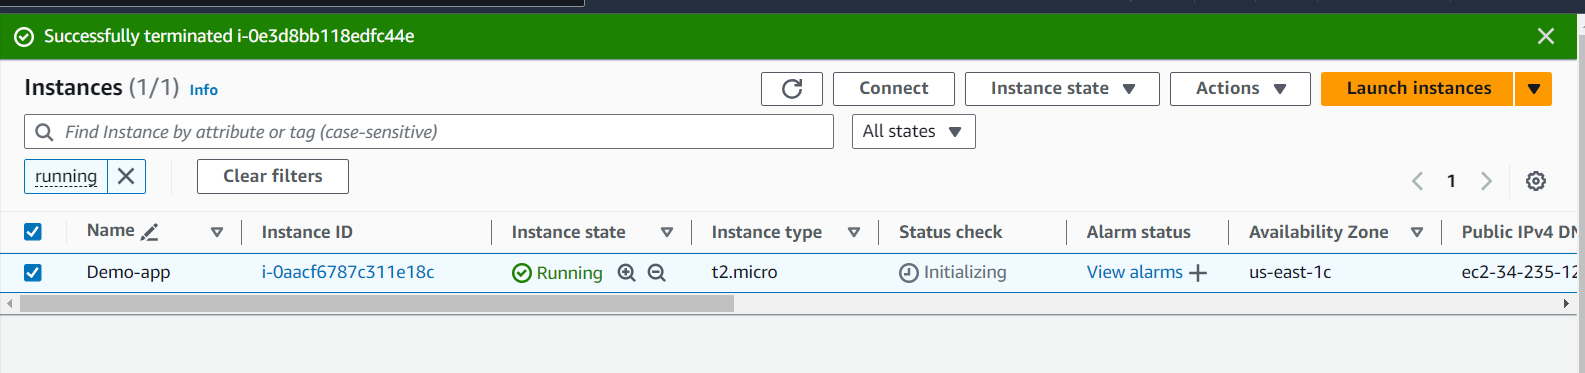
Now we have Demo-app EC2 Machine, How to create a EC2 Machin, Just click to my ec2 blog (click here).
Now need to connect this machine.

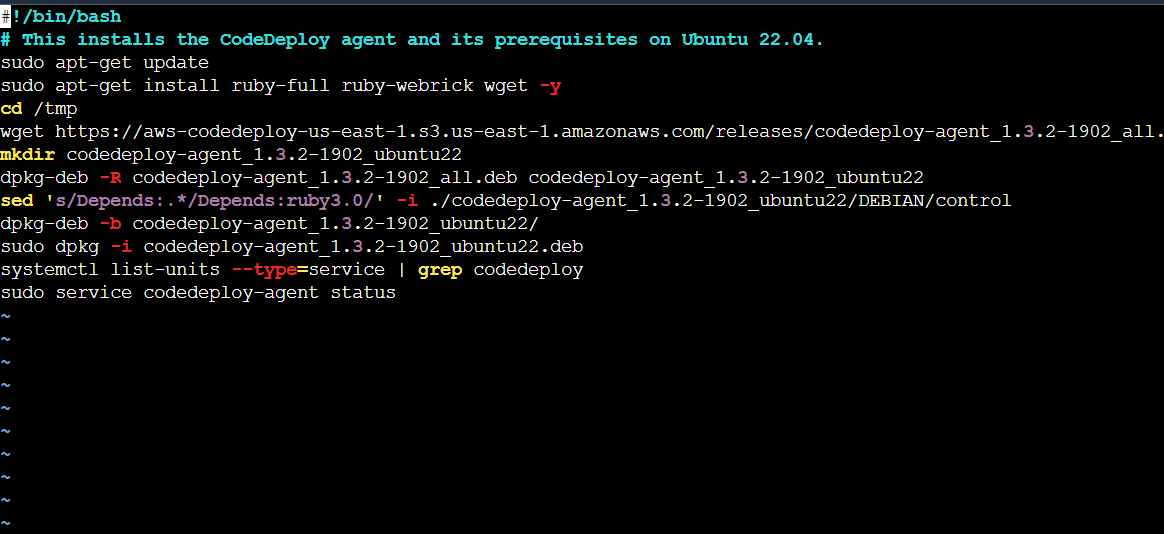
If we need to install nginx need to codedeploy agent, So need to create a sh file.
install.sh:
#!/bin/bash
# This installs the CodeDeploy agent and its prerequisites on Ubuntu 22.04.
sudo apt-get update
sudo apt-get install ruby-full ruby-webrick wget -y
cd /tmp
wget https://aws-codedeploy-us-east-1.s3.us-east-1.amazonaws.com/releases/codedeploy-agent_1.3.2-1902_all.deb
mkdir codedeploy-agent_1.3.2-1902_ubuntu22
dpkg-deb -R codedeploy-agent_1.3.2-1902_all.deb codedeploy-agent_1.3.2-1902_ubuntu22
sed 's/Depends:.*/Depends:ruby3.0/' -i ./codedeploy-agent_1.3.2-1902_ubuntu22/DEBIAN/control
dpkg-deb -b codedeploy-agent_1.3.2-1902_ubuntu22/
sudo dpkg -i codedeploy-agent_1.3.2-1902_ubuntu22.deb
systemctl list-units --type=service | grep codedeploy
sudo service codedeploy-agent status
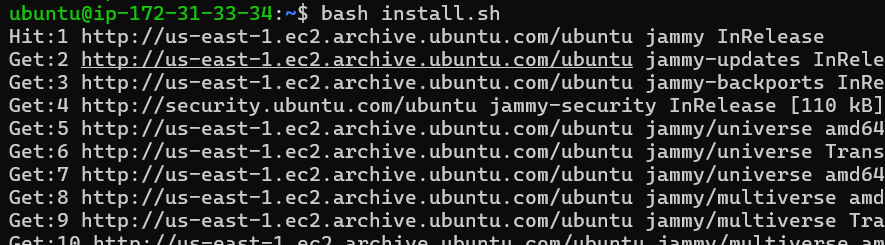
After that run this file using bash command
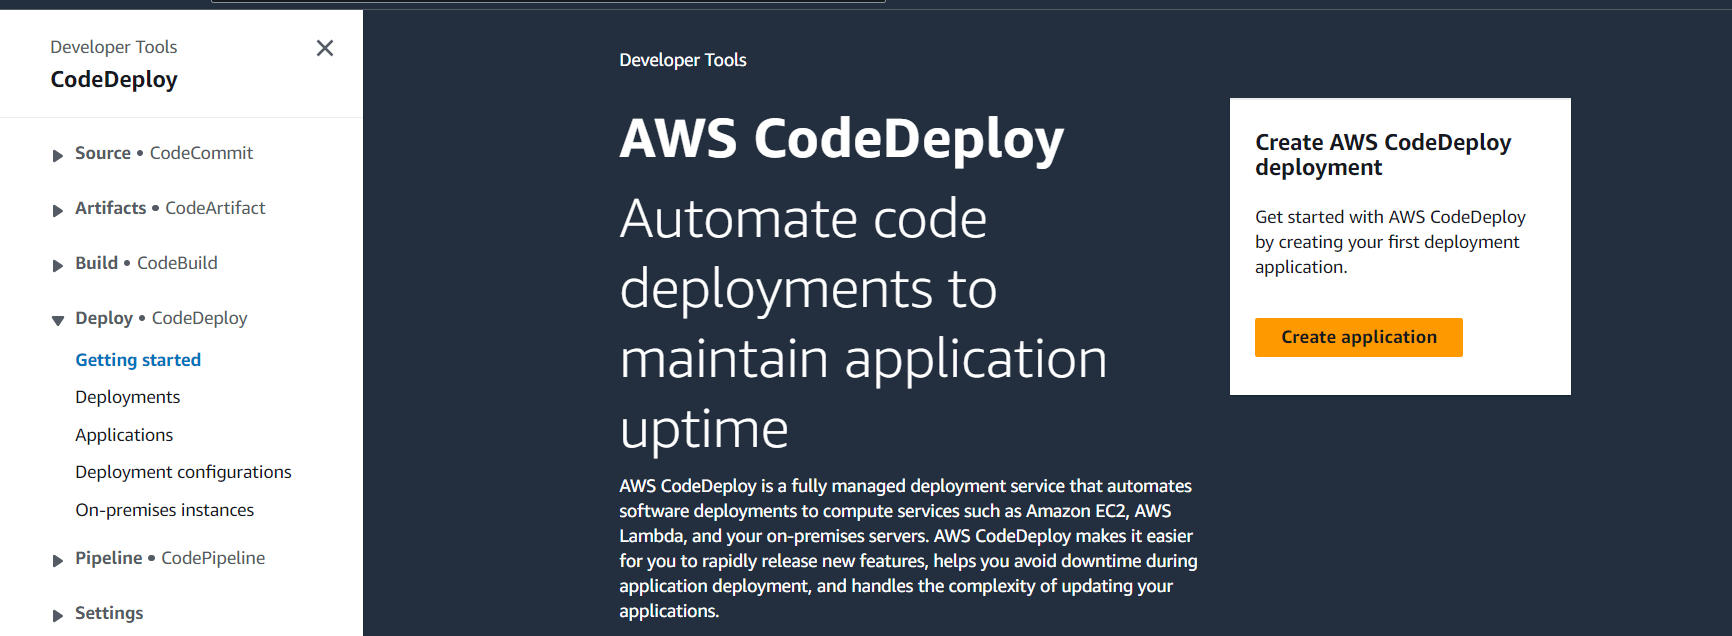
Codedeploy service (Deploy the file):
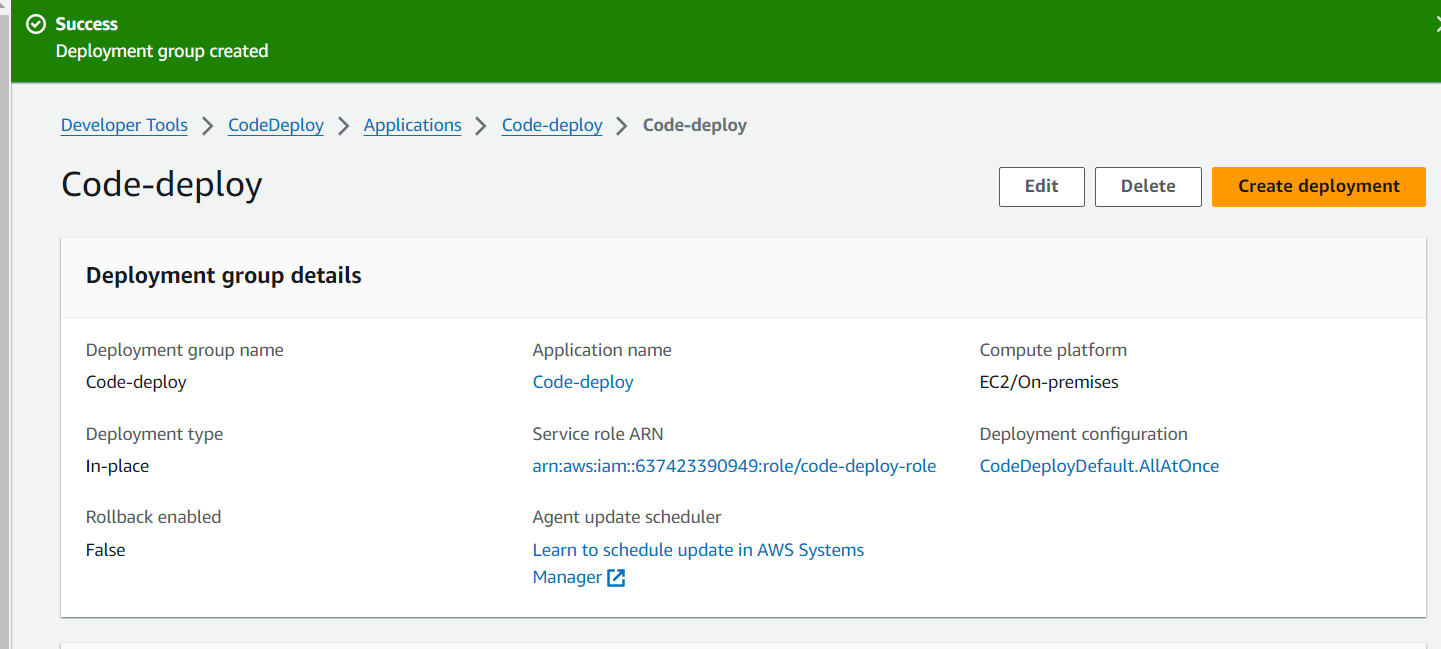
Go to the code deploy and click to get start.
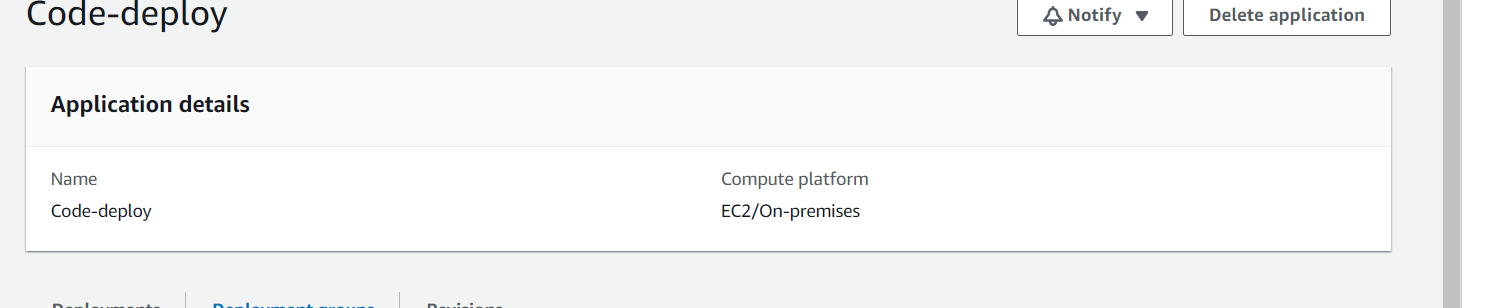
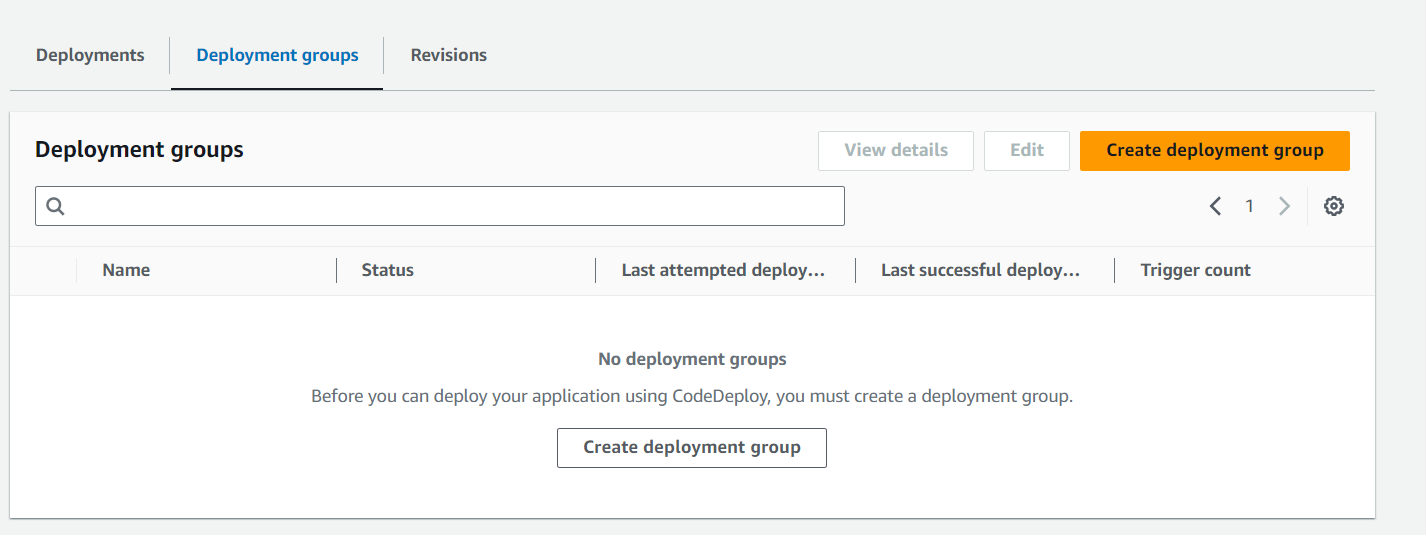
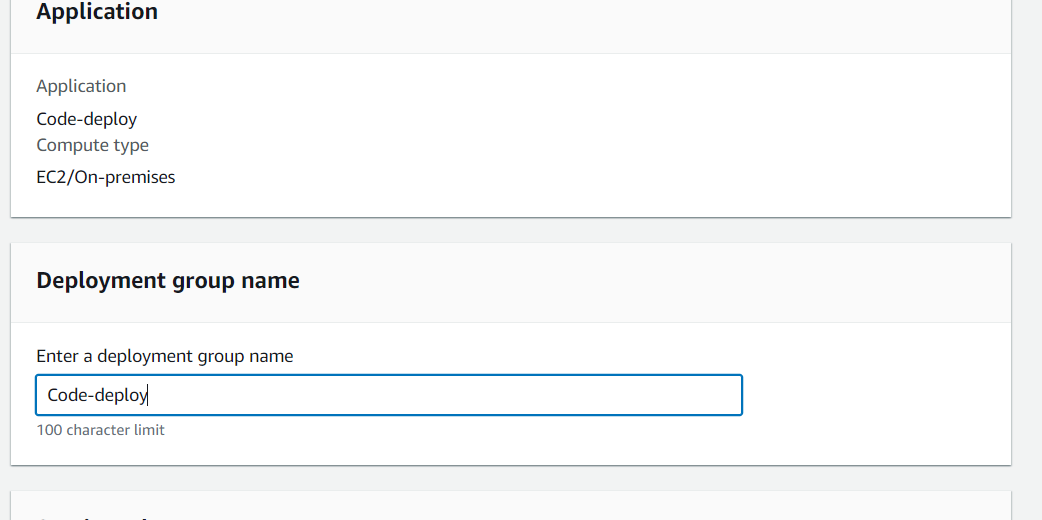
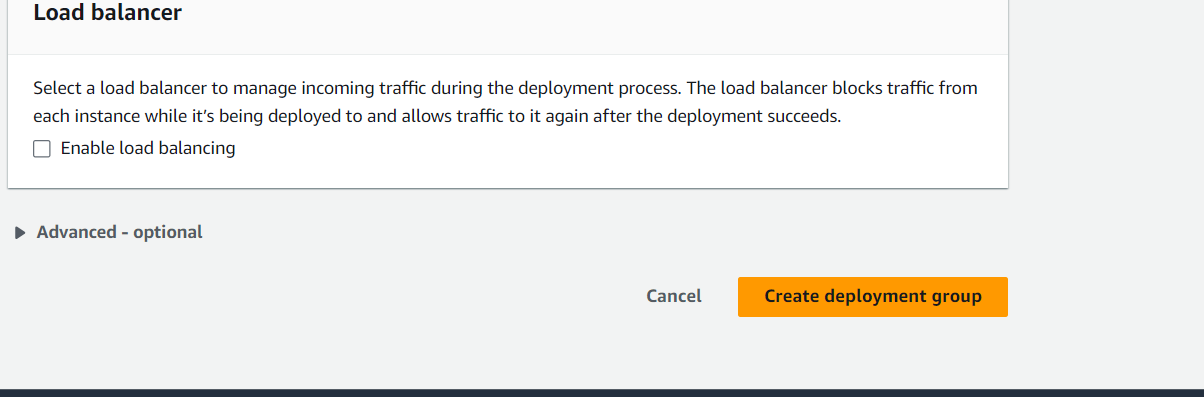
Now click to Create deployment group.
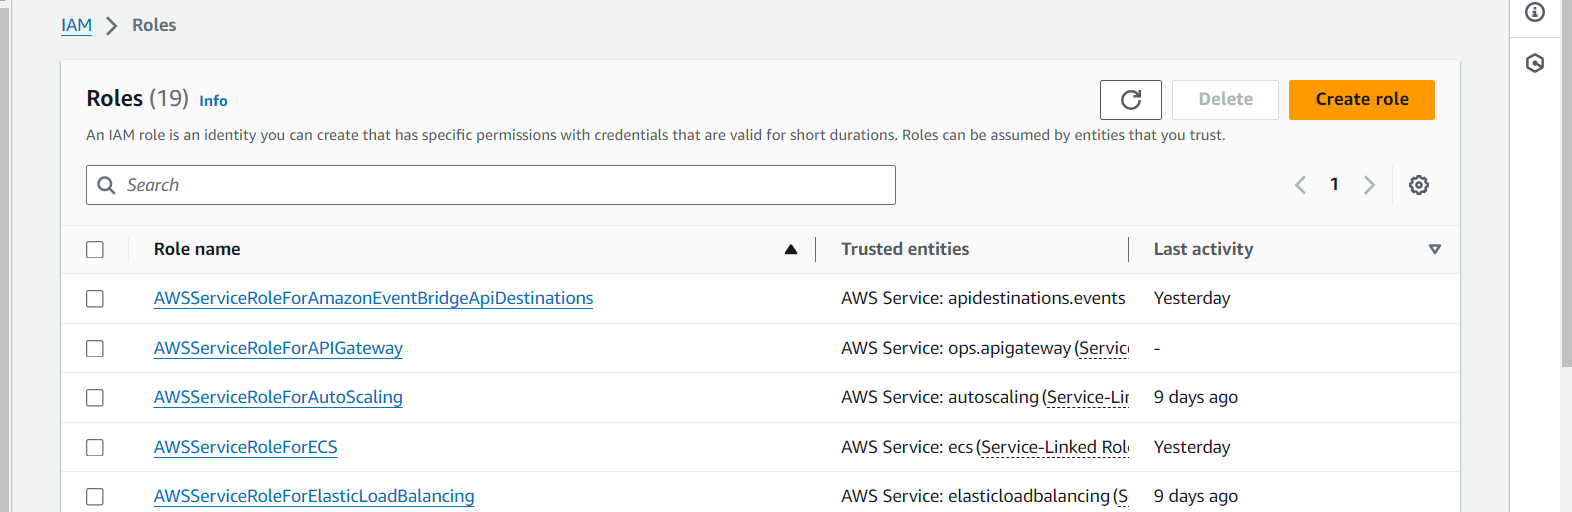
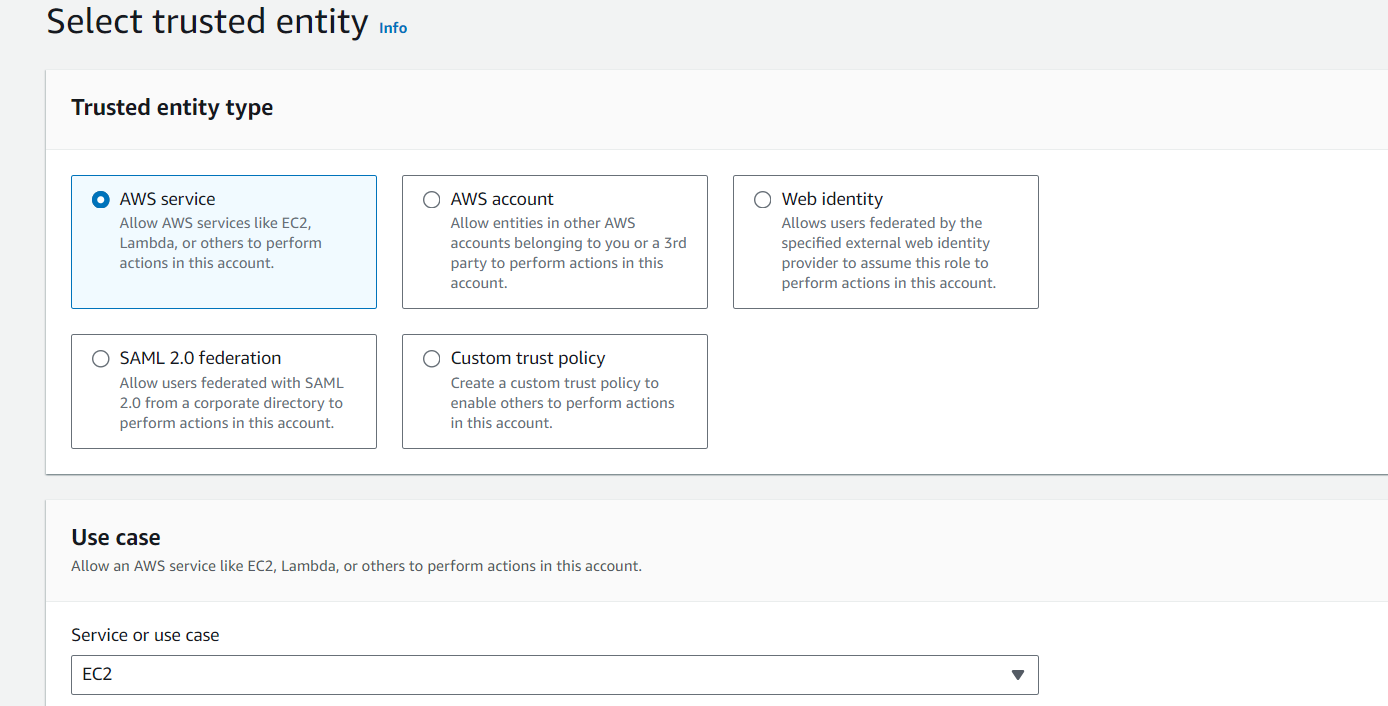
Afer that go to IAM and create a Role that is.
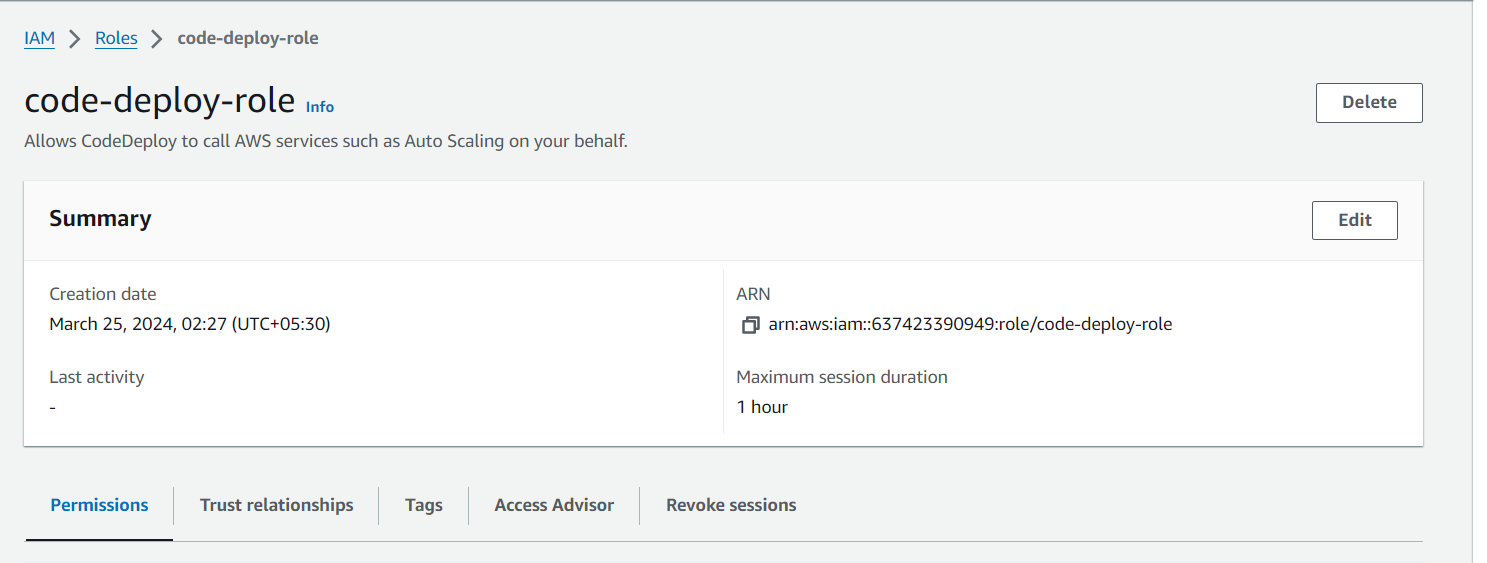
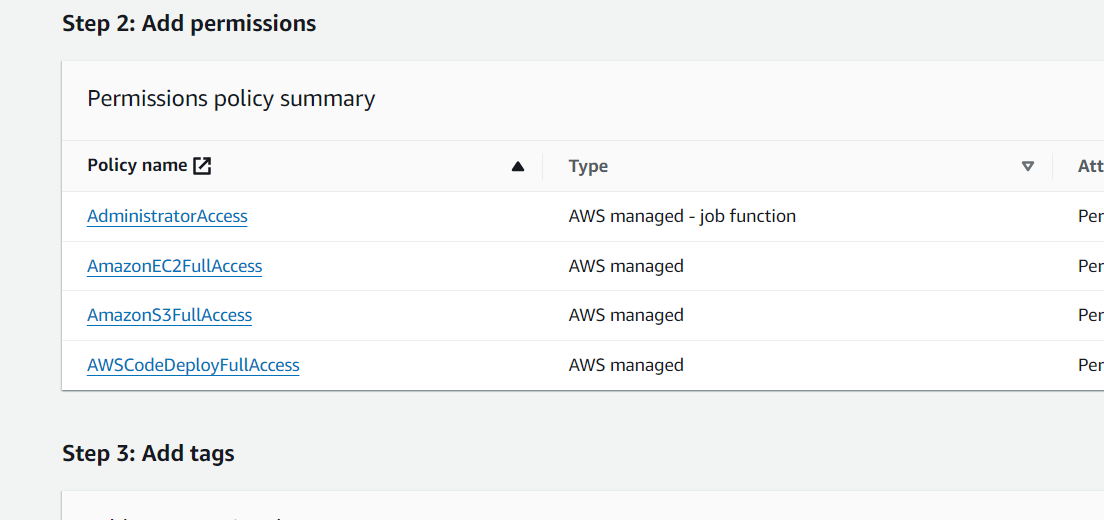
After that attach the poilicies that is
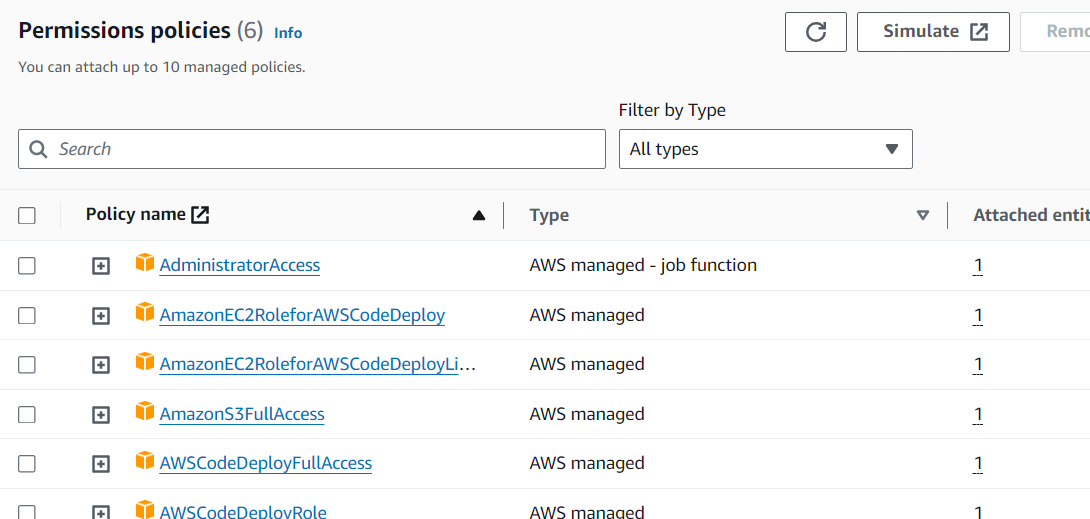
go to again code deploy and provide that role, Just we have created.
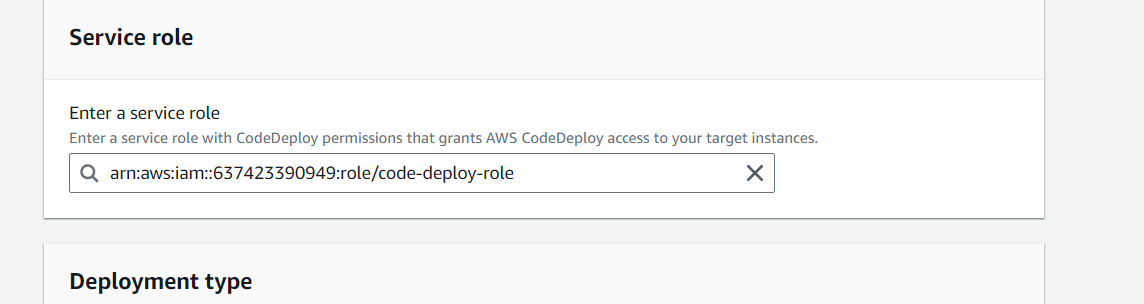
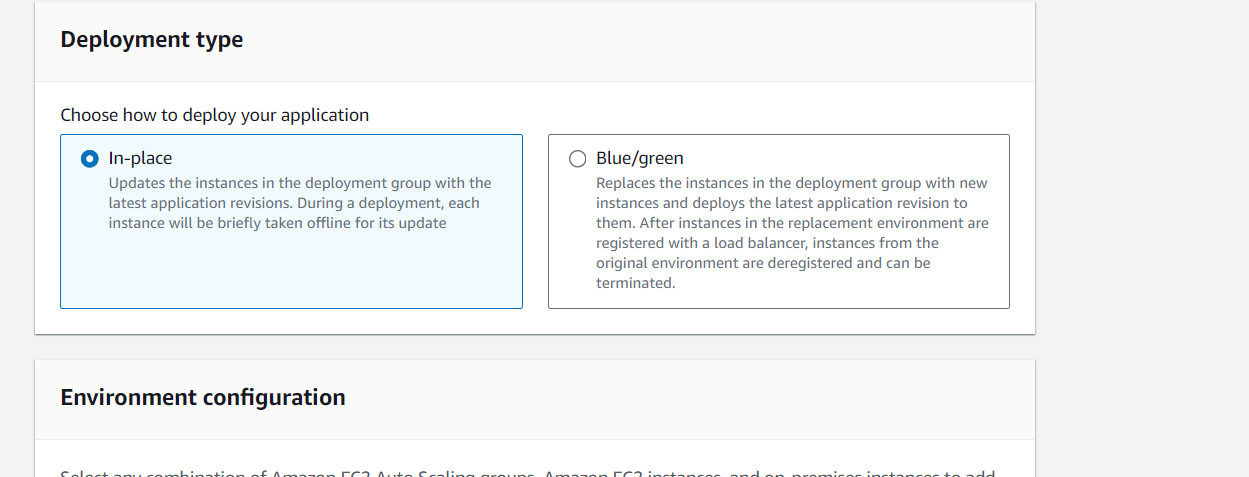
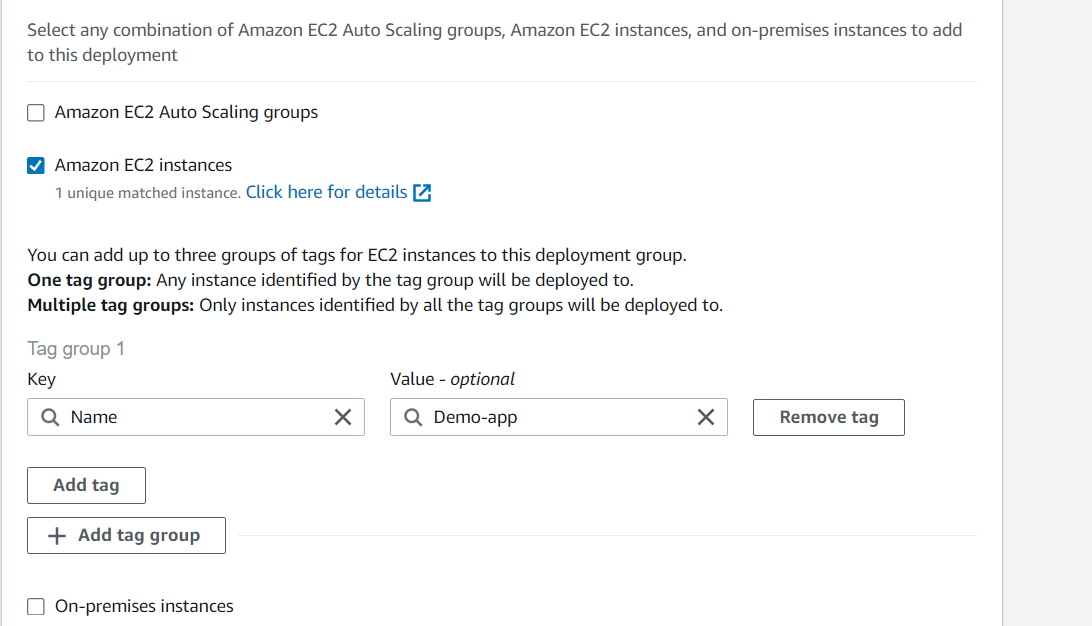
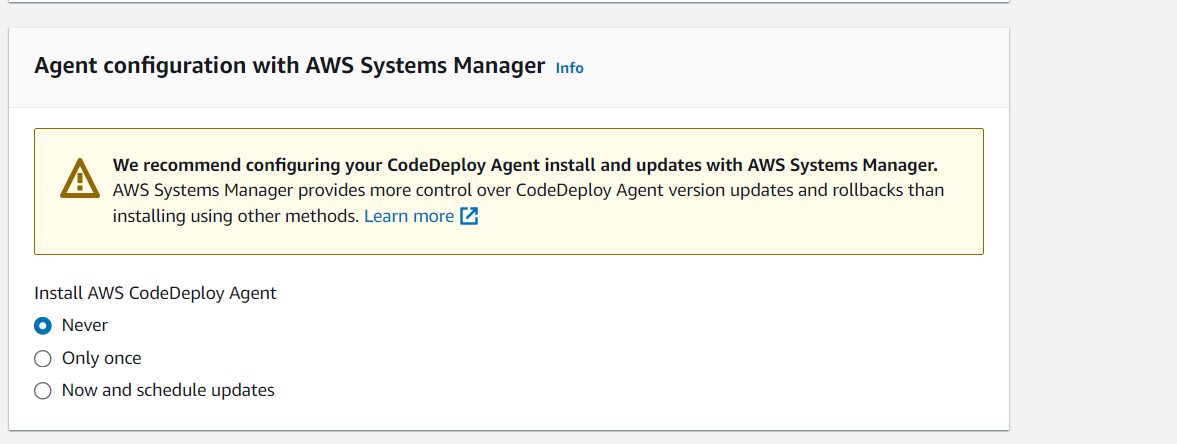
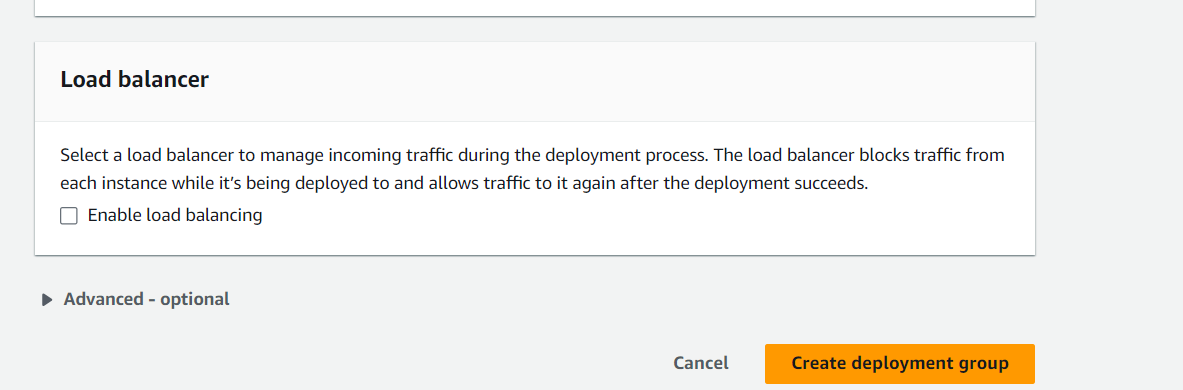
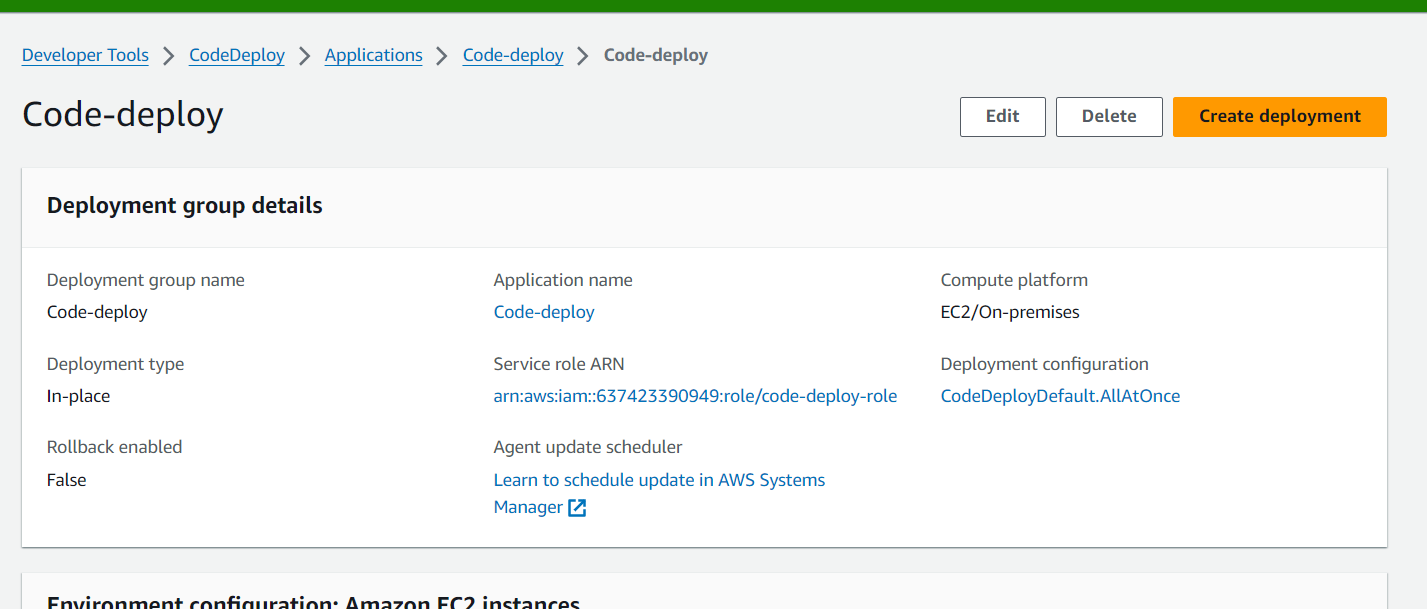
No need to change anythig, just click to Create Deployment group.
Now every thing is good.
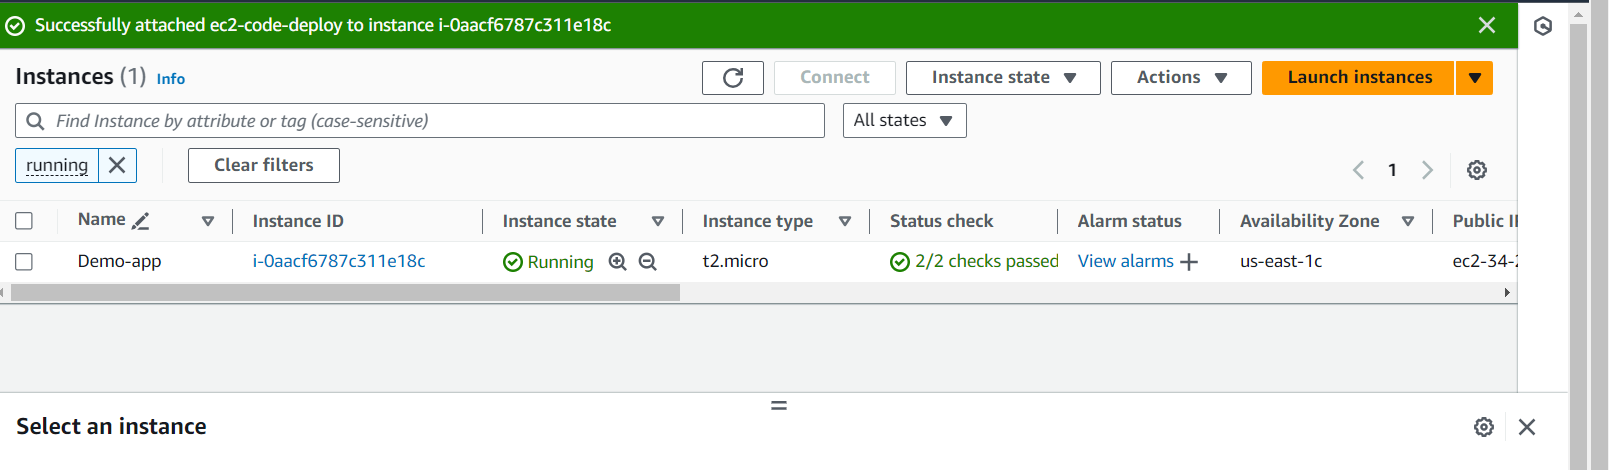
Now need to create a role and assign the ec2 machine, So go to the EC2 Machine and click action.
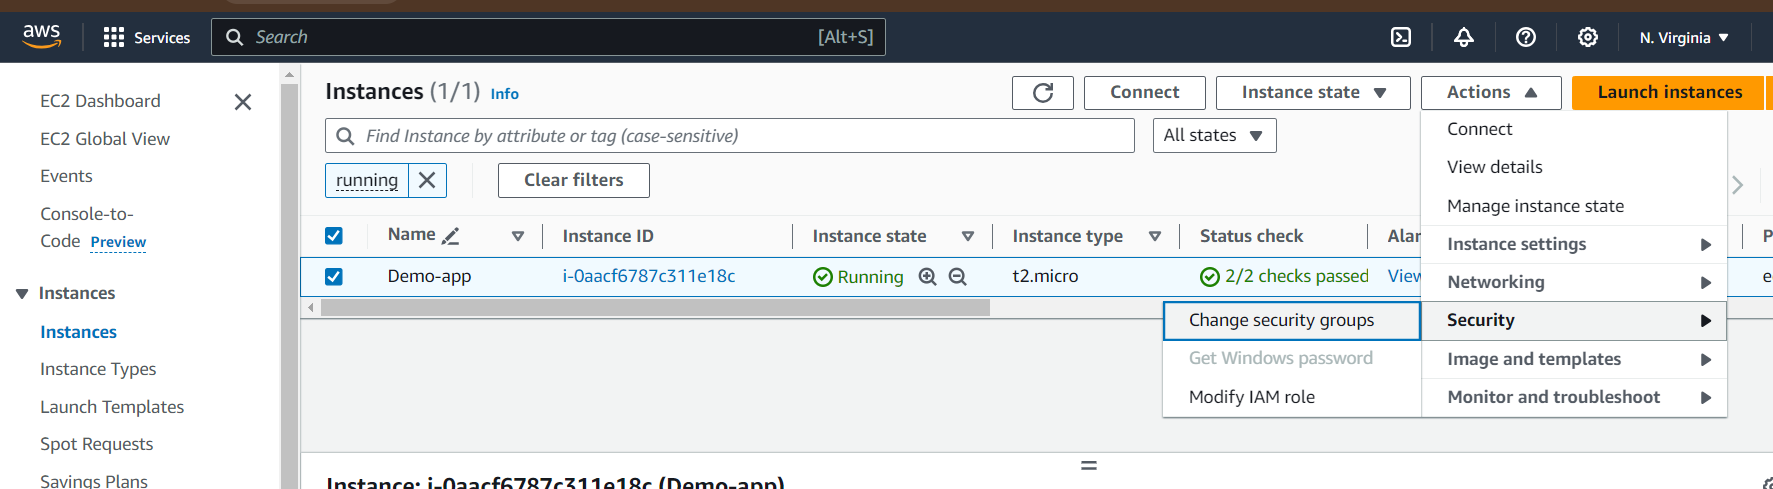
After that click to modify the role
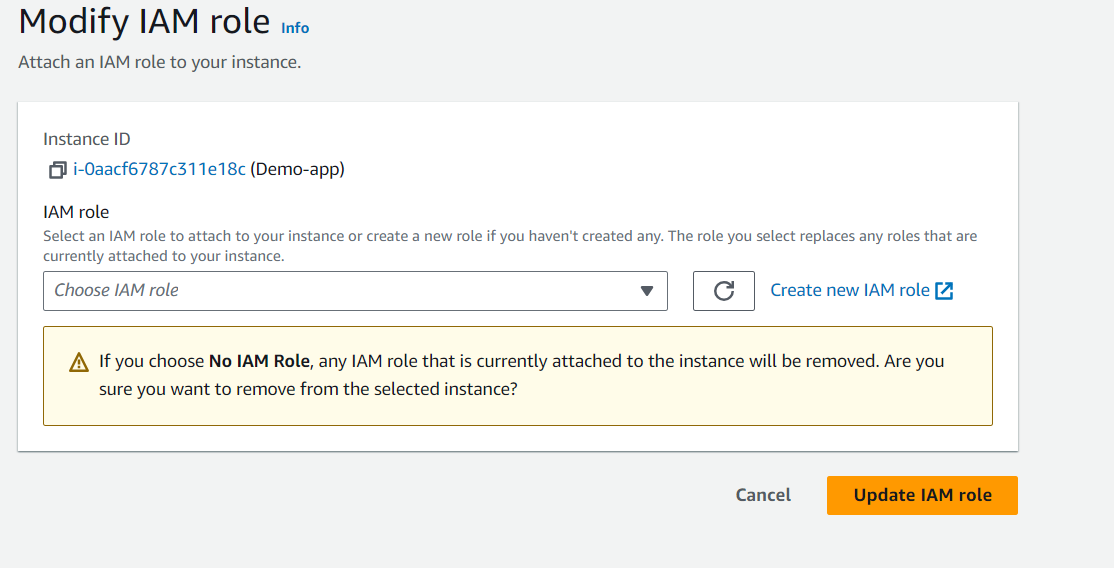
Click to creat a new role and now click to create role.
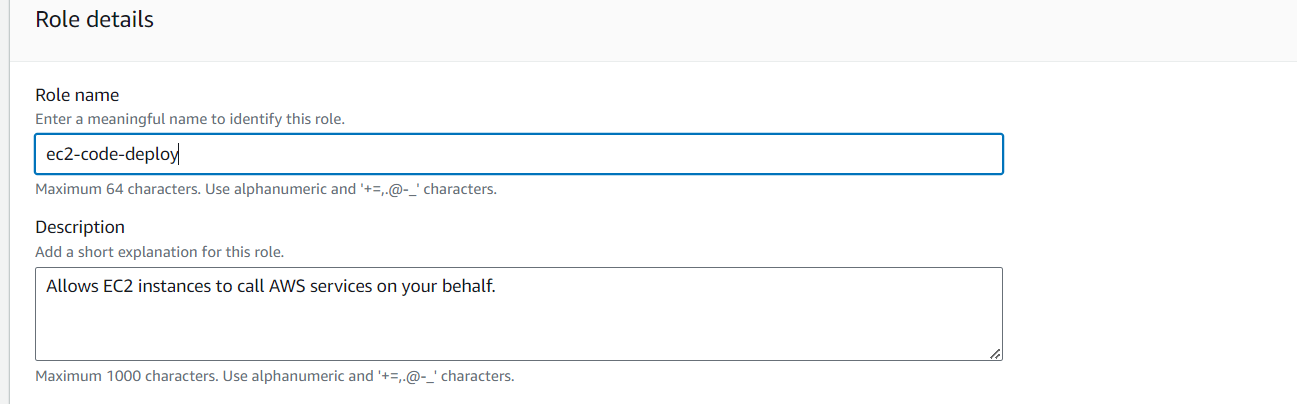
Now we have EC2-Code-deploy role.
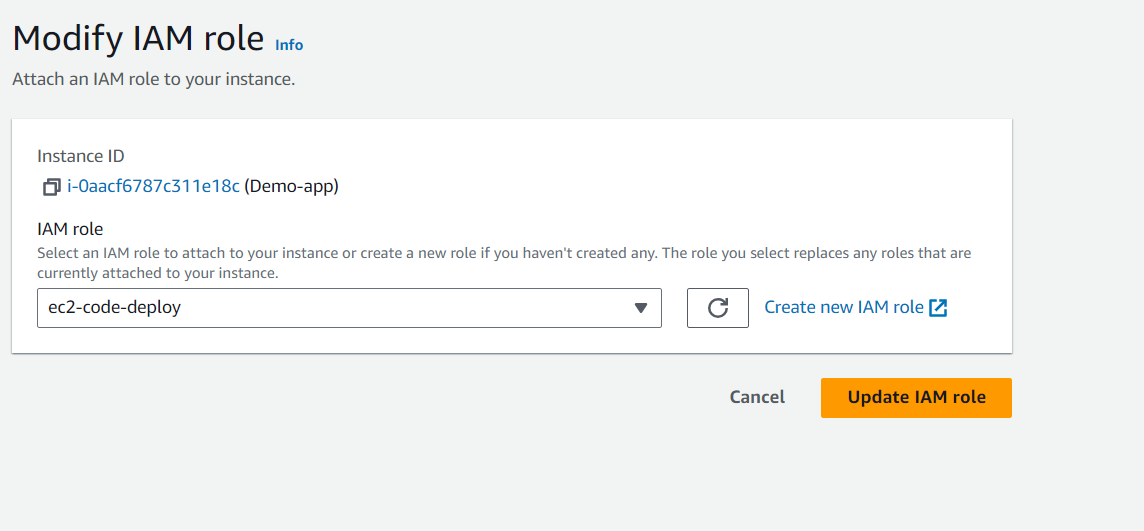
After that click to update role and restart nginx.
Now to the code deploy service and Click to create deployment

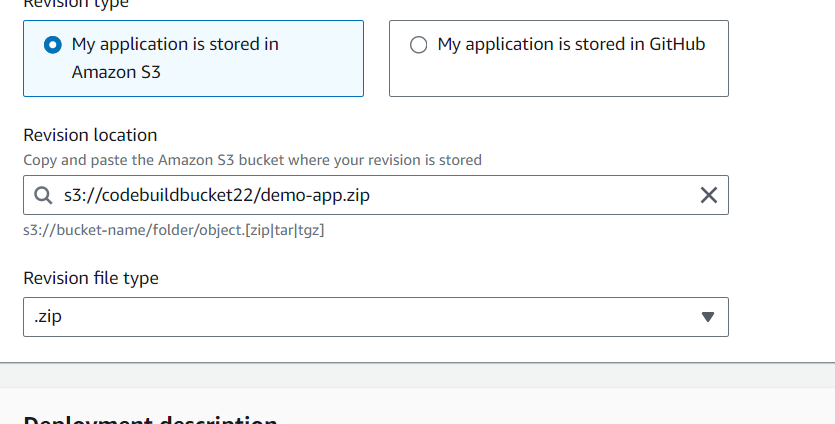
No need to change any thing just click to create button
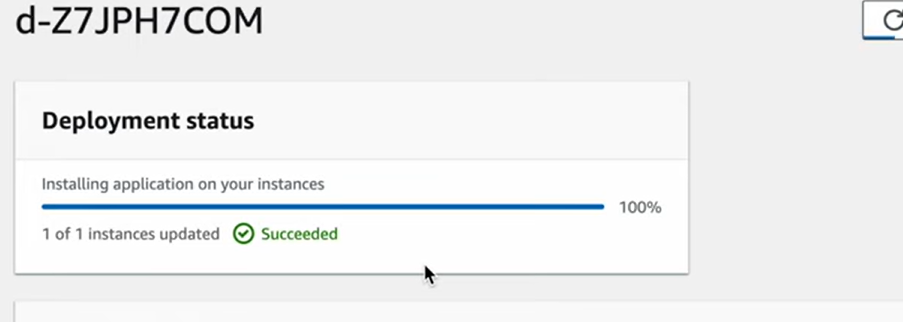
Now develpoment is done copy to instance public ip and paste the url to another browser.


